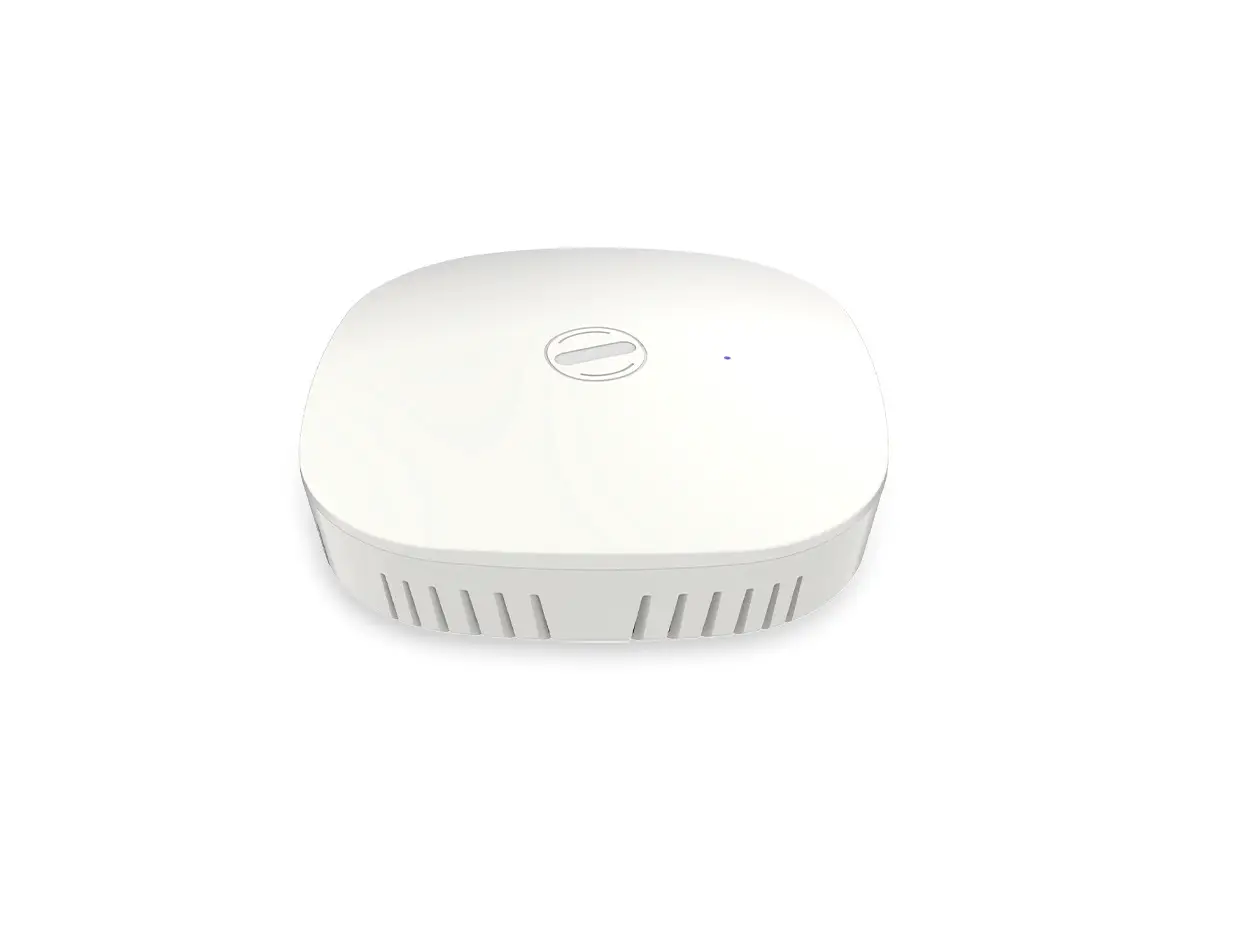
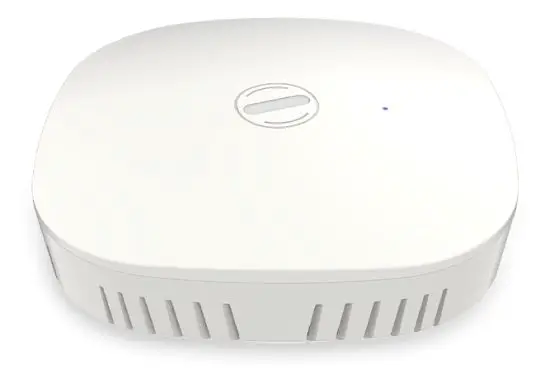
HFCL ION4 Dual Band 2X2 Indoor-Outdoor Access Point
Installation Setup
IO Indoor AP can be mounted onto the wall or ceiling. Perform the steps discussed in below sections for the appropriate installation of indoor AP:
Mounting of Dual Band 2×2:2 Indoor Access Point (Wall and Ceiling)
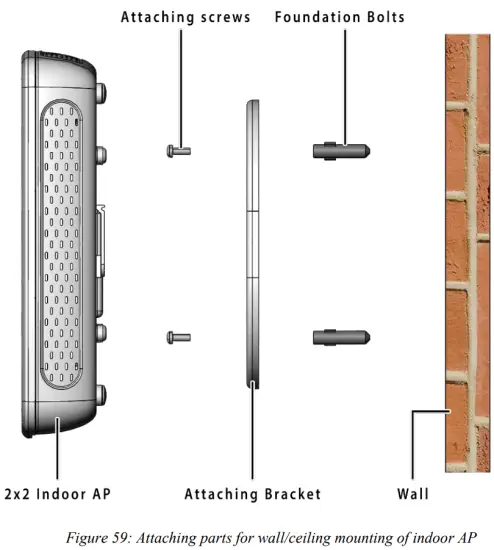
- Refer the image below for attaching parts required for wall/ceiling mounting of AP:

- Place the attaching bracket on to the wall or ceiling and mark the holes to drill. Drill holes of appropriate size.
- Insert the foundation bolts in the drilled holes of wall/ceiling.
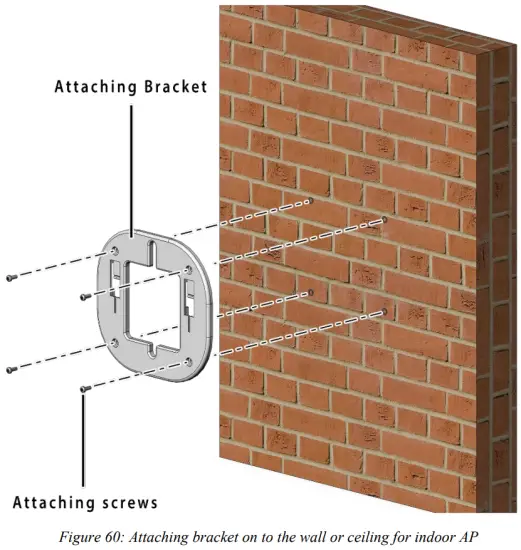
- Use the supplied screws and mount the attaching bracket on to the wall or ceiling as shown below:

Note: Make sure that the attaching bracket is tightly installed before mounting the access point on the wall or ceiling. - Refer the image below for wall mounted attaching bracket:

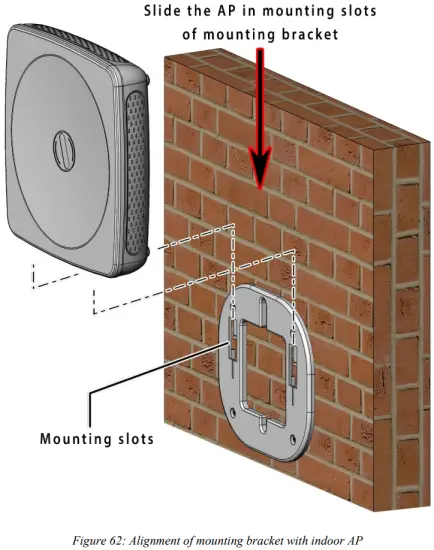
- Align the mounting slots of indoor AP and attaching bracket as shown below:

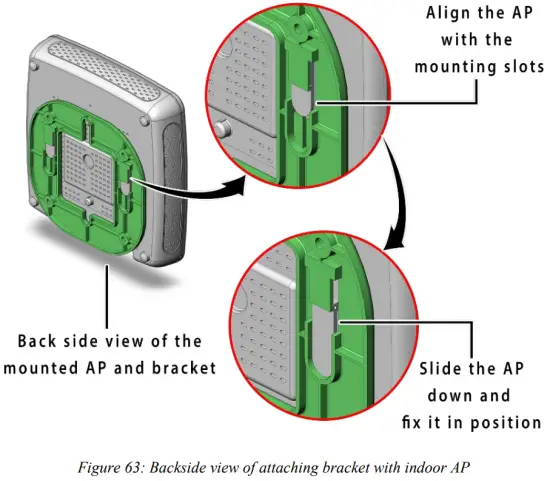
- Refer the image below for backside view of wall/ceiling mounted AP:

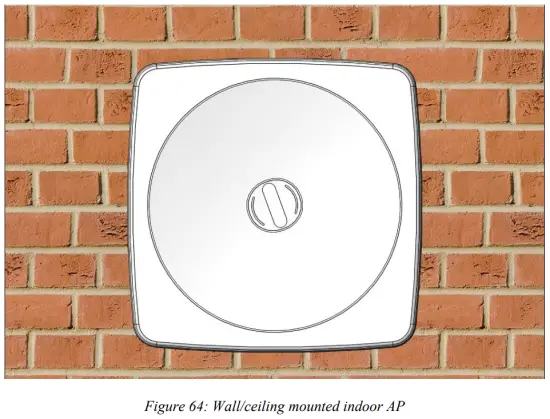
- The wall or ceiling mounted AP is shown below:

- Slightly push and slide the access point out from the mounting slots of attaching bracket to unmount the AP.

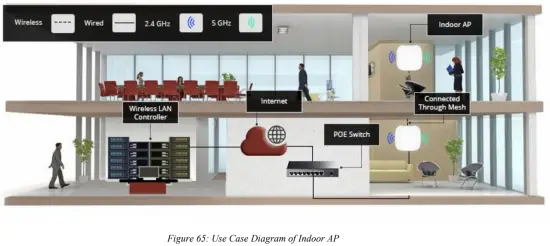
Use Cases
A. Indoor Access Point