![]() HTC Ozone Frame Replacement
HTC Ozone Frame Replacement
Instruction Manual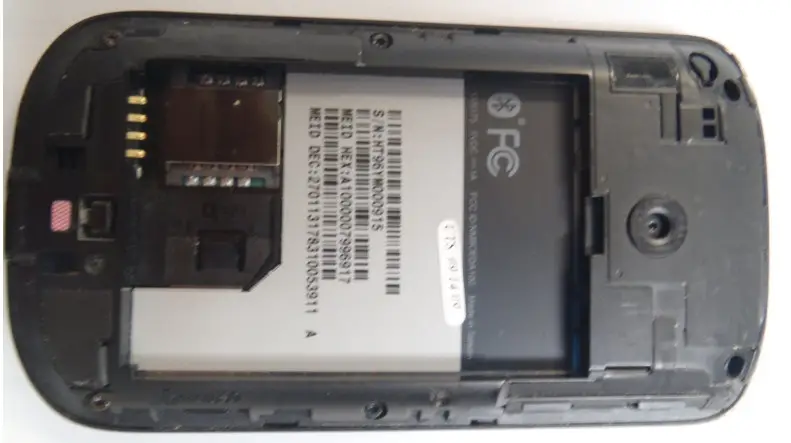
Removal of the plastic frame in order to gain access to internal components.
Written By: Marco Jokada
INTRODUCTION
Internal components of a cell phone device are protected by a plastic frame (i.e. motherboard, keyboard, screen, etc.)
![]() TOOLS:
TOOLS:
- iFixit Opening Tool (1)
- T5 Torx Screwdriver (1)
Step 1 — Rear Battery Cover
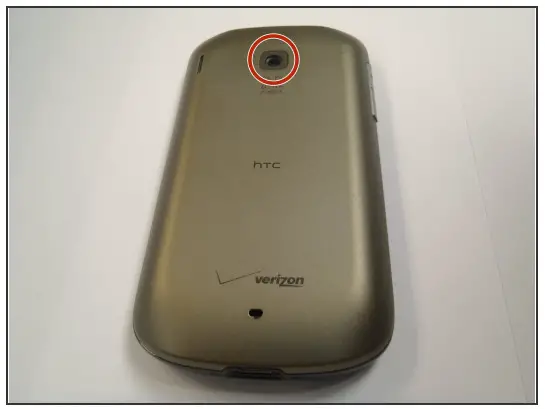
- Flip the phone over to have the rear cover facing up.
- The camera lens should be towards the top of the phone.
Step 2
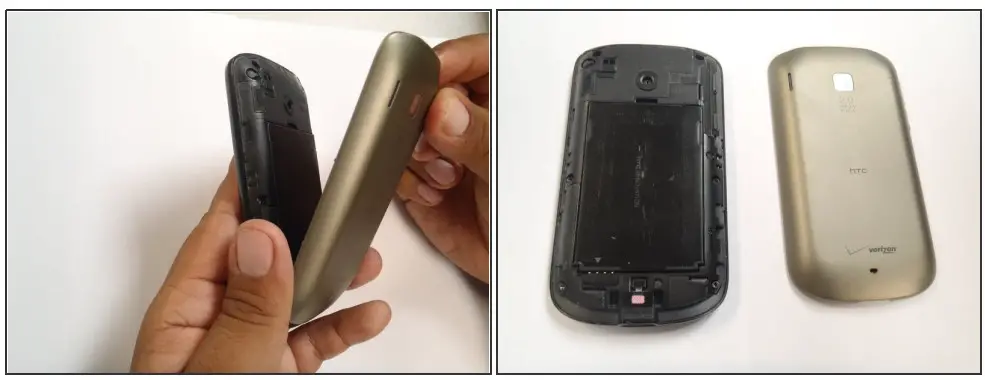
- Slide the cover-up, towards the top of the phone, to unlock the battery cover.
- Lift the cover off the phone and remove it.
Step 3 — Battery
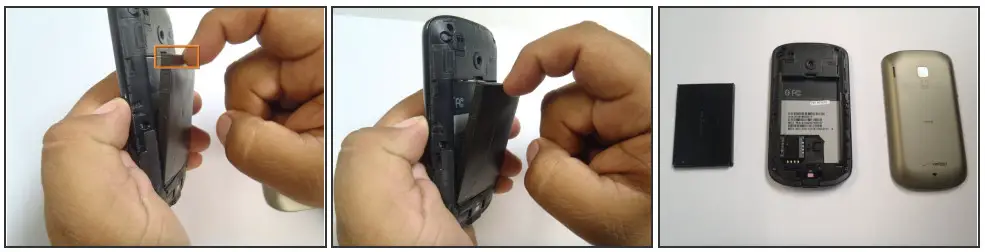
- Use your finger to push the top of the battery downwards and lift the battery out of the phone.
Step 4 — Frame
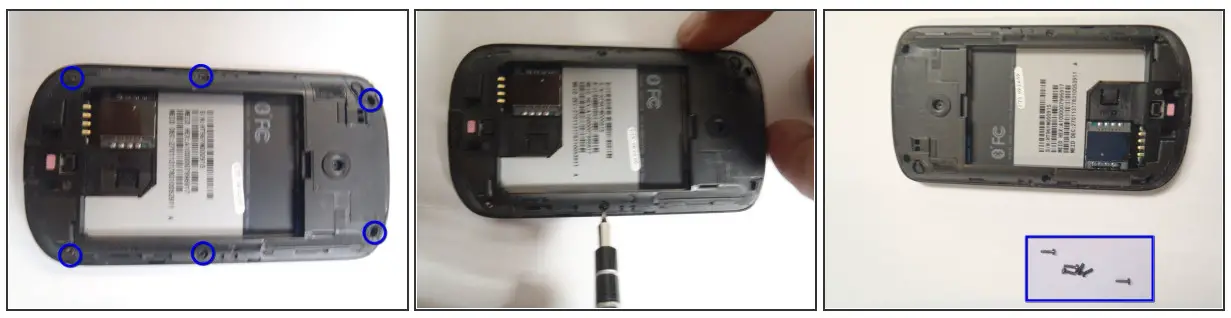
- Remove the six Torx #5 screws that are securing the rear frame.
Step 5
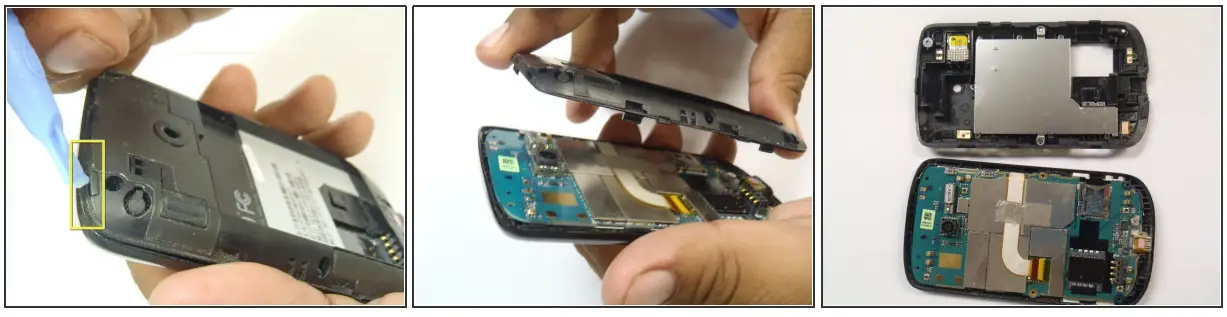
- Pry the frame open, releasing the eight plastic tabs around the edge of the frame, using the plastic opening tool.
 A plastic card can be used instead of the plastic opening tool.
To reassemble your device, follow these instructions in reverse order.
This document was generated on 2022-05-26 06:14:17 AM (MST).
© iFixit — CC BY-NC-SA
www.iFixit.com


