KAWAI F-351 Triple Pedal Board Instruction Manual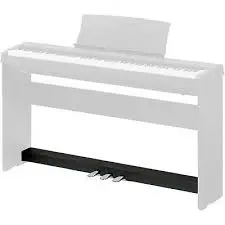
Assembly Instructions
- Do not use this F-351 for any purpose other than its intended use as a piano pedal unit.
- At the final stage of assembly, ensure that all screws are firmly tightened.
- Do not drag the product along the floor. Take care not to drop the product.
- Do not stand on the pedal unit or apply undue force on it.
- If any screws are found to be loose, tighten them immediately.
- Ensure that the adjuster bolt firmly touches the floor, supporting the pedal unit and preventing instability or damage.
- When moving the piano, raise the adjuster bolt and readjust after moving
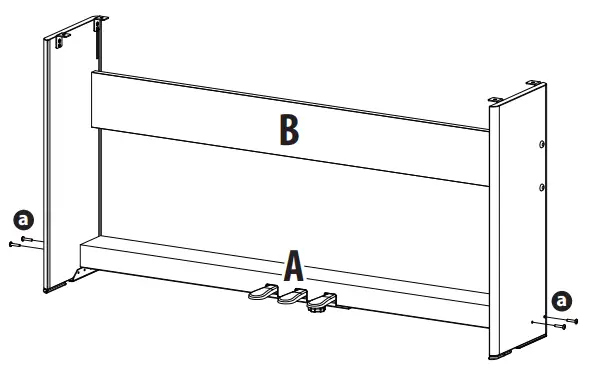
Included parts
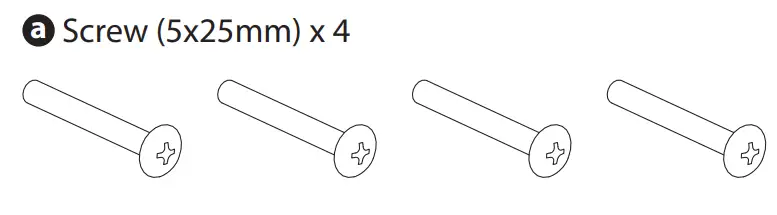
Before attempting to assemble the digital piano stand, please ensure that all parts below are included. A Phillips-head screwdriver (not included) will also be required in order to assemble the stand.
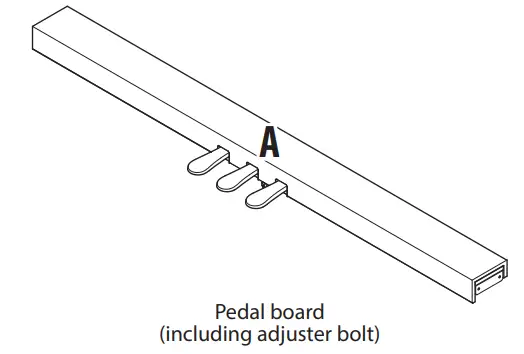
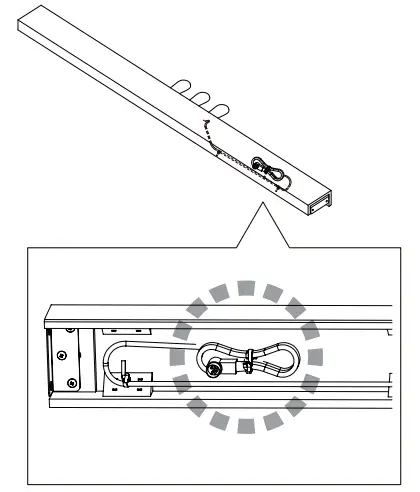
- Pull out the pedal cable
Unfasten and extend the pedal connection cable attached to the bottom of the pedal board A.
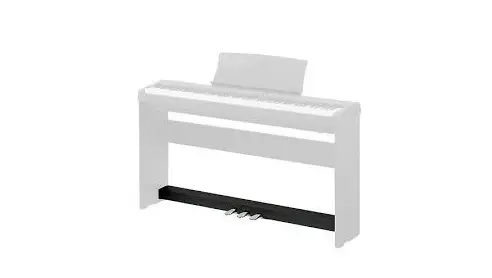
- Attach the pedal boardAto the stands (HML-2)
Fix the pedal board A to the stand using four screws a .
* When it is difficult to engage the pedal board with the stand, slightly loosen the screws fixing the back board B of the stand.
* Remove if any hole patches have been stuck to hide holes in the stand.
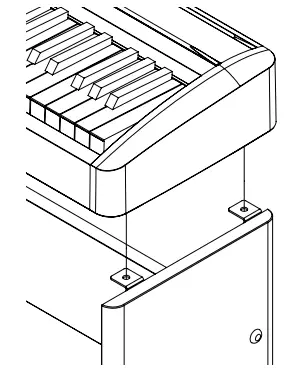
- Mounting the digital piano onto the stand
Carefully lift the digital piano onto the assembled stand.
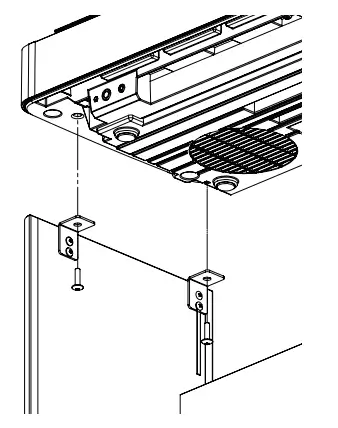
- Attaching the digital piano to the stand
Ensure that all four screws provided with HML-2 are firmly tightened.
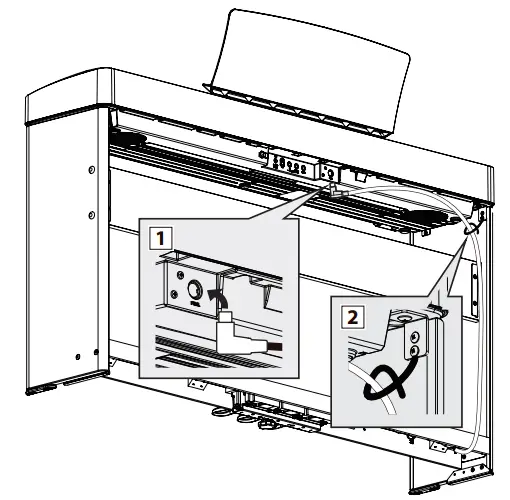
- Connecting the pedal cable
- Pass the pedal cable (extending from the rear of the pedal board) through the aperture to the front of the main body, and connect to the PEDAL terminal.
 Ensure that the pedal cable plug is facing the direction shown and correctly aligned.
 - Pass the cable through the hook provided at the back of the main unit.

- Pass the pedal cable (extending from the rear of the pedal board) through the aperture to the front of the main body, and connect to the PEDAL terminal.
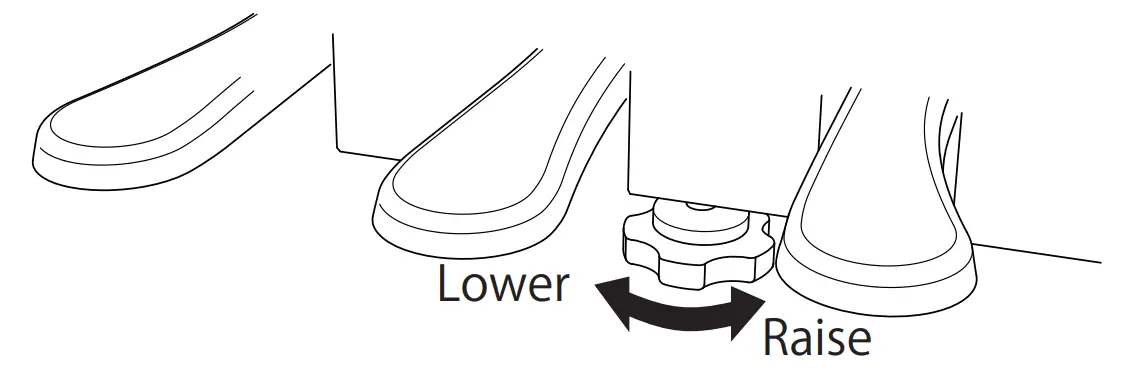
- Adjusting the adjuster bolt
A pedal support bolt is attached at the base of the pedal board to aid stability when the pedals are pushed. Turn the bolt anti-clockwise until it makes contact with the floor and supports the pedals firmly. If the pedal support bolt does not make contact with the floor, the pedal board may become damaged.