![]()

USER MANUAL

Installation Instructions
- Specifications
- Chassis Parts
- PSU Installation
- 2.5″ HDD Installation
- Cooling System Installation
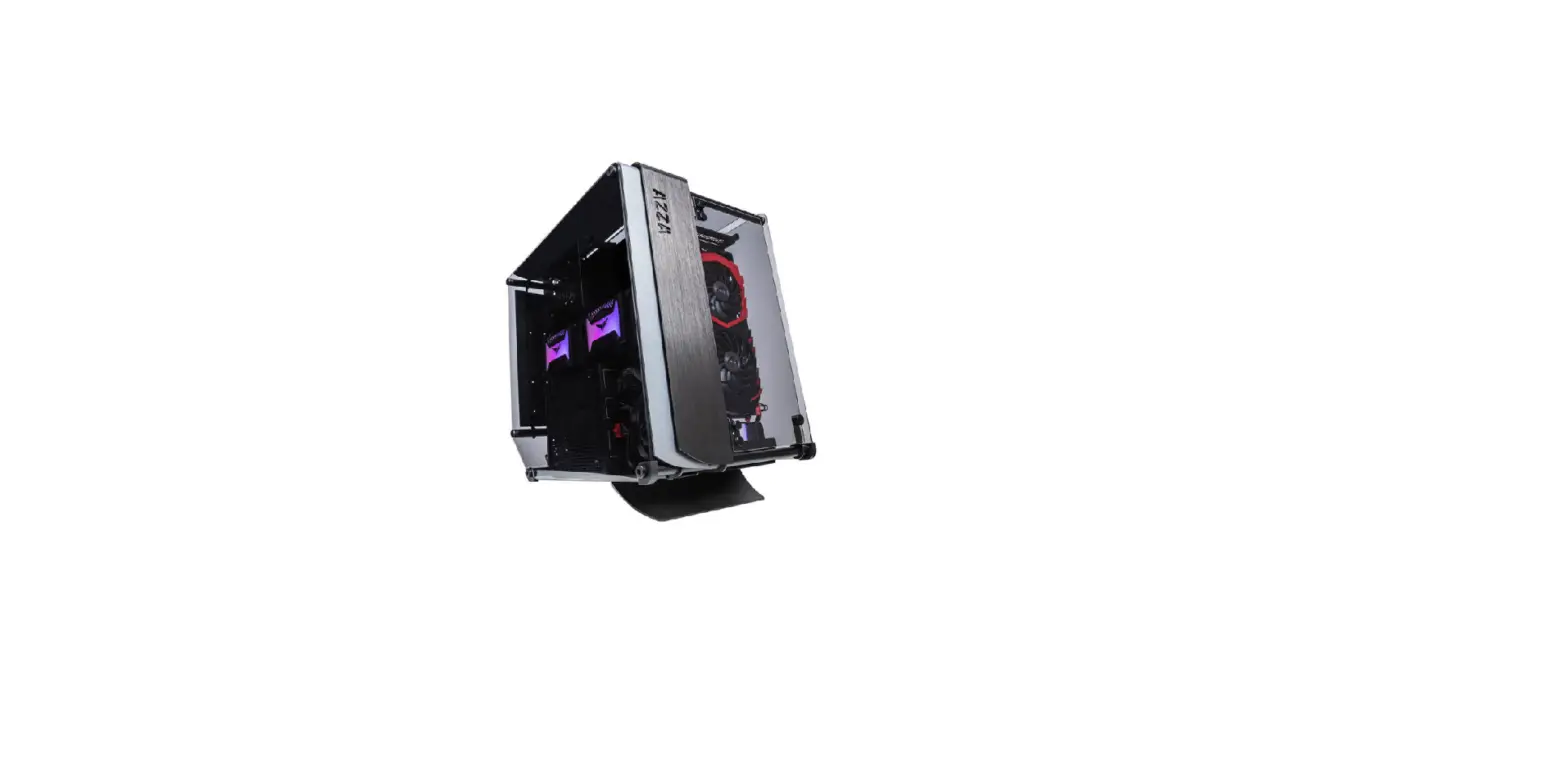
- View of Motherboard and Video card / Real-life preview of fully installed system.
- AZZA Hurricane II Digital RGB Fan Installation For Motherboard
- RF Remote
Specifications
| Model Name | Optima 803 |
| Model Number | CSAZ-803 |
| Specifications | |
| Type | ATX Mid Tower |
| Color | Black(exterior)/black(interior) |
| Side Panel Window | Left & Right Side of panel: Tempered Glass with rubber mounts Top & Front side of panel : Aluminum plate and Tempered Glass with rubber mounts |
| Max CPU Cooler Height | Up to 150mm |
| Max Video Card Length | Up to 320mm long Video card |
| Power Supply | Not Included |
| Motherboard Compatibility | ATX、Micro ATX、Mini ITX |
| Expansion | |
| External 5.25″ Drive Bays | 0 |
| Internal 2.5″ Drive Bays | Up to 6 |
| Internal 3.5″ Drive Bays | Up to 2 |
| Expansion Slots | 7 |
| Top Ports | Power Button |
| Cooling System | |
| Digital RGB Light Effects | All Digital RGB light devices controlled by RF Remote Standard configuration has an RF connector and a remote controller. If the motherboard has the WS2812B Individually Addressable RGB LED strip 5V connector, Digital RGB light devices can be connected with motherboard instead of the RF connector. |
| Physical Specifications | |
| Metal Chassis Dimensions (HxWxD) | 422 x 301 x 419 mm / 16.6 x 11.9 x 16.5 inches |
| Dimension with Case Stand(HxWxD) | 480 x 301 x 492mm / 18.9 x 11.9 x 19.4 inches |
| Weight | 11.3kg /25lbs |
| Features | |
| Tempered Glass on Four Sides Windows | High-quality tempered glass side window allows for clear visuals to inner components. Video card can be viewed from front. |
| Available Fan Ports | 2x120mm fan ports in the rear (2xHurricane II Digital RGB Fan included) 2x120mm fan ports on the bottom |
| Water Cooling | Supports radiators up to 240mm in the bottom and rear. |
| Power Supply Support | Bottom mounted ATX Power Supply |
| Accessories | 1xDigital RGB RF Remote 1x Designed Case Stand |
![]()
Chassis Parts
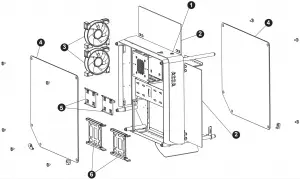
| 1 | Power Switch |
| 2 | Tempered glass top panel and front panel x2 |
| 3 | Hurricane II Digital RGB fan x2 |
| 4 | Tempered glass side panel x2 |
| 5 | 2.5″ SSD brackets x2 |
| 6 | 3.5″ HDD brackets x2 |
PSU Installation
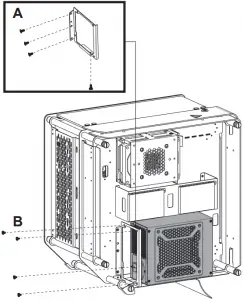
A. Remove the PSU plate from the case.
B. Lock PSU plate and PSU together, then assemble the PSU on the case.


