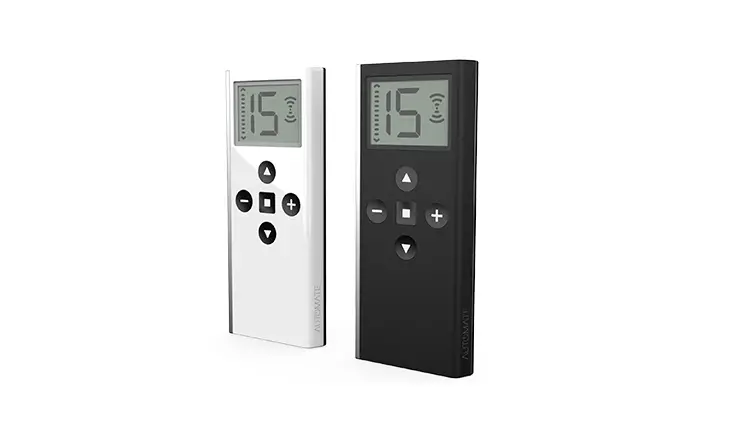
AUTOMATE Cutting Edge Push15 Remote Installation Guide
SAFETY
WARNING: Important safety instructions to be read before installation and use.
Incorrect installation or use can lead to serious injury and will void manufacturer’s liability and warranty. It is important for the safety of persons to follow the enclosed instructions. Save these instructions for future reference.
- Do not expose to water, moisture, humid and damp environments or extreme temperatures.
- Persons (including children) with reduced physical, sensory or mental capabilities, or lack of experience and knowledge, should not be allowed to use this product.
- Use or modification outside the scope of this instruction manual will void warranty.
- Installation and programming to be performed by a suitably qualified installer.
- Follow installation instructions.
- For use with motorized shading devices.
- Frequently inspect for improper operation. Do not use if repair or adjustment is necessary.
- Keep clear when in operation.
- Replace battery with correctly specified type.
WARNING: Do not ingest battery, Chemical Burn Hazard.
This product contains a coin/button cell battery. If the coin/button cell battery is swallowed, it can cause severe internal burns in just 2 hours and can lead to death.
Keep new and used batteries away from children. If the battery compartment does not close securely, stop using the product and keep it away from children.
If you think batteries might have been swallowed or placed inside any part of the body, seek immediate medical attention.
ASSEMBLY
Please refer to separate Rollease Acmeda System Assembly Manual for full assembly instructions relevant to the hardware system being used.
BATTERY MANAGEMENT
For battery motors; Prevent discharging the battery completely for extended periods, recharge as soon as the battery is discharged
CHARGING NOTES
Charge your motor for 6-8 hours, depending on the motor model, as per motor instructions
During operation, if battery is low, the motor will beep 10 times to prompt the user it needs charging.
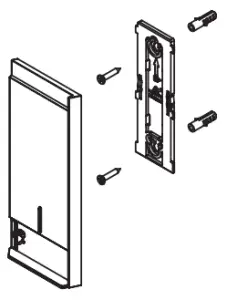
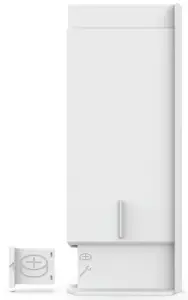
Use supplied fasteners and anchors to attach the base to wall.
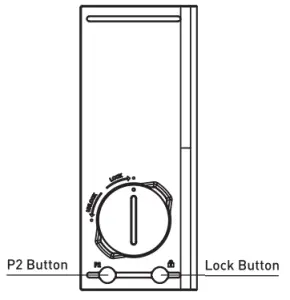
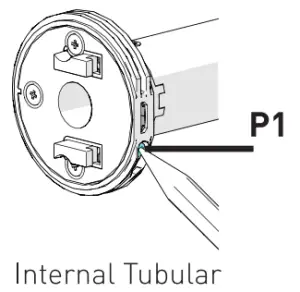
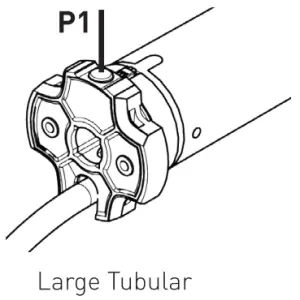
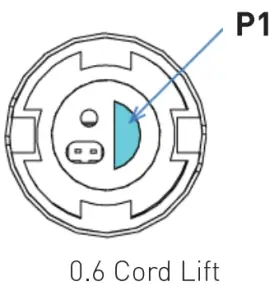
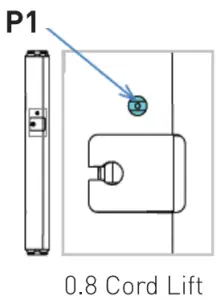
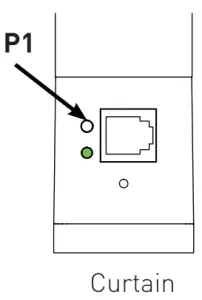
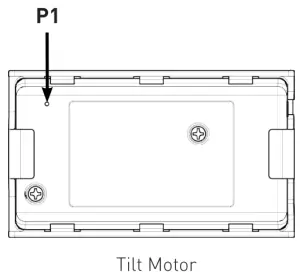
P1 LOCATIONS
HOW TO CHARGE LI-ION ZERO WIRE-FREE MOTOR
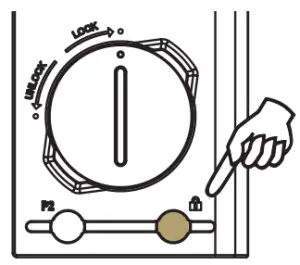
STEP 1 Rotate cover cap to expose motor head
STEP 2 Find nearest power source and plug in charger (use an extension cord if required)
STEP 3 Plug micro USB end into the motor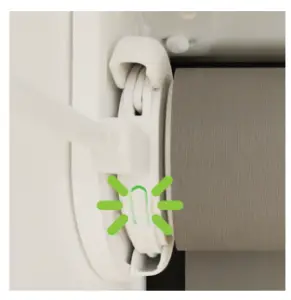
- Observe the green light flashing nd charge until the green light goes solid green
- Please note this may take up to eight hours depending on how flat your battery is
- Any mobile phone charger can also be used to charge your motor
STEP 4 Unplug and return cover cap to conceal motor head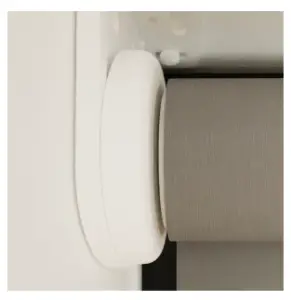
REPLACE BATTERY
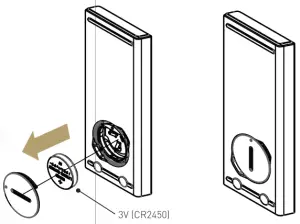
Twist the battery cover with coin/tool in the cradle, to Unlock and replace negative side facing up. provided the battery.
Replace the cover by turning the cover to the locked position.
ON REMOTE
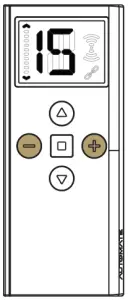
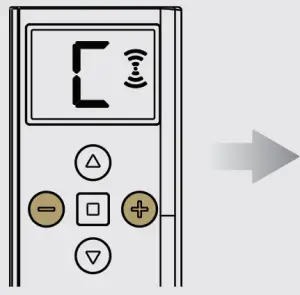
Step 1
Select the desired channel you wish to program by scrolling using the (+) or (-) Buttons.
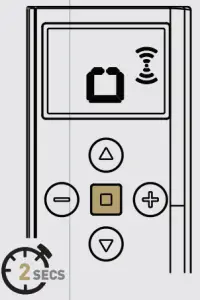
Step 2
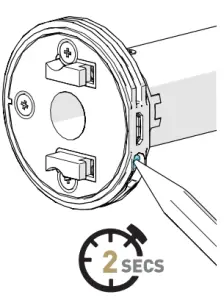
Internal Tubular Motor pictured. Refer to -P1 Locations” for specific devices
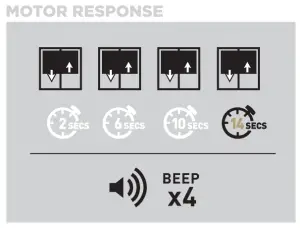
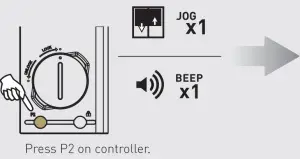
Press the P1 button on the motor for 2 Seconds until the motor responds as below
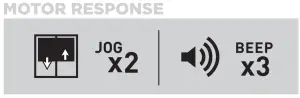
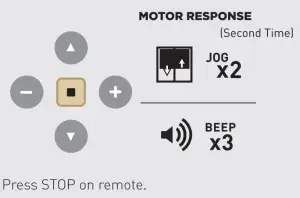
MOTOR RESPONSE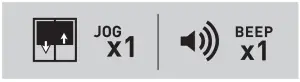
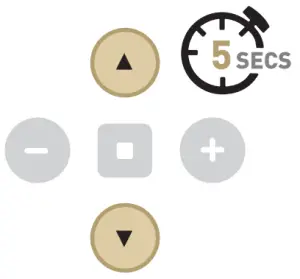
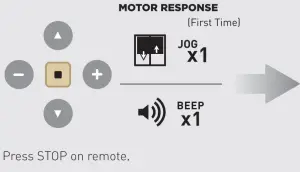
Within 4 seconds hold the stop button on the remote for 3 seconds. The motor will respond with Jog and Beep.
CHECK DURATION
STEP 3. Press up or down to check the motor direction. If correct skip to step 5.
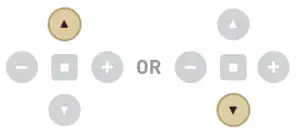
CHANGE DIRECTION
STEP 4. If the shade direction needs to be reversed; press and hold the up & down arrow together for 5 seconds until the motor Jogs.
Reversing motor direction using this method is only possible during initial set-up.

SET TOP LIMIT
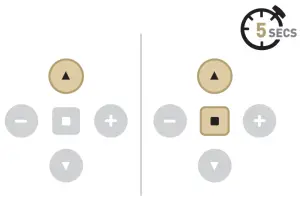
Move shade to desired top limit by pressing the up arrow repeatedly. Then press and hold up & stop together for 5 sec to save limit.
Tap the arrow several times or hold down if needed; press arrow to stop.
SET BOTTOM LIMIT
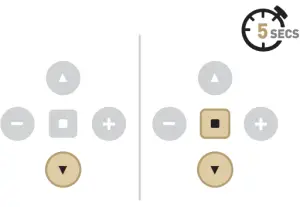
Move shade to desired bottom limit by pressing the down arrow repeatedly. Then press and hold down & stop together for 5 sec to save limit.
Tap the arrow several times or hold down if needed; press arrow to stop.
MOTOR RESET PROCEDURE
FACTORY RESET
To reset all settings in the motor press and hold the P1 Button for 14 seconds. you should see 4 independent jogs followed by 4x Beeps at the end.
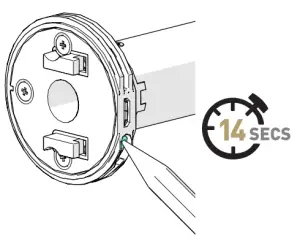
Internal. Tubular Motor pictured above. Refer to flP1 Locations” for specific devices
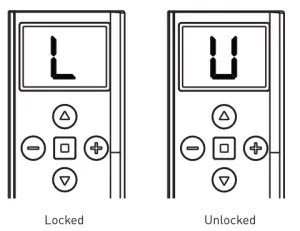
REMOTE STATE
Refer to DISABLE LIMIT SETTINGS for further details
Pressing the lock button will display the state of the remote.
Group programming mode
It is possible to add Individual Channels (1-4) to create Custom Groups lA-El
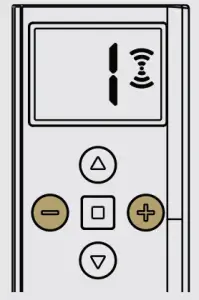
Step 1
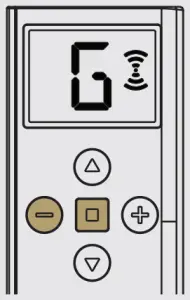
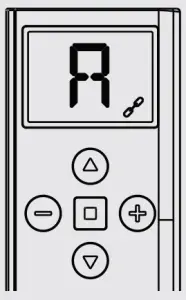
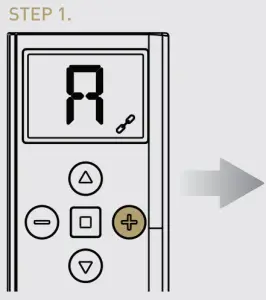
Cycle past Channel 1-15 and Select a Group to program from A-E.
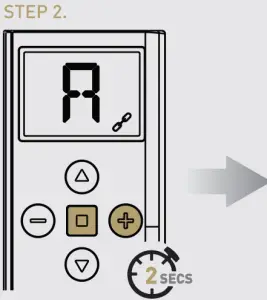
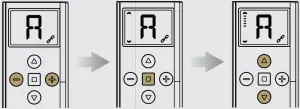
Step 2
Hold I-) and STOP buttons for 4 seconds. During this time will be displayed. Select a Group from A- E to program. Ilf no buttons are pressed for 90 seconds the remote will exit out of this mode)
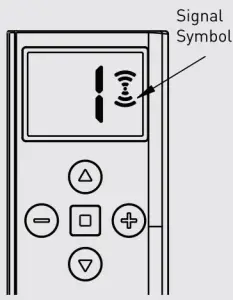
Step 3
Remote is now in Group Programming Mode. Signal Symbol will be shown and Individual Channel -1- will be displayed.
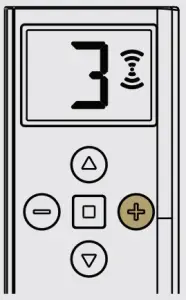
Step 4
Use I+) button to cycle to desired Individual Channel you want to add to that group (Channel 3 used as an example!
Note: Only (4-I button can be used to cycle through channels DO NOT USE I-) BUTTON TO SELECT A CHANNEL
Step 5
Use (-1 button to toggle on/off the inclusion into the Group Channel Note: Group Channel Indicator will be shown to indicate Channel is added)

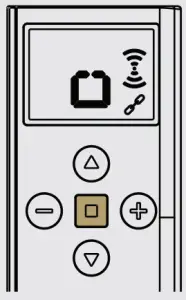
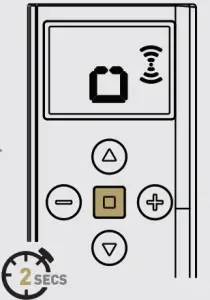
Step 6
Once desired Individual Channels have been added, press the STOP button to confirm changes. The screen above will be shown for 4 seconds
Step 7
The remote has now returned to Normal Mode. The Group Channel is ready to use
Group channel view mode
Cycle past Channel 1-15 and Select a Group Channel A-E to view
Once you on the Groups Channels that you would like to view Hold 1+) and STOP buttons for 2 seconds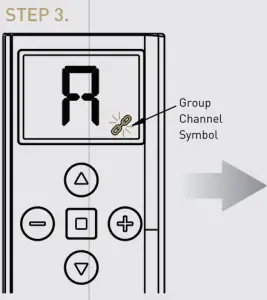
Remote is now in Group Channel Viewing Mode. Linked Symbol will flash and added Individual Channels will be dispalyed.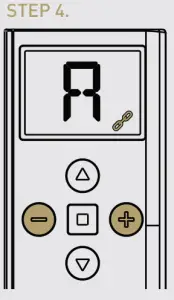
Use (+) and (-) buttons to scroll included channels.
Leveling control function
Select the desired Channel or Group you would like to control.
Double tap the stop button to enter level control mode Note: Side bar arrows appear
Now Press (UP) or (DOWN) to set the desired shade percentage. After 2 seconds the shade/s will move to the desired position.
Channel or group selection
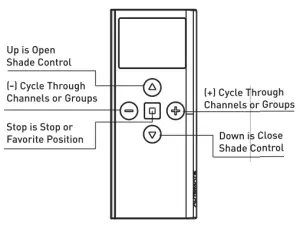
Press + to cycle through channels or groups.
Once you selected the desired channel or group, press (UP) or (DOWN) Buttons to control the shade.
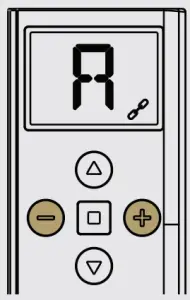
HIDE GROUPS
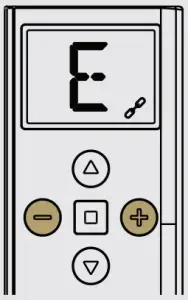
![]() Hold (+) and 1-) buttons for 5 seconds until “E” is displayed.
Hold (+) and 1-) buttons for 5 seconds until “E” is displayed.
Select 1+) or (-) to scroll to the group that you want to hide. Note: All groups above the selected group inclusively will be hidden.
Press and hold STOP to confirm. The letter “o” will be displayed.
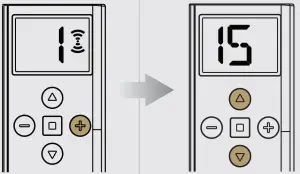
HIDE CHANNELS

![]() Hold (+) and (-) buttons for 5 seconds until “15” is displayed.
Hold (+) and (-) buttons for 5 seconds until “15” is displayed.
Select (+) or (-) and scroll through all channels that you want to hide. Note: All channels above the selected channel inclusively will be hidden.
Press and hold STOP to confirm. The letter “o” will be displayed.
Note: Ensure all shade programming for all motors is completed before locking the remote. User mode will prevent accidental or unintended changing of limits.)
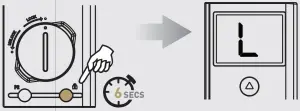
To lock the remote, press and hold the Lock Button for 6 seconds. (The letter “L” will be displayed).
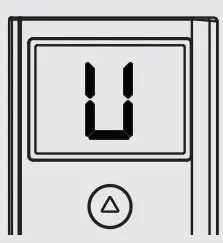
To Unlock the remote, press and hold the Lock Button again for 6 seconds. (The letter “U” will be displayed).
SET A FAVOURITE POSITION

Move shade to desired position by pressing UP or DOWN on the remote.
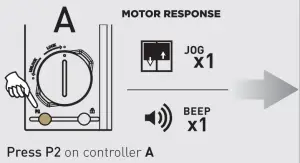
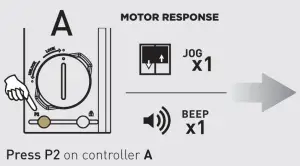
ADD OR DELETE CONTROLLER OR CHANNEL

FCC & ISED STATEMENT
This device complies with part 15 of the FCC Rules. Operation is subject to the following two conditions: (1)This device may not cause harmful interference, and (2) this device must accept any interference received, including interference that may cause undesired operation. Caution: Changes or modifications to this unit not expressly approved by the party responsible for compliance could void the user’s authority to operate the equipment.
NOTE: This equipment has been tested and found to comply with the limits for a Class B digital device, pursuant to part 15 of the FCC Rules. These limits are designed to provide reasonable protection against harmful interference in a residential installation. This equipment generates, uses and can radiate radio frequency energy and, if not installed and used in accordance with the instructions, may cause harmful interference to radio communications. However, there is no guarantee that interference will not occur in a particular installation. If this equipment does cause harmful interference to radio or television reception, which can be determined by turning the equipment off and on, the user is encouraged to try to correct the interference by one or more of the following measures:
- Reorient or relocate the receiving antenna.
- Increase the separation between the equipment and receiver.
- Connect the equipment into an outlet on a circuit different from that to which the receiver is connected.
- Consult the dealer or an experienced radio/TV technician for help.