qtx PAR-180 6x30W COB Par Light User Manual
![]() Caution: Please read this manual carefully before operating Damage caused by misuse is not covered by the warranty
Caution: Please read this manual carefully before operating Damage caused by misuse is not covered by the warranty
Introduction
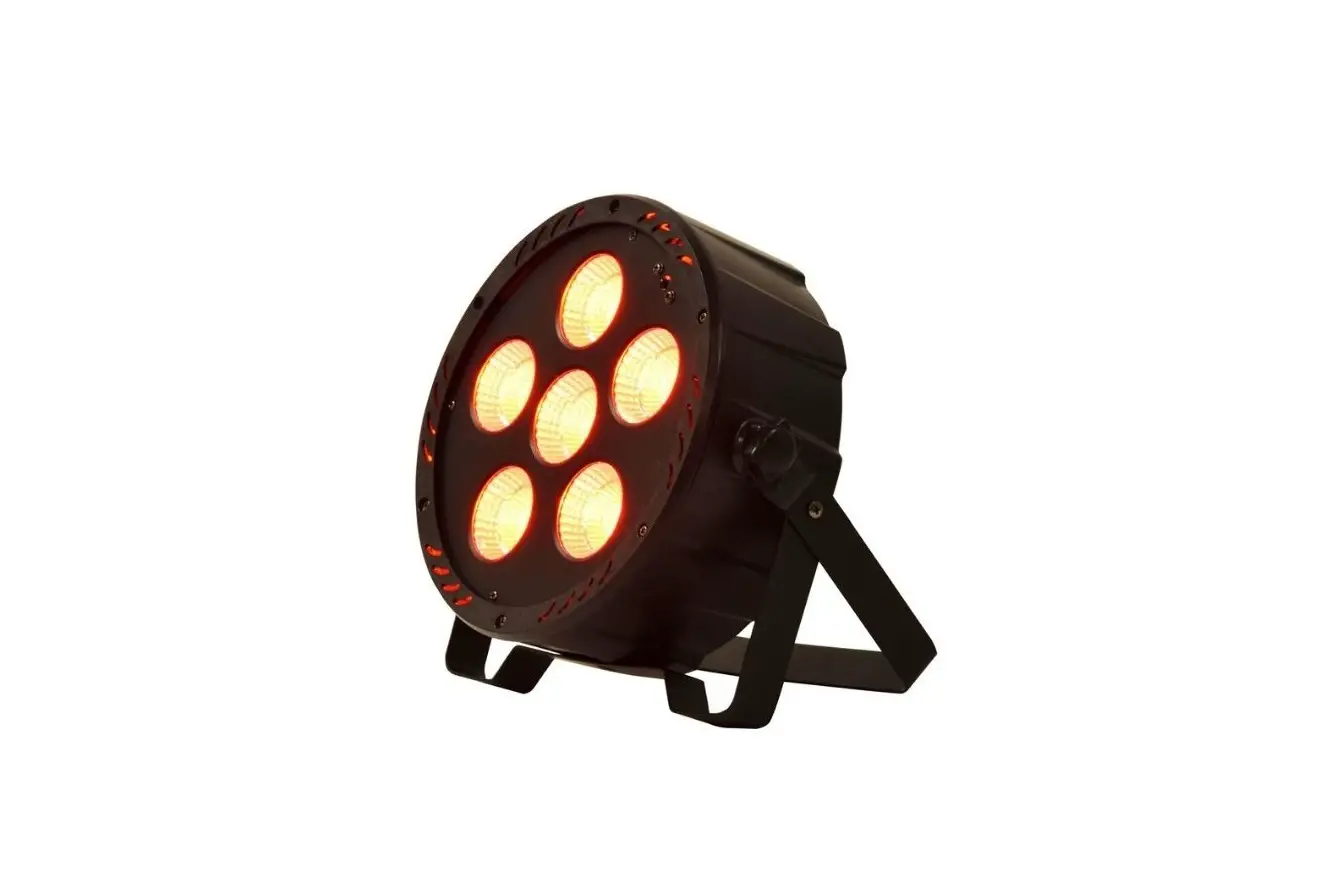
Thank you for your purchase of the QTX PAR-180 DMX PAR light. This fixture has been designed to provide powerful and colorful light coverage to a wide area for stage, theatre and corporate events. Please read and keep this manual for reference to gain the best results from this product and avoid damage through misuse.
SAFETY SYMBOL AND MESSAGE CONVENTIONS
![]() CAUTION
CAUTION
RISK OF ELECTRIC SHOCK
DO NOT OPEN
![]() This symbol indicates that dangerous voltage constituting a risk of electric shock is present within this unit
This symbol indicates that dangerous voltage constituting a risk of electric shock is present within this unit
![]() This symbol indicates that there are important operating and maintenance instructions in the literature accompanying this unit.
This symbol indicates that there are important operating and maintenance instructions in the literature accompanying this unit.
Warning
To prevent the risk of fire or electric shock, do not expose any components to moisture.
If liquids are spilled on the housing, stop using immediately, allow unit to dry out and have checked by qualified personnel before further use. Avoid impact, extreme pressure or heavy vibration to the case.
No user serviceable parts inside – Do not open the case – refer all servicing to qualified service personnel.
Safety
Check for correct mains voltage and condition of IEC lead before connecting to a power outlet.
Do not allow any foreign objects to enter the case or connectors.
Placement
- Keep away from damp or dusty environments
- Use the included tripod stand for installation onto a stable surface
- Ensure adequate air-flow around the fixture housings
- Ensure adequate access to controls and connections
Cleaning
- Use a soft cloth with a neutral detergent to clean the casing as required
- Use a vacuum cleaner to clear ventilation grilles of any dust or debris build-ups
- Do not use strong solvents for cleaning the unit
In the box
Please open the package carefully and check that all contents are present and in good condition.
Contact your retailer if any part is missing or broken.
- PAR-180 DMX PAR light
- Dual mounting bracket
- IR remote control
- IEC mains lead(s)
Rear panel
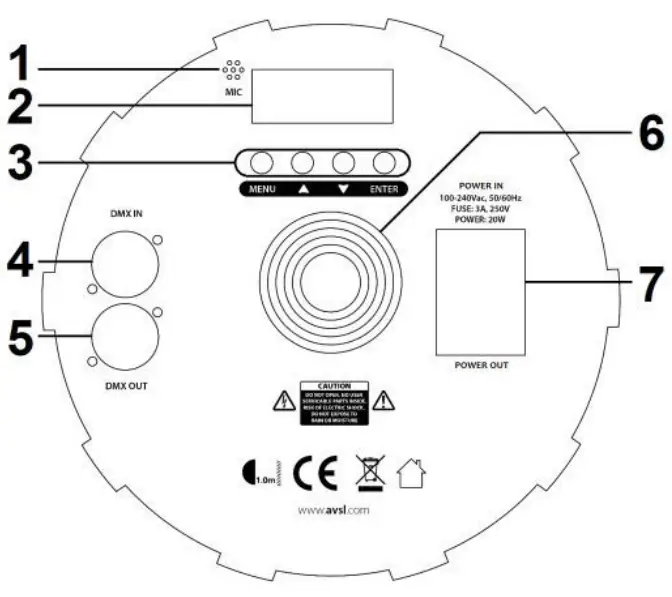
- Internal microphone (for sound activation)
- LED display
- Control panel
- DMX in XLR
- DMX out XLR
- Cooling fan vent
- IEC power inlet, outlet & fuse holder
| Press Menu | Press Up/Down | Press Enter |
 |  | DMX start address setting |
 |  | DMX channel mode – 3 channel or 7 channel |

|  | Sound activated colour change |
 | Sound activated colour strobe | |
 | Static red (see ST for Strobe speed) | |
 | Static green (see ST for Strobe speed) | |
 | Static blue (see ST for Strobe speed) | |
 | Static pure White (see ST for Strobe speed) | |
 | Static yellow (see ST for Strobe speed) | |
 | Static cyan (see ST for Strobe speed) | |
 | Static purple (see ST for Strobe speed) | |
 | Colour change (see SP for speed setting) | |
 | Colour Scroll (see SP for speed setting) | |
 |  | MUST BE TO AVOID STROBE ON STATIC COLOUR SETTINGS |
 | Strobe speed (slow to fast) for static color settings | |
 |  | Sound sensitivity setting (low to high) on |
 |  | Speed setting (slow to fast) on |
 |  | Red 0 – 100% Dimmer |
 |  | Green 0 – 100% Dimmer |
 |  | Blue 0 – 100% Dimmer |
 |  | Master 0 – 100% Dimmer for all static colour, auto & sound programs |
Installation
The PAR-180 is supplied with a dual hanging bracket, which can also be used as a free standing support.
When installing the fixture, ensure all fixings are secure, controls and connections are accessible and do not obstruct the rear cooling fan vent.
Operation
Static colour
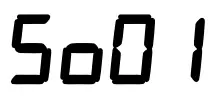
To select one of the preset static colours, press MENU until the display shows ![]() or
or ![]() (where “**” is a number).
(where “**” is a number).
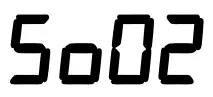
Press the UP/DOWN buttons until ![]() to
to![]() is displayed and press ENTER to select one of the static colours listed in the onboard menu section.
is displayed and press ENTER to select one of the static colours listed in the onboard menu section.
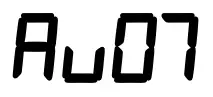
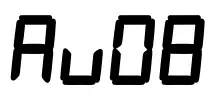
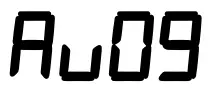
Auto programs
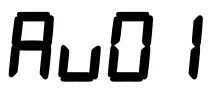
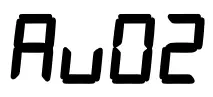
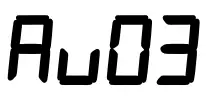
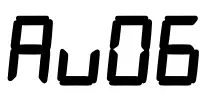
To select auto colour change or scroll, press MENU until the display shows ![]() or
or ![]() (where “**” is a number). Press the UP/DOWN buttons until
(where “**” is a number). Press the UP/DOWN buttons until ![]() or
or![]() is displayed and press ENTER to select. Press the MENU button again until the display shows
is displayed and press ENTER to select. Press the MENU button again until the display shows ![]() enters the speed adjustment for the program, which can be set using the UP/DOWN buttons.
enters the speed adjustment for the program, which can be set using the UP/DOWN buttons.
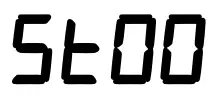
Strobe setting
In static colour mode, pressing MENU until ![]() is displayed (where “**” is a number) enters the strobe mode.
is displayed (where “**” is a number) enters the strobe mode. ![]() is no strobe, whereas
is no strobe, whereas ![]() strobe speeds can be set using the UP/DOWN buttons. The strobe effect will flash the selected static colour.
strobe speeds can be set using the UP/DOWN buttons. The strobe effect will flash the selected static colour.
Sound-to-light
To select the sound-to-light function, press MENU until the display shows ![]() (where “xx” is a number), press the UP/DOWN buttons until
(where “xx” is a number), press the UP/DOWN buttons until ![]() or
or![]() is displayed and press ENTER to select.
is displayed and press ENTER to select. ![]() is a sound activated colour change and
is a sound activated colour change and ![]() is a sound activated colour changing strobe effect.
is a sound activated colour changing strobe effect.
Master/slave mode
To use in Master/Slave mode, connect PAR-180 units with XLR cables from DMX out to DMX in as a daisy chain. On the Master unit (first in the daisy chain), using the 4 control buttons on the back panel, select your chosen program. All subsequent units in the daisy chain should be set to DMX address ![]() to set them up as Slave units. These will then mimic the output of the Master unit.
to set them up as Slave units. These will then mimic the output of the Master unit.
DMX mode
To control the fixture via a DMX controller, simply connect the DMX signal source (controller) to the ‘DMX in’ of the unit using a balanced XLR lead. Additional fixtures can be controlled by the same DMX signal by connecting an XLR cable from DMX out of the first unit to DMX in of the second unit, DMX out from the second unit to DMX in of the third unit and so on… For long daisy chains, it is advised to use a DMX terminator plug on DMX out of the last fixture.
Press the UP/DOWN buttons to set the DMX start address![]()
DMX 3-channel mode
| Channel | DMX Value | Function |
| CH1 | 001 – 255 | Red 0-100% |
| CH2 | 001 – 255 | Green 0-100% |
| CH3 | 001 – 255 | Blue 0-100% |
DMX 7-channel mode
| Channel | DMX Value | Function |
| CH1 | 001 – 255 | Red 0-100% (Ensure CH5 has DMX value of +021) |
| CH2 | 001 – 255 | Green 0-100% (Ensure CH5 has DMX value of +021) |
| CH3 | 001 – 255 | Blue 0-100% (Ensure CH5 has DMX value of +021) |
| CH4 | 001 – 255 | Master dimming for CH1, CH2 & CH3 (0-100%) |
|
CH5 | 001 – 050 | No Function |
| 051 – 100 | Colour Jump | |
| 101 – 150 | Colour Fade in/out | |
| 151 – 200 | Colour Scroll | |
| 201 – 255 | Sound activation | |
| CH6 | 001 – 255 | Speed Control for CH5 Auto programs |
| CH7 | 001 – 255 | Strobe (slow to fast) |
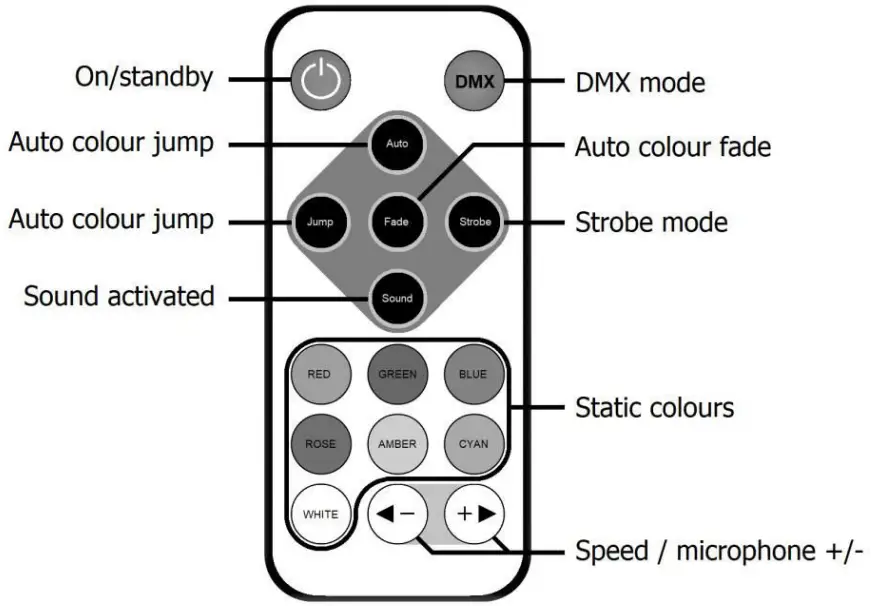
Remote control
The PAR-180 is supplied with an I.R. remote control for quick access to most of the basic functions of the fixture.
This must be aimed at the front of the fixture where there is a remote receiver and has a maximum range of approximately 4m.
Controls are listed on the layout drawing opposite
Specifications
| Power supply | 100-240Vac, 50/60Hz (IEC) |
| Power consumption | 200W max. |
| Fuse rating | 3A |
| Illuminance | 1220lux @ 2m |
| Beam angle | 60° |
| Projection distance | 15m |
| LED: quantity | 6 x 30W RGB COB (chip-on-board) |
| DMX channels | 3 or 7 channels |
| Dimensions | 100 x 250mmØ |
| Weight | 1.5kg |
| LED: safety standard | BSEN62471:2008 |
Troubleshooting
| No power (mains) | Check mains voltage is correct and outlet is switched on |
| Check IEC lead and fuse (if fuse continually blows, refer to your dealer) | |
| No LED display | Press any control panel button and check LED setting in menu |
| No light output | Check control panel mode settings |
| Check DMX settings from controller (dimmer levels, blackout etc.) | |
| No strobe output | Check strobe settings on control panel or from DMX controller |
| Unresponsive to DMX | Check that unit is in DMX mode |
| Check DMX controller is not set to black out | |
| Check DMX controller is on correct fixture/page | |
| Check master dimmer value | |
| Check correct DMX address is set | |
| Check DMX connection and leads |
This product is classed as Electrical or Electronic equipment and should not be disposed with other household or commercial waste at the end of its useful life. The goods must be disposed of according to your local council guidelines. Errors and omissions excepted. Copyright(c) 2021 AVSL Group Ltd, Unit 2 Bridgewater Park, Taylor Road, Trafford Park, Manchester. M41 73Q.
AVSL (Europe) Ltd, Unit 3D North Point House, North Point Bus. Park, New Mallow Road, Cork, Ireland.


l Ethernet Led Tower Light User Manual")


