![]() QUICK START GUIDE
QUICK START GUIDE
For installation on e-Series
Universal Robots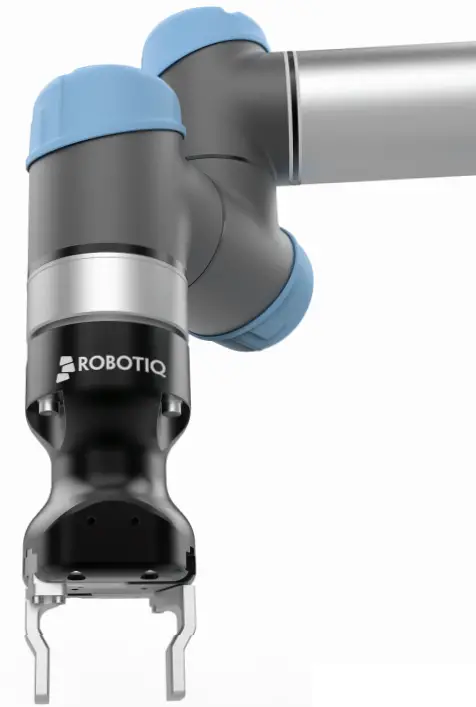
THANK YOU FOR CHOOSING ROBOTIC
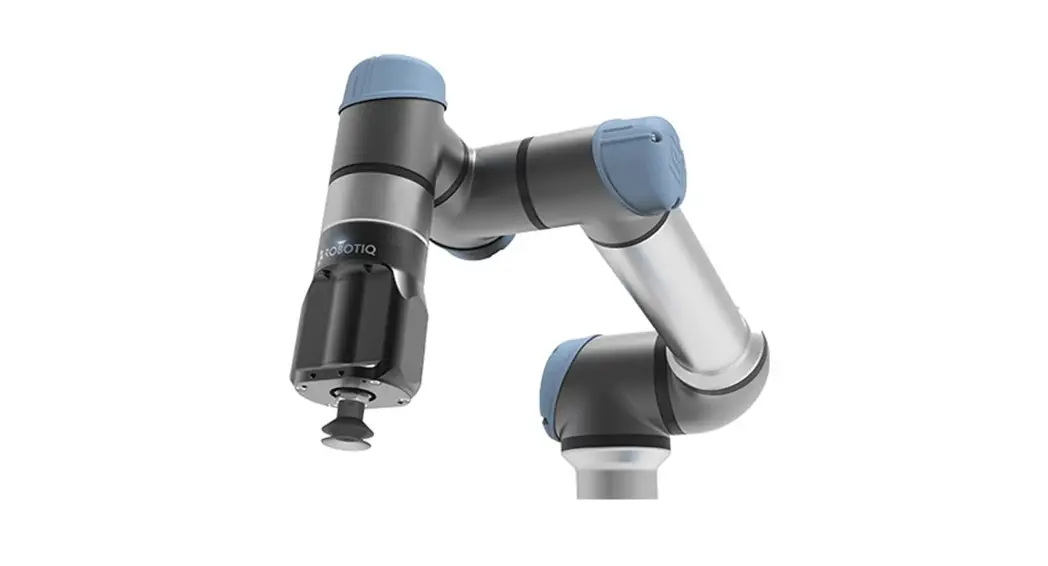
This step-by-step guide will allow you to install and use your Hand-E Gripper on e-Series Universal Robots.
 WHAT IS SUPPLIED?
Standard upon delivery of a Universal Robots kit:
Hand-E………………………….(HND-GRP)
Gripper Coupling……………………………………(GRP-ES-CPL-062)
Fingertip Starting Kit……………………………………….. (HND-TIP-START-KIT)
Connection Protector Kit………………………(GRP-ES-CPL-PRO)
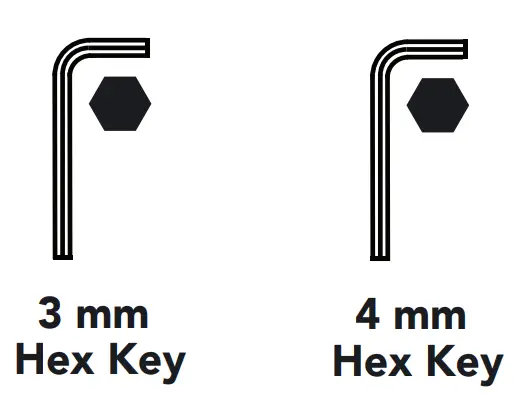
 TOOLS YOU NEED
 GET THE LATEST
Visit: support.robotiq.com
- Get the up-to-date instruction manual (PDF or web browser).
- Get the corresponding Robotiq_Grippers-X.X.X.urcap.
- Download the .urcap file on a USB stick.
![]() PLEASE READ THE INSTRUCTION MANUAL BEFORE OPERATING THE GRIPPER.
PLEASE READ THE INSTRUCTION MANUAL BEFORE OPERATING THE GRIPPER.
 MOUNTING
- Mount the coupling (GRP-ES-CPL-062) on your robot arm. Align with the provided dowel pin.
- Secure using the provided M6 screws and tooth lock washers.
- Mount the Gripper (HND-GRP) on the coupling. Align with the dowel pin.
- Secure using the provided M5 screws and tooth lock washers.
- Plug the coupling cable in the robot’s wrist connector.
- Cover the connection using the protector and the provided M4 screws.

Select the connection protector corresponding to your robot model in the GRP-ES-CPL-PRO kit.
 SOFTWARE INSTALLATION
- Have a USB stick that contains the .urcap file (step 3).
- Insert the USB stick in the robot’s teach pendant.
- Tap the triple bar icon in the upper right corner and select the System menu on the left.
- Tap the URCaps submenu and then tap the + sign at the bottom of the screen.
- Open Robotiq_Grippers-X.X.X.urcap.
- Tap the Restart button to activate the URCap
ACTIVATE THE GRIPPER
Gripper Activate Node
- Tap the Installation button at the top of the screen.
- Tap the URCaps button in the navigation pane on the left.
- Select Gripper in the dropdown list.
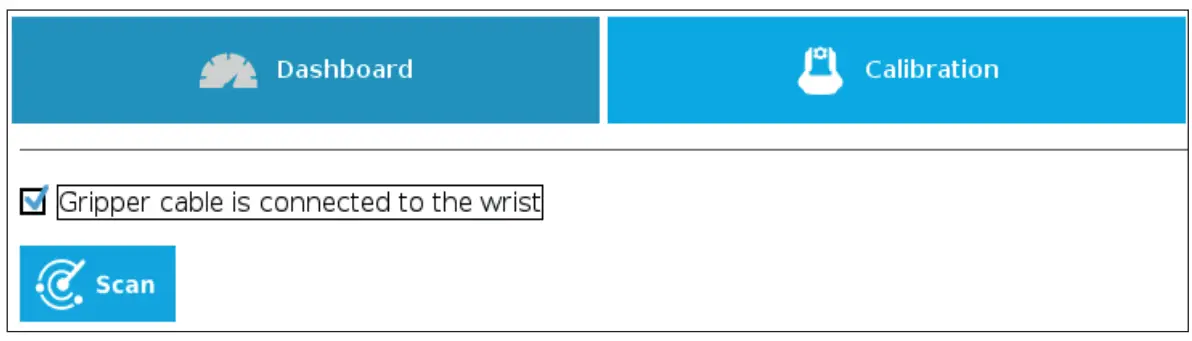
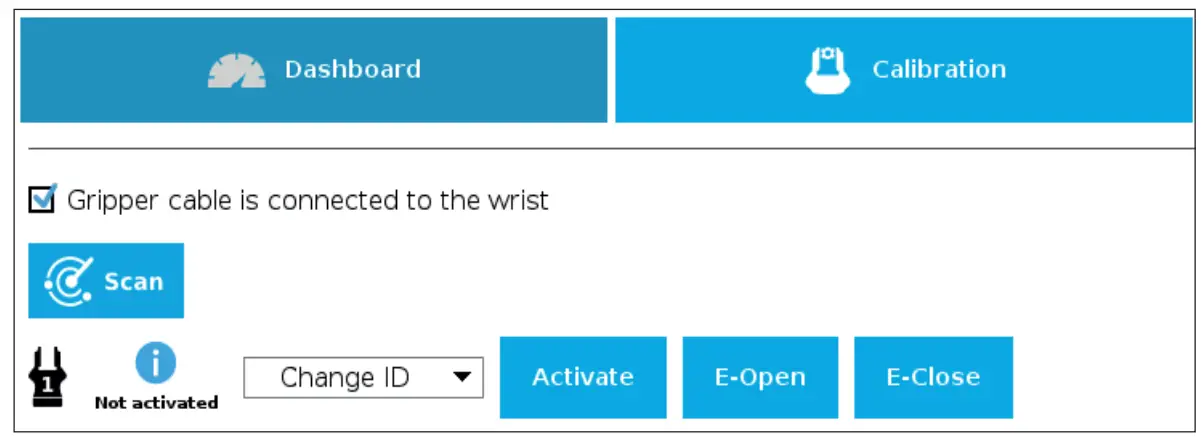
- Go to the Dashboard tab.
- Check the Gripper is connected to the wrist checkbox.
- Tap the Scan button to locate any connected Gripper.

- Once the Gripper is located, tap the Activate button.

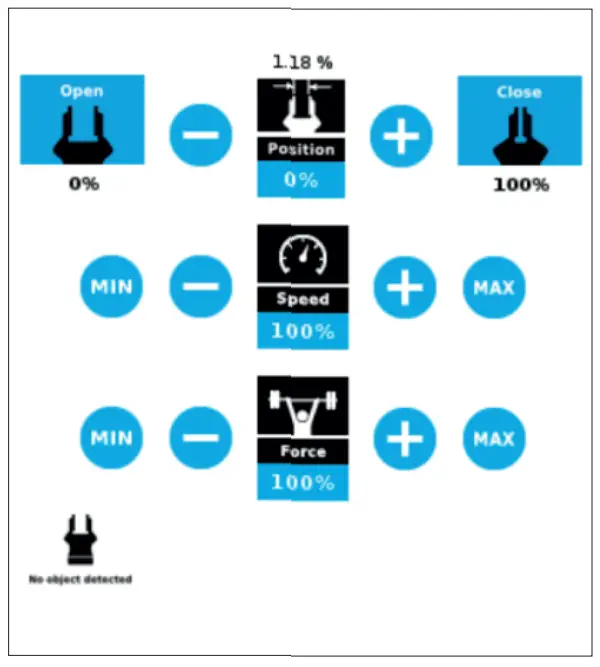
- Tap the UR+ button to expand the Gripper Toolbar.
- The Gripper toolbar allows you to jog and test the Gripper. For more information, refer to the instruction manual.

HOW TO CALIBRATE THE GRIPPER
- Go to the Installation tab, tap the URCaps menu on the left and select Gripper.
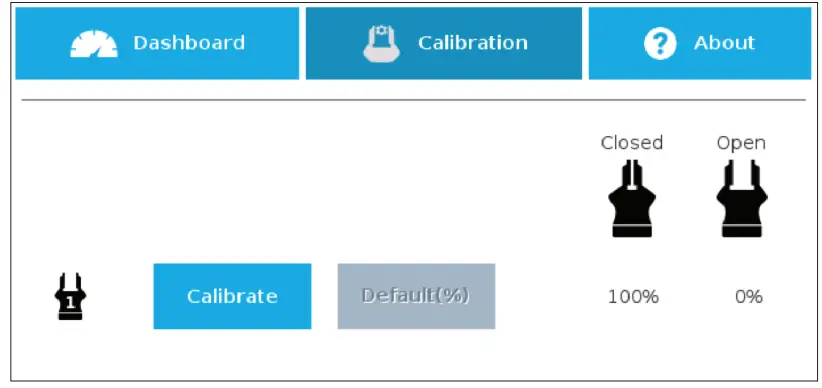
- Tap the Calibration tab.
- Tap the Calibrate button next to the Gripper icon to start the Calibration wizard.

- The wizard prompts the user to fully close the Gripper, regardless of the type of fingers/fingertips used.
- Measure the distance between the fingers/fingertips and enter the measurement in the appropriate box.
- Tap the Continue button.
- The user is then asked to fully open the Gripper.
- Measure the distance between the fingers/fingertips and enter the measurement in the appropriate box.
- Tap the Continue button to complete the Calibration wizard.
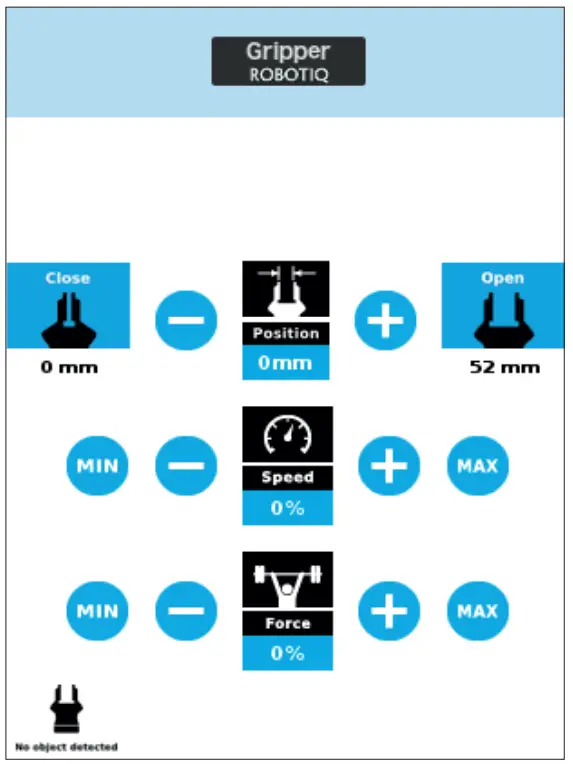
- Tap the UR+ button to expand the Gripper Toolbar.
- The Gripper position measurements can either be displayed in millimeters or inches, depending on the PolyScope settings used.

- Depending on the PolyScope settings used, the Gripper position measurements can either be displayed in metric or imperial units.
8. USE NODES TO PROGRAM WITH THE GRIPPER
Gripper Node
- Tap the Program button at the top of the screen.
- Tap the URCaps button in the navigation pane on the left.
- Select Gripper in the dropdown list.
- Go to the Command tab to edit your Gripper’s action.
Grip Check Node
- Tap the Program button at the top of the screen.
- Tap the URCaps button in the navigation pane on the left.
- Select Grip Check in the dropdown list.
- Go to the Command tab to edit the node.
- Select a condition (If the object is detected vs. If the object is not detected).
- If applicable, enter the object dimension for validation.

elearning.robotiq.com support.robotiq.com
[email protected]
T: 1.418.380.2788 option 3
June 2021 X-990036-B


