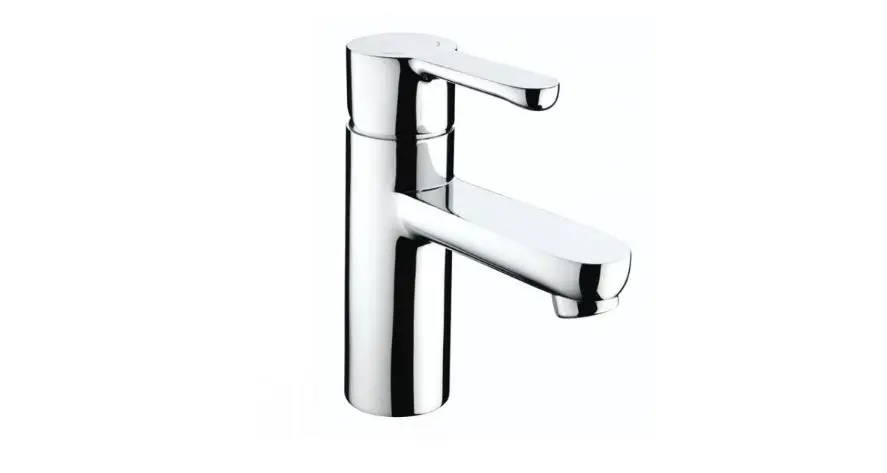
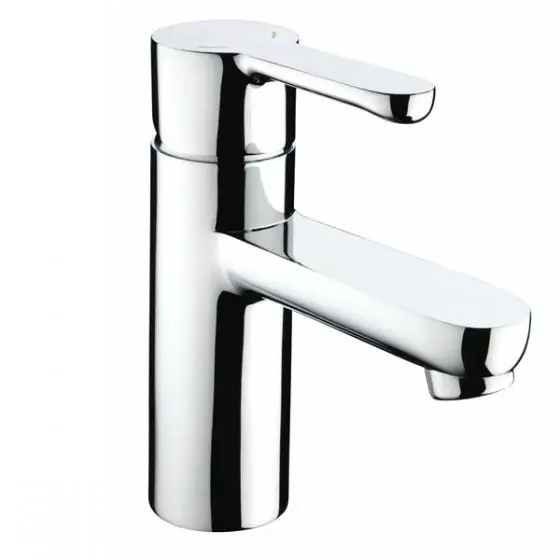
BRISTAN NR BASNW C Nero Basin Mixer Tap
Installation Instructions & User Guide
Please leave these instructions with the end-user
Specifications
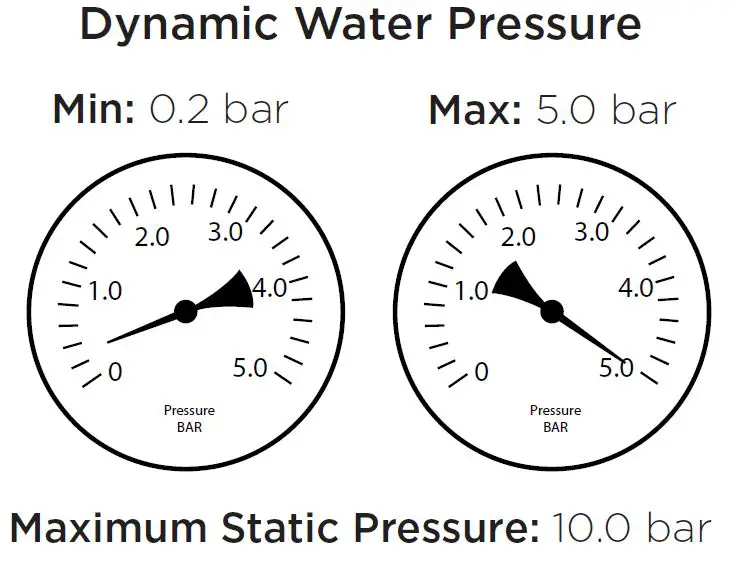
Dynamic Water Pressure
Inlet Water Temperature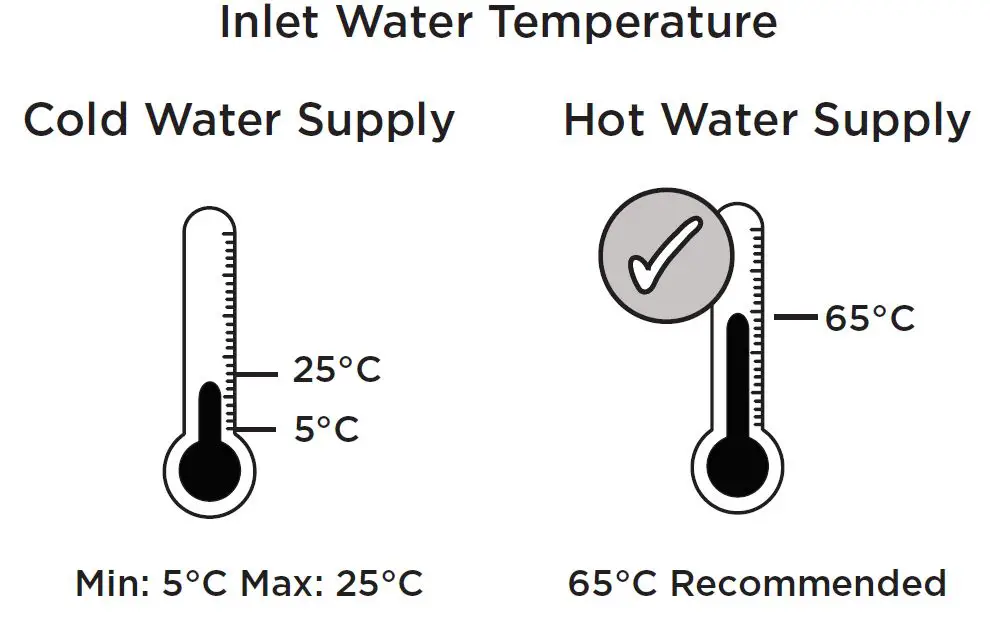
Tools You’ll Need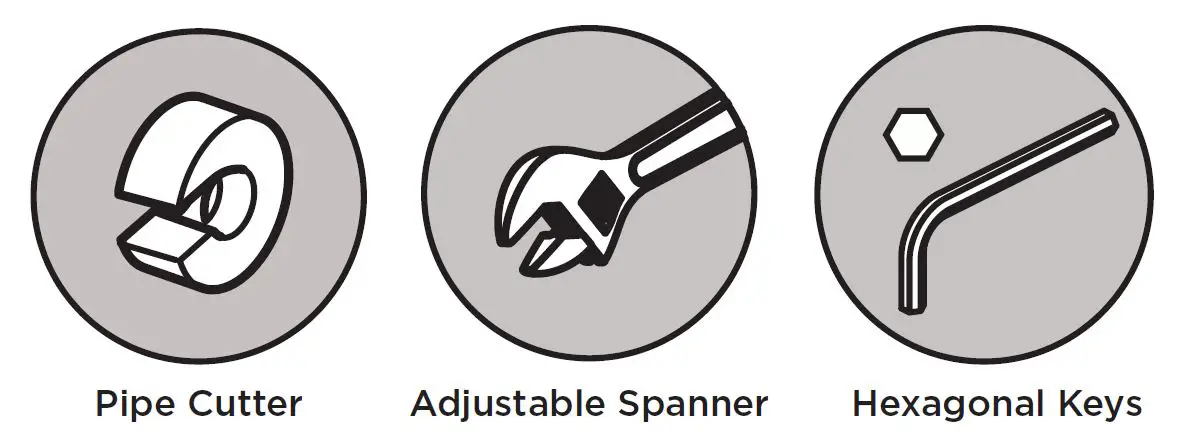
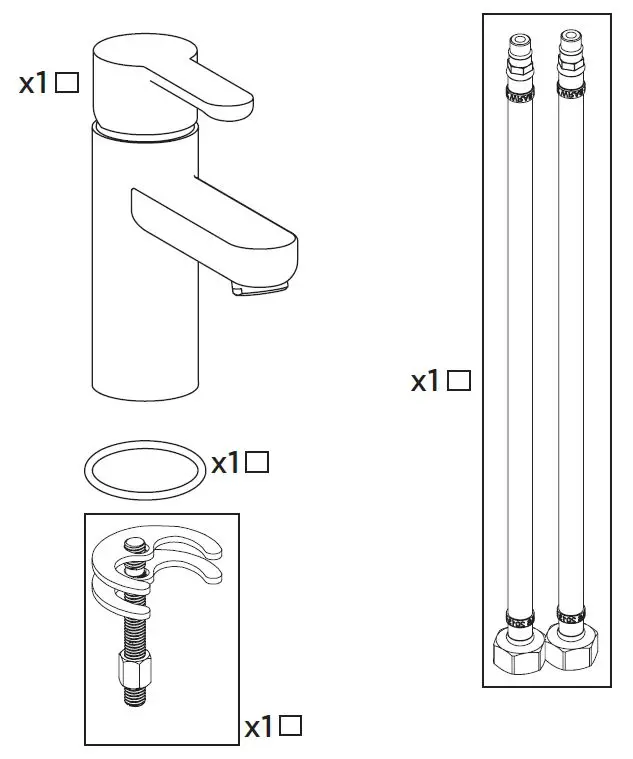
Pack Contents
Spare Parts
To replace any spare parts for your tap, why not scan the QR Code or visit www.bristan.com and search for your product.
Installation
- STEP 1
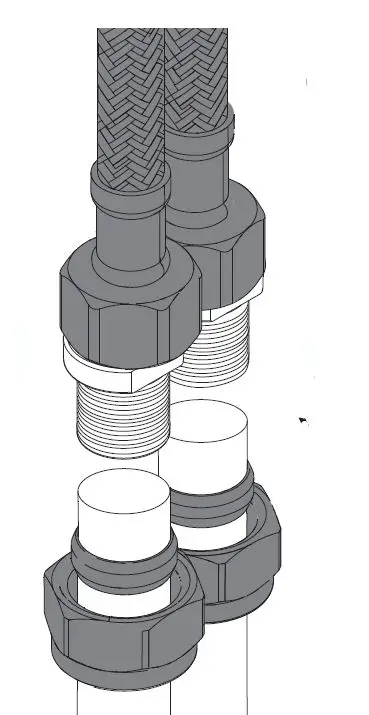
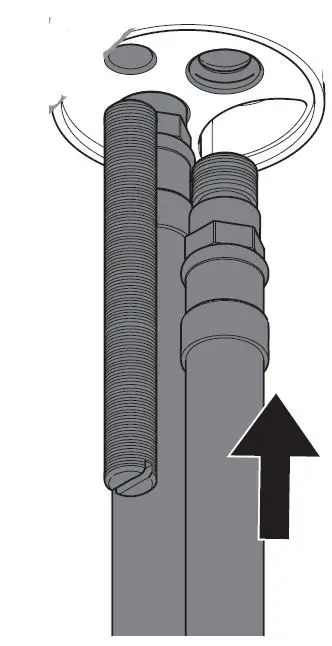 Screw in the flexible tails by hand.
DO NOT OVERTIGHTEN. - STEP 2
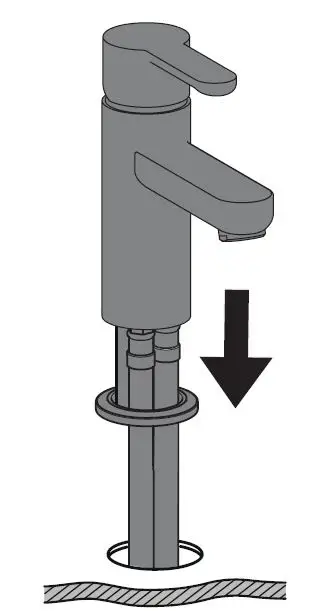 Fit the tap to the basin, ensuring the base washer is in place.
 - STEP 3
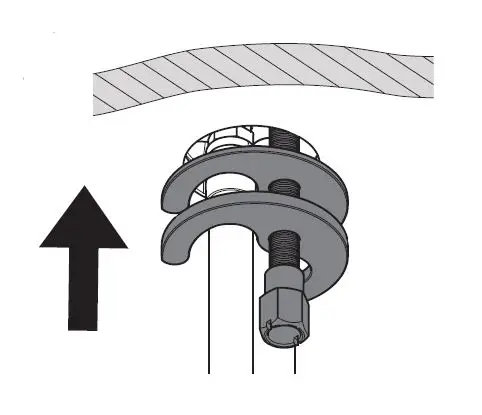 Secure the tap to the basin by using the fixing kit.
 - STEP 4
 Connect the hot and cold water supplies.
REMEMBER
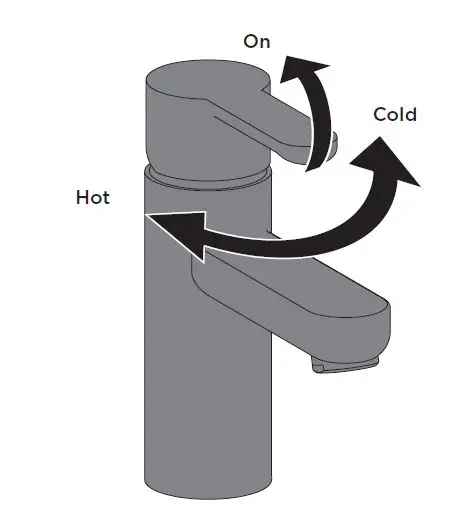
Hot on the left, cold on the right
REMEMBER
To fit isolation valves for maintenance purposes - STEP 5
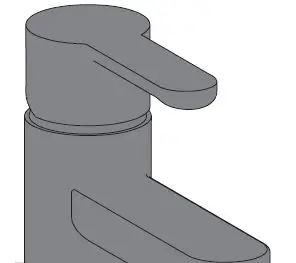
 Your tap is now ready for use.
IMPORTANT
Turn on water supply for a few minutes and check all joints connection for any leaks
 Your tap is now ready for use.
Prior to Installation
All products manufactured and supplied by Bristan are safe to use provided that they are installed, operated and receive regular maintenance in accordance with these instructions.
This product needs to be installed in accordance with, and meet the requirements of the Water Supply (Water Fittings) Regulations 1999 and current by-laws. For full Installation Requirements & Notes (IRN) please visit wras.co.uk/directory.
Isolation valves must be fitted to the inlet water supplies to ensure ease of future maintenance.
Before installing this product the water supply must be thoroughly flushed in order to remove any swarf, solder etc. This product must not be modified in any way as this will invalidate the guarantee.
Full access must be made available for future maintenance/servicing purposes.
If in doubt, contact a registered plumber or your Local Water Authority or the Secretary of the Institute of Plumbing,
address as follows:- The Institute of Plumbing, 64 Station Lane, Hornchurch, Essex, RM12 6NB, Tel: 01708 472791
Operation
Flexible Tail Positions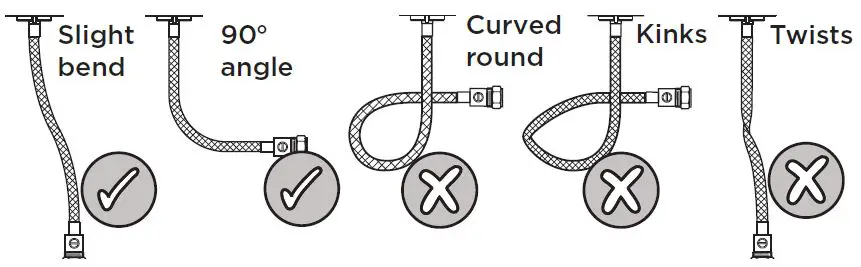
General Cleaning
Bristan products are made from premium materials, with hand polishing and electroplated finishes.
Your taps or shower should be regularly cleaned with warm water, a mild pH-neutral liquid soap, and polished with a soft cloth. Any residues from soap, toothpaste, shampoos and shower gels can cause blemishes if not rinsed off straight after use.
Household bleaches and cleaners contain harsh chemicals and may damage the surface finish. Avoid using abrasive cloths, scouring pads, scrub sponges, steel wool
or anything similar.
Some surfaces such as nickel and pewter may be affected by the dye found in some cloths, so it is also important to avoid hanging cloths on spouts.
Servicing Your Tap
We recommend servicing your tap at least once every year to prolong its life. To see a video showing how to remove the cartridge for servicing, scan the QR code with your smart phone or tablet. Alternatively visit www.youtube.com/BristanTV
Maintenance – Clean/Replace Outlet
- STEP 1
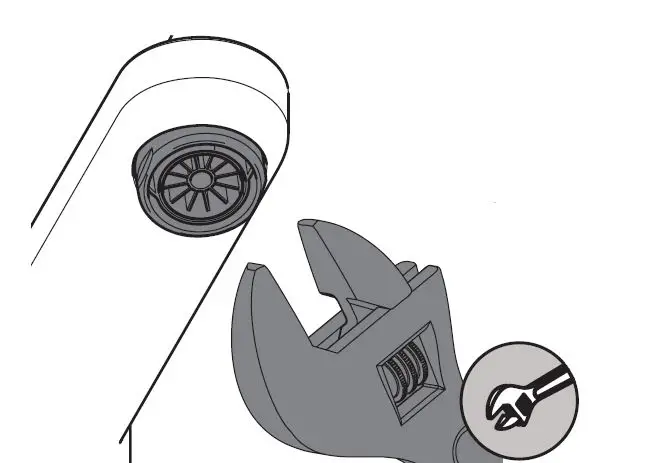 Unscrew the flow straightener.
IMPORTANT
Isolate the water supply before starting!
- STEP 2
 Place flow straightener parts in a suitable solution and soak until fully de-scaled.
 - STEP 3
 Reverse the maintenance steps to replace the flow straightener.
Maintenance – Cartridge Cleaning
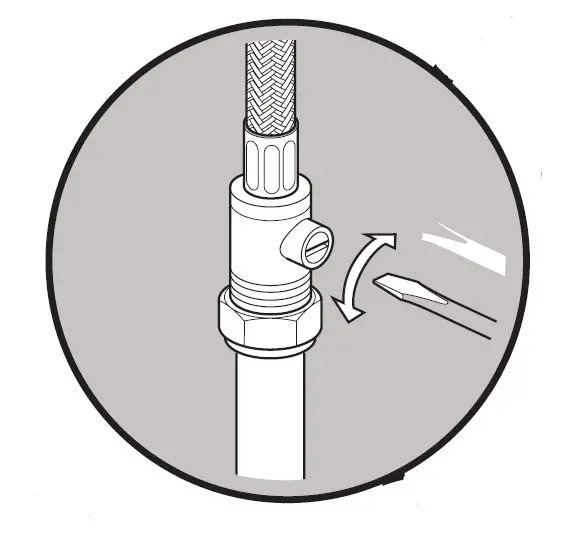
- STEP 1
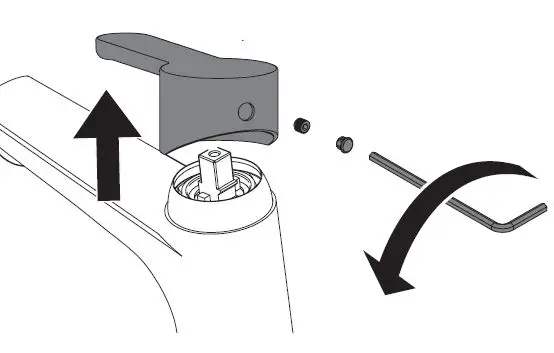 Remove handle cap and loosen the handle grub screw. Remove handle.
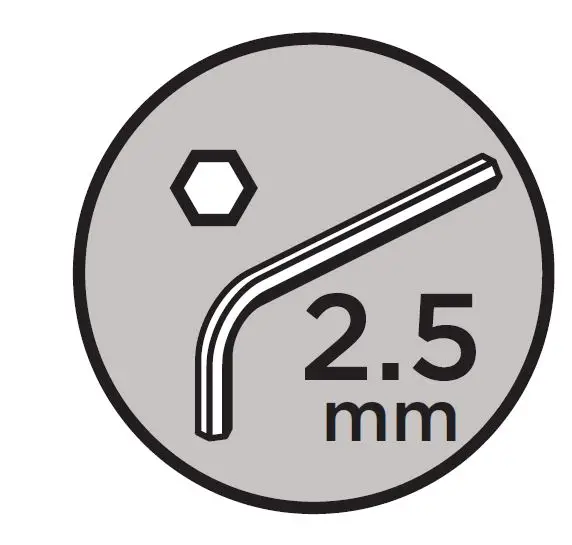
- STEP 2
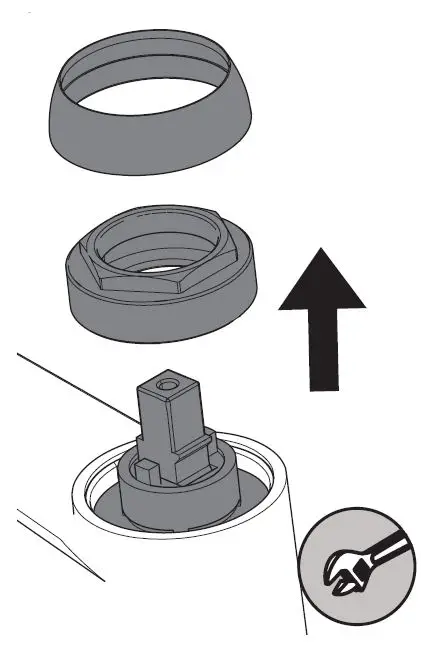 Remove the adaptor and cartridge.
 - STEP 3
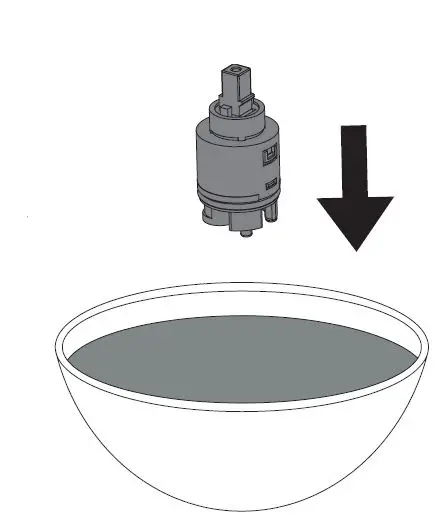 Place cartridge in a suitable solution and soak until fully de-scaled.
 - STEP 4
 Reverse the maintenance steps to replace the handle.
 Reverse the maintenance steps to replace the handle.
Troubleshooting
| Troubleshooting | |||
| Symptom | Cause | Remedy | |
|
No flow or low flow rate | Partially closed isolation valve. | Open isolation valve. | |
| Instantaneous water heater cycles on and off as flow rate or pressure is too low. | Increase water flow rate or pressure through system. | ||
| Head of water is below the minimum distance required. | Refer to specification for minimum distance required. | ||
| Hot or cold water being drawn off elsewhere causing pressure changes or instantaneous boiler temperature changes. | Do not use other water outlets when using the taps. | ||
| Airlock or partial blockage in the supply pipework. | Flush through pipework to ensure removal of debris and any airlocks. | ||
| Water dripping from taps | This is normal for a short time after using the taps. | This is caused by residual water tension, the build up of water in the tap body. | |
| If water continues to drip, possibly due to the ceramic disc valves | Remove valves and clean, refer to ‘Maintenance’ section before starting any maintenance. | ||
| Taps do not turn on | Closed isolation valve. | Open isolation valve. | |
| Mains water supply turned off. | Turn on mains water supply. | ||
Notes
Please use this space for any notes you or your installer may have regarding the installation/plumbing of this product.
At Bristan, we want to make things as easy as possible for our customers.
That’s why we offer solid guarantees on all our products, effective from the date of purchase, to give you peace of mind.
To start your free guarantee simply scan the QR code and register your product. Alternatively visit www.bristan.com/register to register your product via a computer.
For full guarantee terms and conditions visit www.bristan.com/guarantees.
 Nero Bath Shower Mixer Tap User Guide")


 Iris Chrome Basin Mixer Tap Instruction Manual")


