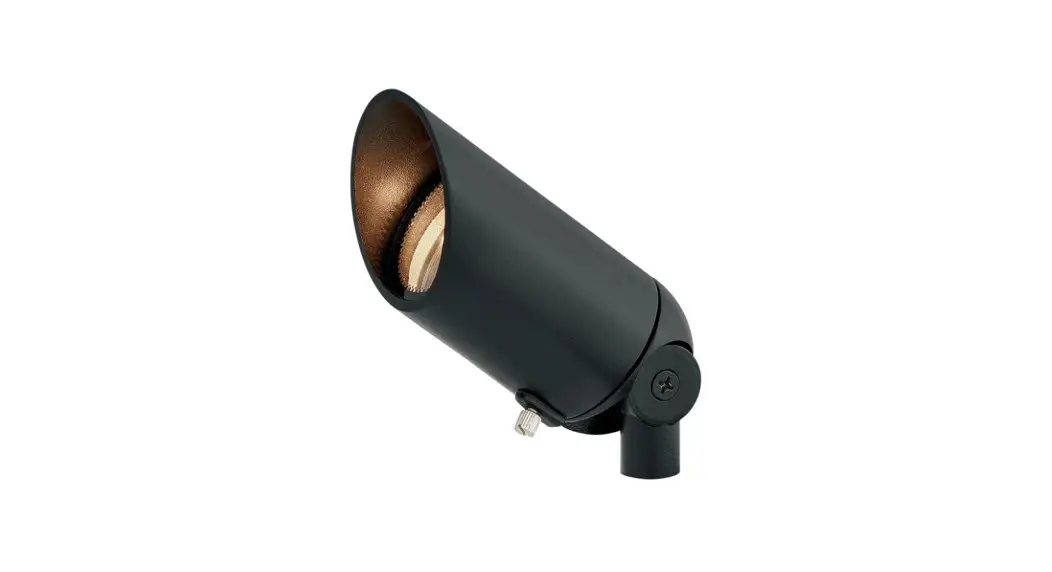
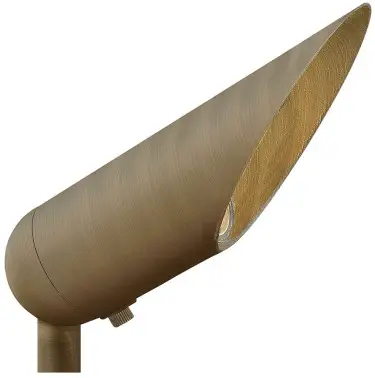
![]() 1536LMA LED Spot Light
1536LMA LED Spot Light
Instruction Manual
1536LMA LED Spot Light
| Drawing 1 | Drawing 2 |
 |  |
| 1536BZ-LMA | 1535MZ-LMA |
 |  |
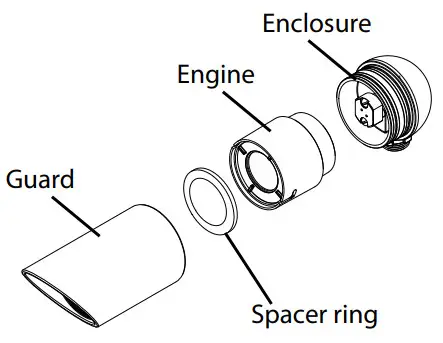
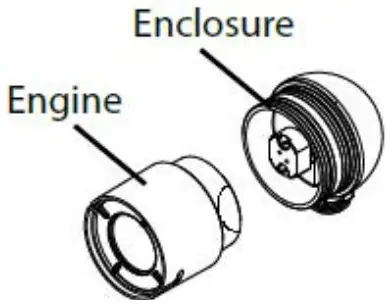
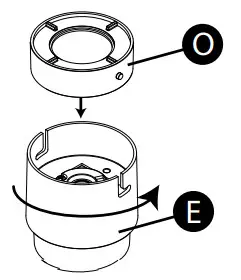
| Drawing 1 – Engine Assembly | Drawing 2 LED wattage adjustment |
 |  |
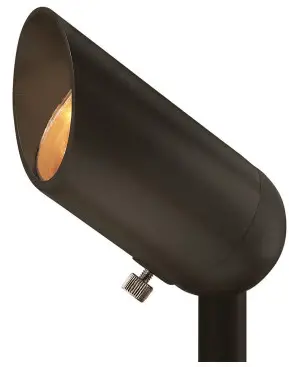
Drawing 3 – Fixture Assembly Example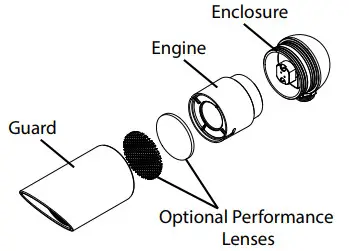
Installation Instruction
![]() start here
start here
Item No: 1536LMA/1535LMA
- Find a dear area in which you can work.
- Unpack fixture and glass from carton.
- Carefully review instructions prior to assembly.
Save these instructions:
Note: This Luminaire is designed for use with Hinkley approved 12 volt landscape systems. Connection to other systems may cause premature failure or non-intended operation.
LUMINAIRE MOUNTING: (for typical ground stake mounting)
- To prevent electrical shock, disconnect transformer from electrical supply before installation or service.
- Run wire from Luminaire through mounting hole in top of ground stake.
- Attach Luminaire to ground stake by threading to the mounting hole in stake until it fits snuggly against the bottom of stem.
- Place stake in desired position and insert into ground until the flange of stake is flush with ground.
- Strip the two wire leads from the Luminaire and connect to the main supply wire using the provided wisents and silicone tube
The main low voltage cable from the luminaire is to be
- Protected by routing in close proximity to the luminaire or fitting, or next to a building structure such as a house or deck.
- The main secondary wire is intended for shallow burial — less than 6 inches (15.2cm) – in order to connect to the main low voltage cable.
- Have the length cut off so that it is connected to a connector within 6 inches (15.2cm) from a building structure, a luminaire or fitting.
For downward facing installs, add the spacer ring on top of the Plumadore, if no added filters are used. Ring will keep Plumadore seated on socket. (Drawing 1) To make LamaCore insertion easier, place in palm of hand with thumb and finger above half slots in base. Place on fixture base with thumb and finger aligned to socket holes. (Drawing 2)
Assembly Instructions
- In order to lamp the fixture you need to first assemble the engine.
- Take the optic (O) and push it into the top of the engine (E) and twist it into place – see Drawing 1.
Note: Engine optic (O) comes in 3 types. - Hold the Plumadore with the Hinkley Logo so that its readable. The rotational switch (A) can be adjusted by your fingers or a small flat bladed screwdriver.
Rotate until the switch falls into a stop. For reference, the wattage settings are roughly akin to hours on a standard clock face. -See Drawing 2
1. After the engine is assembled, you can lamp the fixture by pushing the engine into place inside the enclosure.
2. Finish by reassembling the fixture – See Drawing 3 If flashing occurs, please confirm voltage at fixture and raise transformer tap voltage, or run lower AWG cable to the fixture, to meet the 8VAC minimum
OUTPUT SWITCH SETTINGS![]() 3 Watts, 3.2 VA, 260 Lumens
3 Watts, 3.2 VA, 260 Lumens![]() 5 Watts, 5.3 VA, 350 Lumens
5 Watts, 5.3 VA, 350 Lumens![]() 8 Watts, 7.8 VA, 475 Lumens
8 Watts, 7.8 VA, 475 Lumens![]() 12 Watts, 12.4 VA, 750 Lumens
12 Watts, 12.4 VA, 750 Lumens
| Black – Flood, 60° Noir – Inamdar, 60° Negro – Inamdar, 60° | White – Spot, 20° Bloc – Place, 20° Blanco – Lugar, 20° | Grey – Medium Spread, 40° Gris – propagation doyenne, 40° Gris – propagation media, 40° |
![]() 33000 Pin Oak Parkway, Avon Lake,
33000 Pin Oak Parkway, Avon Lake,
OH 44012 800.446.5539 / 440.653.5500
hinkley.com


