Arenti VBELL 1 Wire-free Battery Powered Video Doorbell User Guide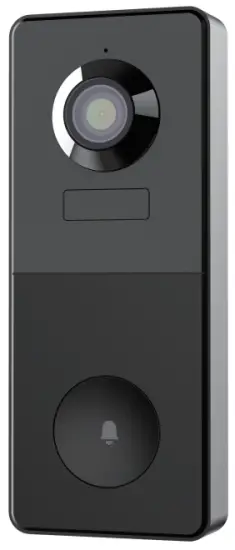
Packing list
- Camera 1X

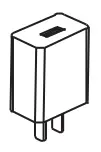
- Power adaptor 1X

- USB cable 1X

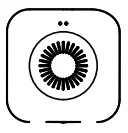
- Chime 1X

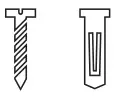
- Screws 3X

- Screwdriver 1X

- Warning sticker 1X

- 3M sticker 2X

- Quick guide 1X

- Bracket 1X*

* The bracket is attached to the camera.
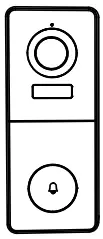


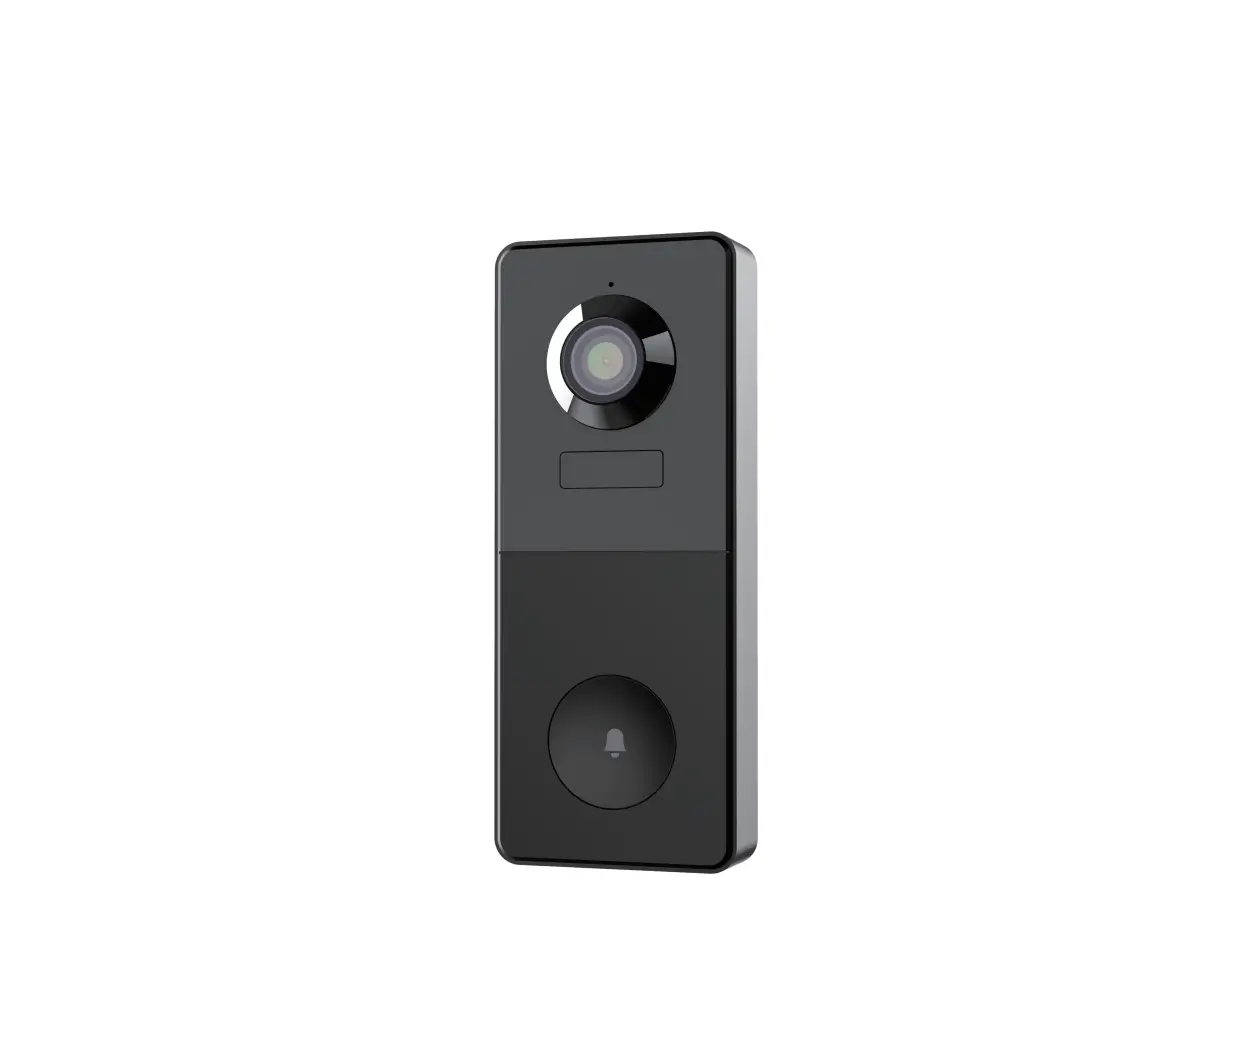
Product description
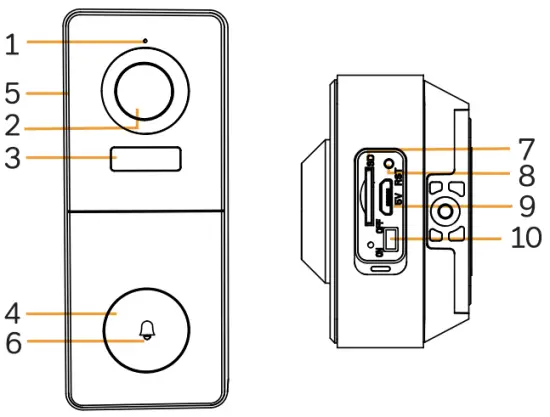
- Microphone
- Lens
- PIR
- Doorbell button
- Speaker
- LED indicator
- SD card slot
- Reset
- DC5V USB
- Device ON/OFF
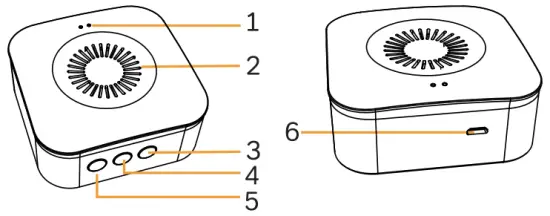
- LED indicator
- Speaker
- Ringtone
- Volume
- Function button
- Micro USB
Notice
To reset the device, press and hold the reset button for 5s.
The camera beeps when the operation is complete.
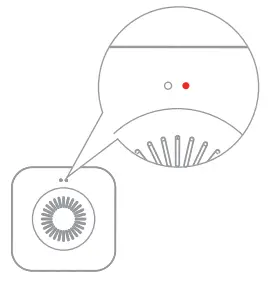
LED indicator of camera:
| Flashing red light (slow) | Wait for network config |
| Flashing red light (fast) | Connecting the network |
| Fixed red light | Network is malfunctional |
| Fixed blue light | Camera is working correctly |
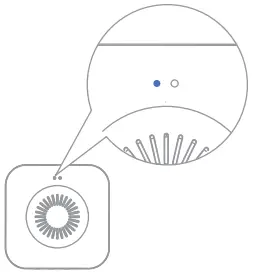
LED indicator of chime:
| Flashing red light | Wait for pairing |
| Fixed blue light | Succeed to pair |
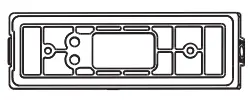
Installation
Installation with screws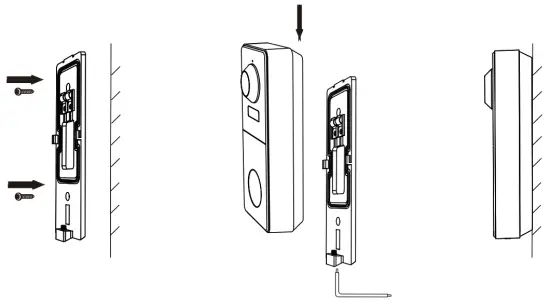
- Fix the bracket to the wall with the mounting screws.
- Install the camera in the bracket and lock it with the screw.
Installation with 3M stickers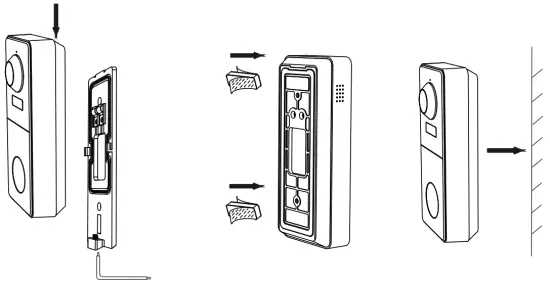
- Lock the bracket to camera with the screw at the bottom.
- Stick the adhensive tapes to the barcket.
- Stick the other side of adhensive tapes to the wall.
Product configuration
- Step 1 Turn on your camera.
- Step 2 Connect your smartphone to the Wi-Fi network.
- Step 3 Download Arenti app from the App Store or Google Play depending on your device.
- Step 4 Launch the App and sign up for the first use.
- Step 5 Follow the on-screen instructions to add your camera.
Notice
If you have multiple cameras, please follow step 5 again to add devices one by one.
To change Wi-Fi network, please restore the camera to factory settings and follow step 5 to add the camera.
Chime Pairing
- Short press ”
 ” (within 2 seconds), the status light flashes red slowly and the chime will be in pairing mode.
During pairing mode, it will blink red - Press the doorbell button to pair, when the chime status light turns off, and the song will play automatically, the chime pairing is successful at this time.
Description:
- The chime can connect to maximum eight doorbells.
- When the chime is in pairing mode, press the ” ” again (within 2 seconds), the chime will automatically exit the pairing mode.
- After adding the chime successfully, the volume will be adjusted to the maximum automatically. When it is at the minimum volume, it will return to the maximum volume after pressing ”
 “.
“. - Each press ”
 “, will play the next song along with blinking blue light.
During pairing mode, it will blink red
When playing ringtone, it will blink blue
Specifications
| Sensor type | 1/2.8″ CMOS |
| Min. brightness | Color [email protected] |
| Black and white [email protected] | |
| Resolution | 3 Mega pixels |
| Lens | 3.2 mm F2.0 |
| Shutter | 1/15-1/10,000 per second |
| Infrared | High power LED with ICR |
| Infrared distance | 5 meters |
| FOV | 130° |
| Video compression | H.264 |
| Bit rate | 32Kbps – 2Mbps |
| Max resolution | 2304 x 1296 |
| Framerate | 1-25 per second |
| Picture settings | Support HD/SD; support flip |
| Storage | SD card (Max 256GB) |
| Audio | Two-way audio |
| Protocols | HTTP, DHCP, DNS |
| WiFi standard | IEEE802.11b/g/n |
| Frequency | 2.4 GHz – 2.4835 GHz |
| WiFi encryption | WPA-PSK/WPA2-PSK |
| Security | AES128 |
| Working temperature | -20℃~50℃ |
| Power | DC5V,1A |
| Consumption | 4.5W MAX |
| Size(mm) | 27.5x18x142 |
| Battery | 6700mAh |
| Standby consumption | 200µA (average) |
| Work consumption | 220mA (IR off) |
| Standby time | 10 months |
| Working time | 3 months (10 times wake up per day) |
| PIR Detection Rangle | 7m (Max.) |
| PIR Detection Angle | 100° |
Legal notice
Support
Symbols

Direct current (DC)
Don’t throw batteries or out of order products with the household waste (garbage). The dangerous substances that they are likely to include may harm health or the environment. Make your retailer take back these products or use the selective collect of garbage proposed by your city.
Hereby, Arenti, declares that the radio equipment type ‘VBell 1′ is in compliance with the
Directive 2014/53/EU
The full test of the EU declaration of conformity is available at the following Internet address:
www.arenti.com
For indoor use only