![]()
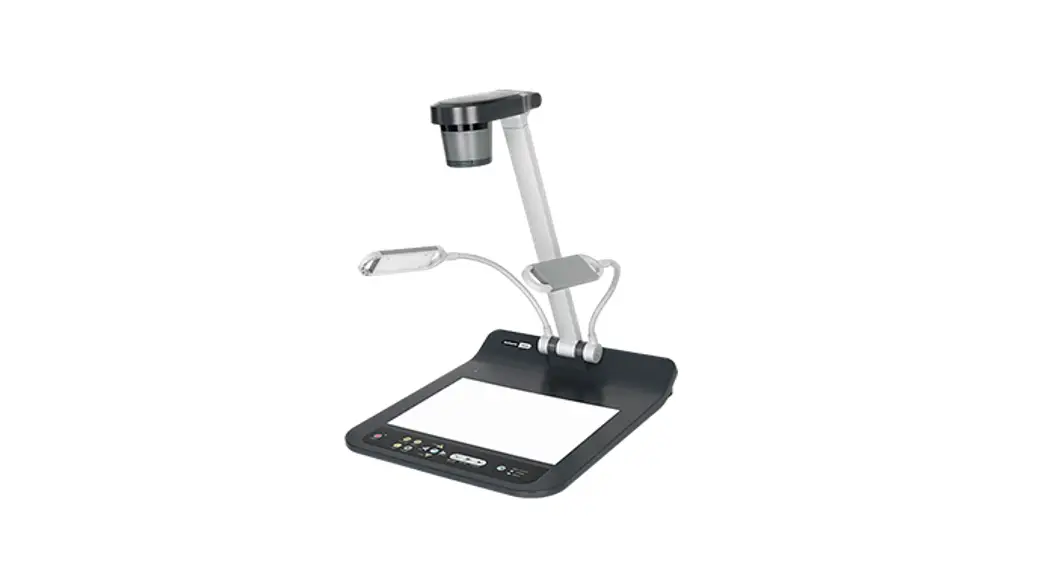
PS753 Quick Installation Guide
![]() Important
Important
- Please activate your warranty at www.MyLumens.com/reg
- Please visit our website www.MyLumens.com/support download to the latest version of the Software, Multilingual User Manual, and Quick Start Guide.
I/O Interface and Connection
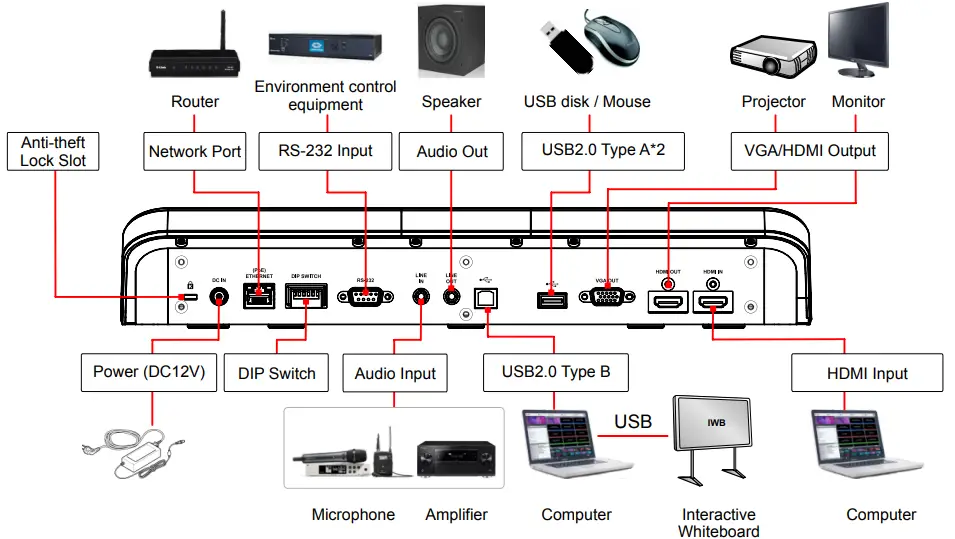
*PS753 supports PoE+ (IEEE802.3at)
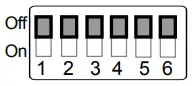
DIP SWITCH
| Resolution | 60Hz | 50Hz |
| 1920×1080 | 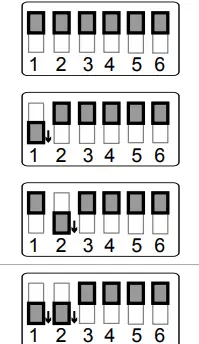 | 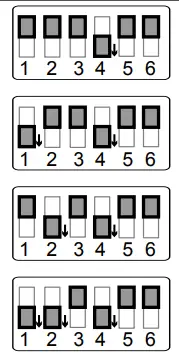 |
| 3840×2160 | ||
| 1280×720 | ||
| 1024×768 |
| Settings | Function Descriptions |
| DIP1 / DIP2 | Output Resolution |
| DIP 3 | OFF (Normal mode): 30 fps, applicable to the general scene ON (High-speed mode): 60 fps, applicable to support rapidly changing scene *High-speed mode is applicable to 1080P and 720P resolutions |
| DIP 4 | Power Frequency OFF: 60Hz / ON: 50Hz |
| DIP 5 | 4KIP mode *For HDMI output, it only supports 1080P |
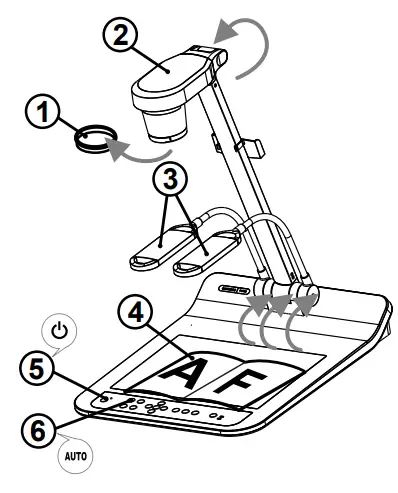
Getting Started
Please confirm the local voltage and frequency, for example, the default 60Hz applicable in the US, Taiwan, Japan, etc., and 50Hz in Europe and other areas. Please set up the DIP SWITCH as in the figure on the right![]() ; please see PS753 User’s Manual Attachment 1 for the frequency actually used.
; please see PS753 User’s Manual Attachment 1 for the frequency actually used.
- Remove the lens cap.
- Pull up the camera and the camera arm. The camera should aim at the center of the presenter.
- Pull up the lamp arm and adjust it to the appropriate position.
- Place an object to be displayed under the camera.
- Turn the power on.

- Press the [ AUTO TUNE ]
 to optimize the button image. You are ready to teach / present. According to your request, you can adjust the camera head slightly to aim at the center of the documents when the anchor of the lens was reached.
View the images
![]() Connect to VGA/HDMI output images. Please refer to the description of 1. IO Interface and Connection
Connect to VGA/HDMI output images. Please refer to the description of 1. IO Interface and Connection![]()
![]() Connect to USB, and view the images with Lumens Ladybug software or video software. When connected to a computer via a USB cable, Ladybug software can be
Connect to USB, and view the images with Lumens Ladybug software or video software. When connected to a computer via a USB cable, Ladybug software can be
used to view the images and control PS753, and video software can also be used, such as Skype and Zoom.
Download Ladybug software from the Lumens website: https://www.Mylumens.com/support![]() Connect to the router, and view the images with the browser.
Connect to the router, and view the images with the browser.
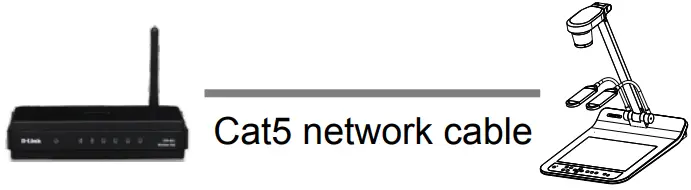
PS753 DHCP is enabled by default. You can use the remote control to open to check the IP address. Open the browser, and enter the IP address in the address bar. Menu > Setting > Capture
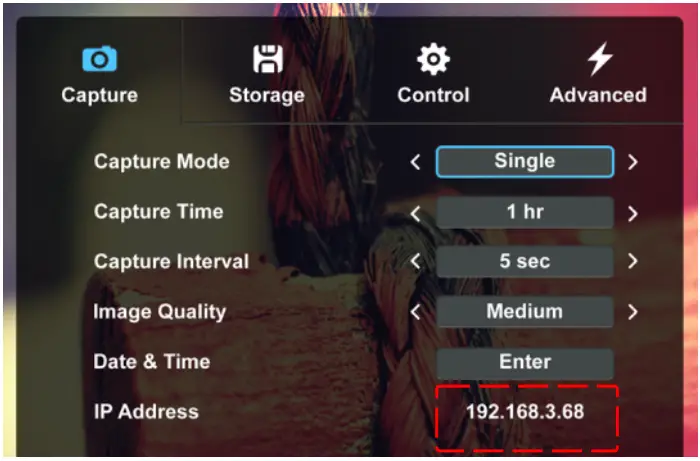
(If it is not connected to a router, the default IP is 192.168.100.100)

Enter the account and password to view the images and control PS753.
Account: admin
Password: 9999
Copyright ©2021 Lumens Digital Optics Inc. All rights reserved.


