
ULINE S-15588 1 x 3″ Plastic Label Holder
INSTRUCTIONS
CREATING LABELS
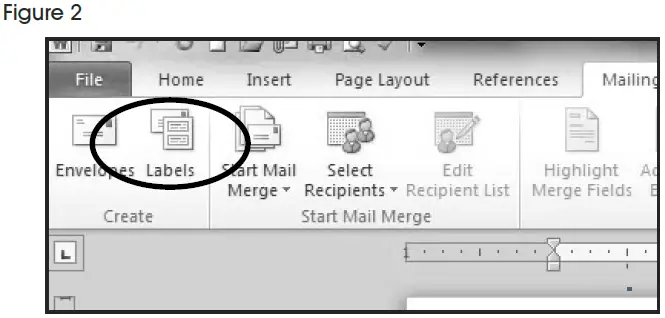
- On the toolbar ribbon, click the MAILINGS tab. (See Figure 1)

- Click the LABELS button. (See Figure 2)

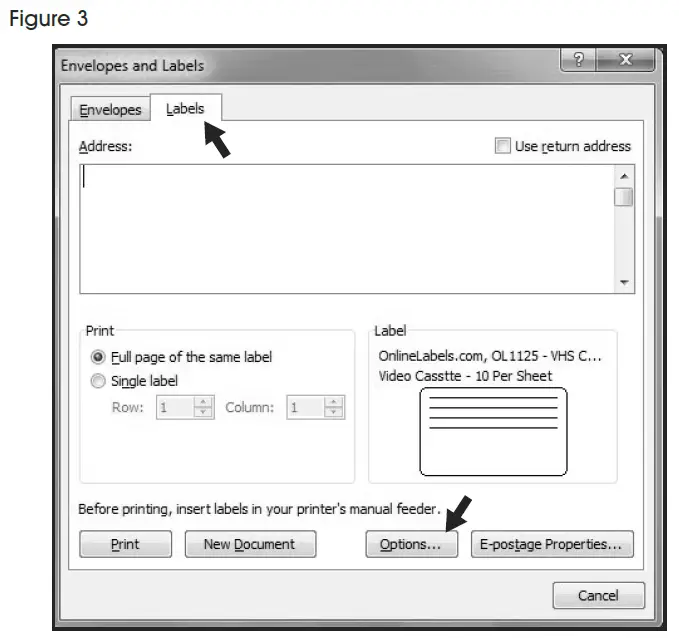
- On the LABELS tab, click the OPTIONS button. (See Figure 3)

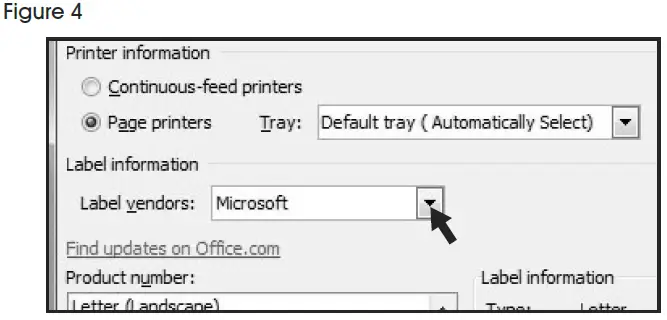
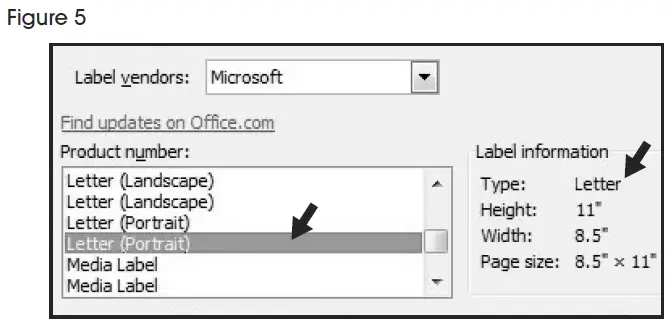
- Under LABEL INFORMATION, use the drop down menu to select MICROSOFT. (See Figure 4)

- Under PRODUCT NUMBER, select LETTER (PORTRAIT). (See Figure 5)

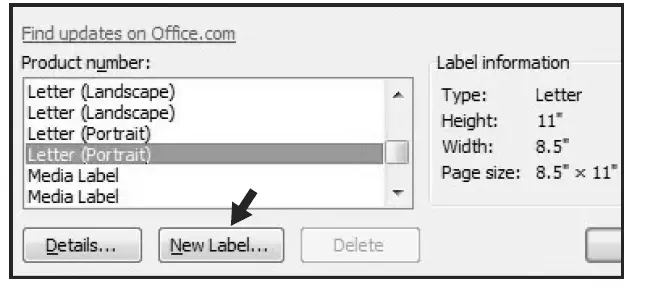
- Click the NEW LABEL button. (See Figure 6)


SETTING MARGINS
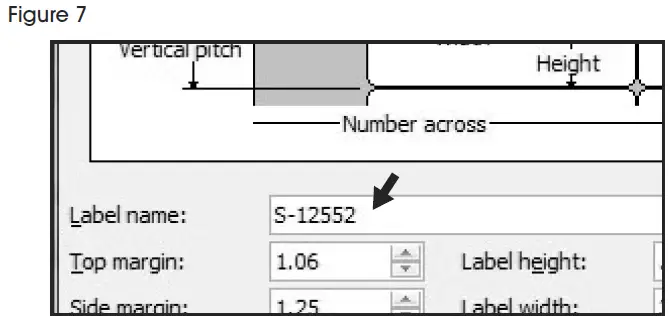
- Enter the following settings:
Top Margin .56″ Side Margin 1.25″ Vertical Pitch .99″ Horizontal Pitch 3″ Label Height .99″ Label Width 3″ Number Across 2 Number Down 10 NOTE: Enter the value for Number Across first.
- In the LABEL NAME box, enter a name for your template (i.e. Uline item # S-12552). (See Figure 7)

- Click the OK button.
- Click OK in the LABEL OPTIONS menu.
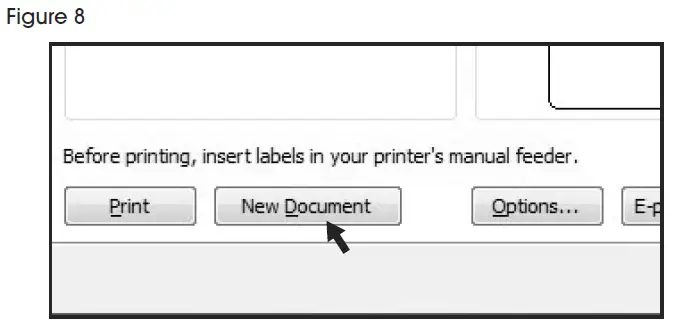
- Click NEW DOCUMENT in the ENVELOPES & LABELS menu. (See Figure 8)

TYPE
Format and add text as you desire.
PRINT
Place Insert Cards in the printer paper tray and select PRINT.
TO USE THIS TEMPLATE AT ANOTHER TIME
- On the toolbar ribbon, click the MAILINGS tab.
- Click the LABELS button.
- On the LABELS tab, click the OPTIONS button.
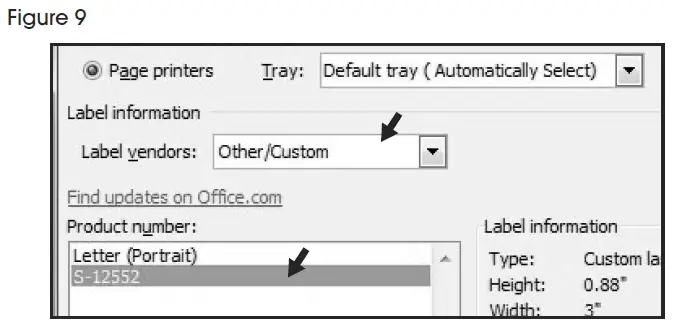
- Under LABEL INFORMATION, use the drop down menu to select OTHER/CUSTOM. (See Figure 9)

- In the PRODUCT NUMBER listing, select your saved template. (See Figure 9)
- Click the OK button.
- Click NEW DOCUMENT in the ENVELOPES & LABELS menu.
![]()


