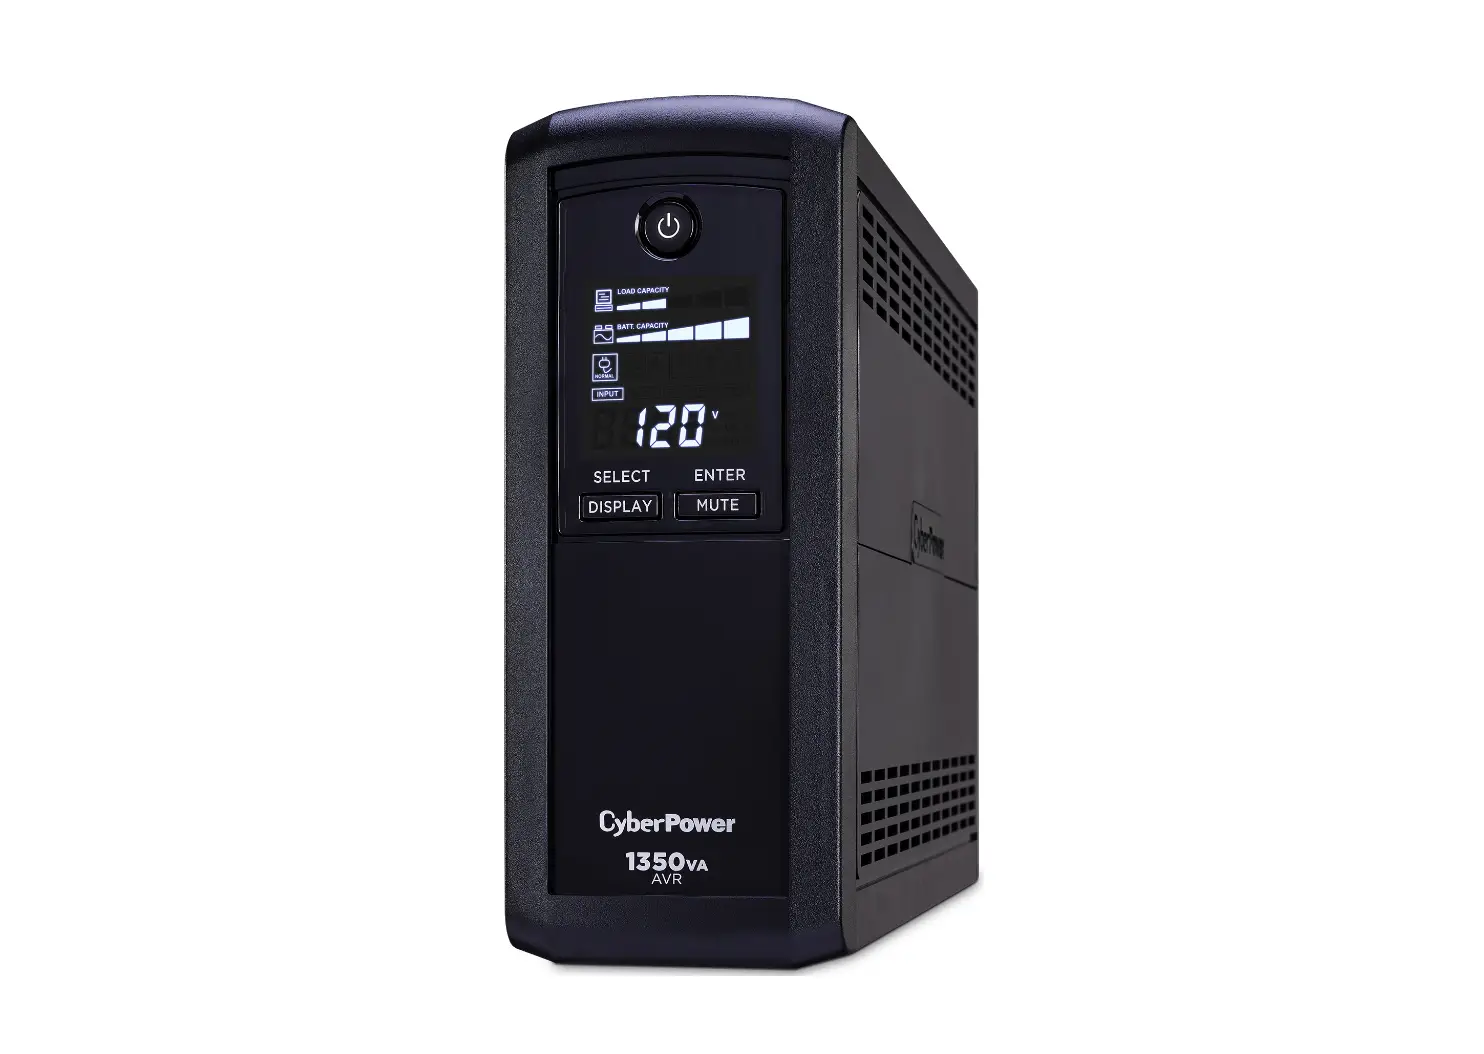
CyberPower CP1350AVRLCD3 Intelligent LCD UPS User Guide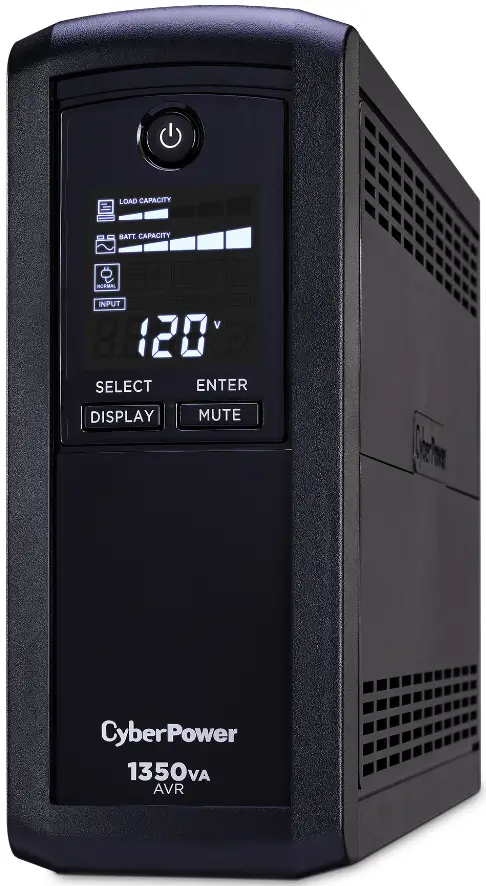
FUNCTION SETUP
 | Power On: Press the POWER button for approximately 2 seconds and you will hear a short steady tone (1 second). Release the button after a short beep. Power Off: Press the POWER button for approximately 2 seconds and you will hear a short steady tone (1 second). Release the button after 2 short beeps. |
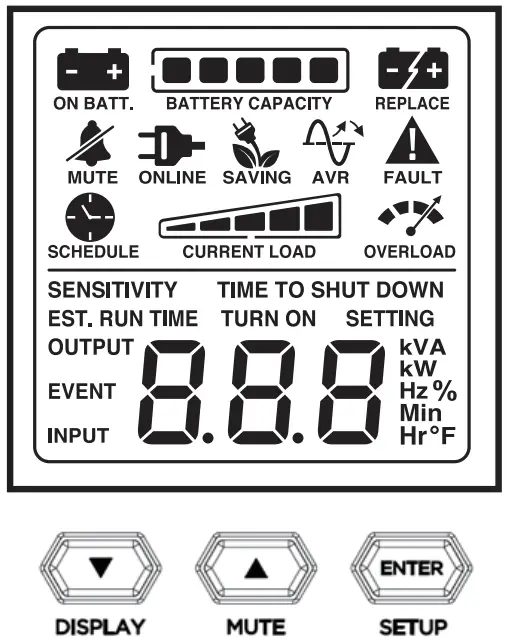 ▼ / DISPLAY Button:Scroll down: Short press the button to scroll down on the function / option menu and to view information about the UPS.Display Sleep off: Press and hold the button for 2 seconds to turn Display Sleep off. The LCD will illuminate, and the UPS will beep once. The LCD will remain illuminated at all times.
Display Sleep on (default setting): Press and hold the button for 2 seconds to turn Display Sleep on. The UPS will beep twice. After 60 seconds of inactivity, the LCD will dim.
**Note: When the UPS is operating in battery mode, the LCD will remain illuminated regardless of the Display Sleep setting.
▲ / MUTE Button: Scroll up: Short press the button to scroll up on the function / option menu and to view information about the UPS.
Mute on: Press and hold the button for 2 seconds to turn Mute on. The UPS will beep twice and the MUTE icon will appear on the LCD to indicate that the UPS alarm has been disabled.
Mute off (default setting): Press and hold the button for 2 seconds to turn Mute off. The UPS wil beep once. The audible alarm is now enabled. | ENTER / SETUP Button: Setup Mode: Press and hold the button for 2 seconds to access the setup mode’s 9 functions: Utility Quality, High Transfer Voltage, Low Transfer Voltage, Sensitivity, Low Battery Warning, Self Test, Event Reset, Return to Default Settings, and Return to Status Display. Short press the scroll up ( ▲ ) or scroll down ( ▼ ) buttons to view the list of functions. When a function is selected, short press the ENTER button to access the function’s options. Short press the scroll up ( ▲ ) or scroll down ( ▼ ) buttons to view the options. When the desired option is selected, short press the ENTER button to confirm the setting. **Note: If there is no activity for 8 seconds during setup, the LCD will leave setup mode and go back to the status display. The setting will not be confirmed. DISPLAY + SETUP Buttons: Press and hold both buttons at the same time for 2 seconds to clear the EVENT counter. The UPS will beep twice. You can also clear the EVENT counter in setup mode. Refer to the following table for a detailed list of functions and their descriptions. |
| Function/ LCD Display | Default | Options | Description | |
Utility Quality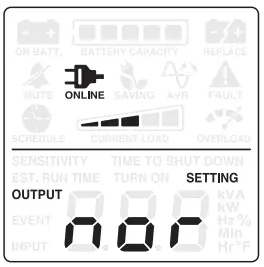 | Normal | Low (97V-144V)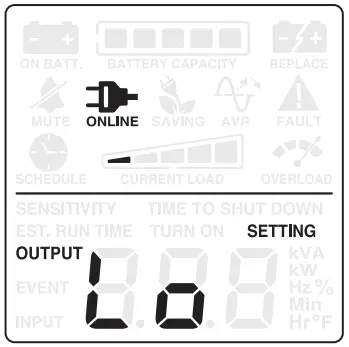 | Normal (100V-139V)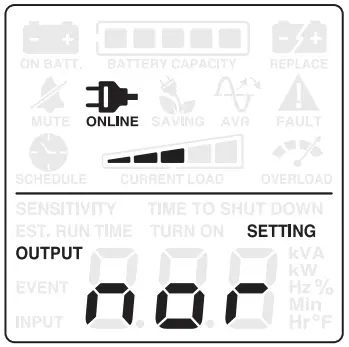 | Select the voltage quality of the input utility power. If High is selected, the UPS will go to the battery mode more often to supply the cleanest power to connected devices. If Low is selected, the UPS will tolerate more power fluctuations and go to battery mode less often. |
High (103V-135V)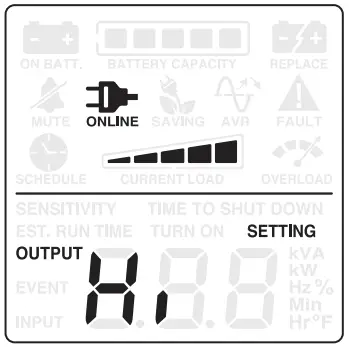 | Escape to Function Menu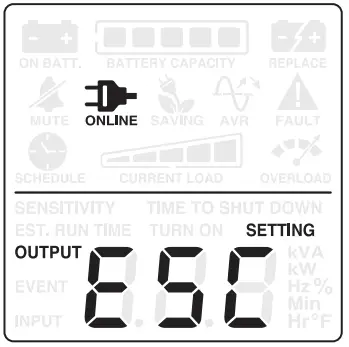 | |||
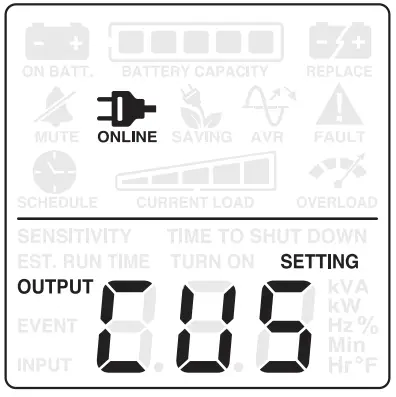 | (Customized) | “Customized” shows up when Maximum/Minimum output voltage has been adjusted in the High Transfer Voltage and Low Transfer Voltage functions. | ||
High Transfer Voltage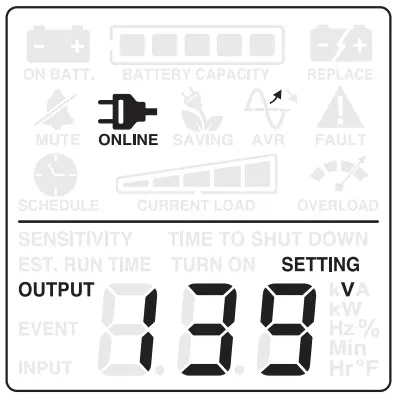 * *  = fine tune the MAX O/P voltage = fine tune the MAX O/P voltage | 139V | 135V ~ 144V Escape to Function Menu  | In Utility Quality settings, only 3 types of fixed voltage ranges can be chosen. However, you can fine tune the high transfer voltage in this function. If the utility voltage is usually high, and the connected equipment can work in this condition, you can set the output voltage range higher to reduce the UPS from going to Battery Mode as often. | |
Low Transfer Voltage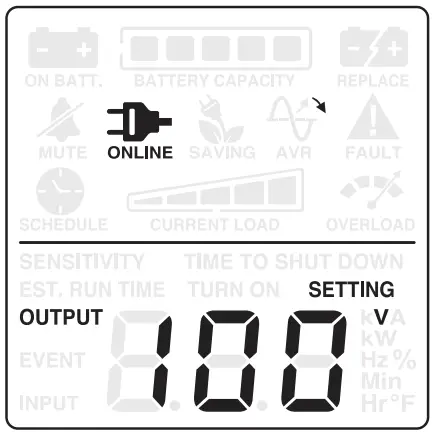 * *  = fine tune the MIN O/P voltage = fine tune the MIN O/P voltage | 100V | 97V ~ 103V Escape to Function Menu 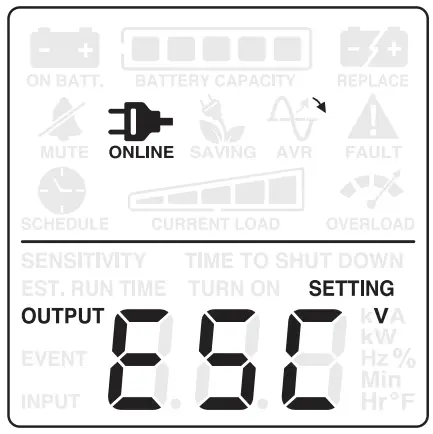 | In Utility Quality settings, only 3 types of voltage ranges can be chosen. However, you can fine tune the low transfer voltage in this function. If the utility voltage is usually low, and the connected equipment can work in this condition, you can set the output voltage range lower to reduce the UPS from going to AVR Mode or Battery Mode as often. | |
| Function/ LCD Display | Default | Options | Description | |
Sensitivity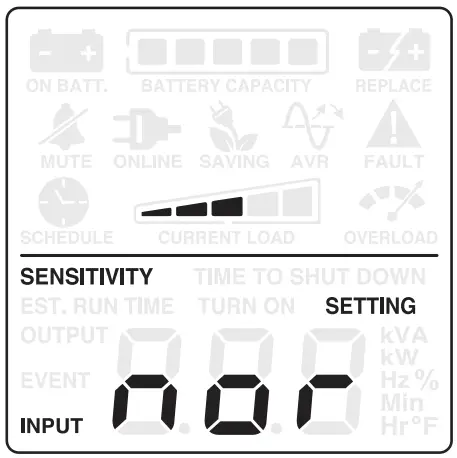 | Normal | Low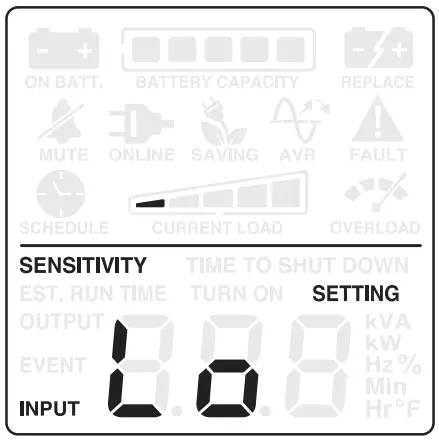 | Normal | If the connected equipment can tolerate more power events (example: unstable power often associated with stormy weather), select Low Sensitivity. The UPS will go to Battery Mode less often. If the connected equipment is more sensitive to power events, select High Sensitivity. The UPS will go to Battery Mode more often. |
High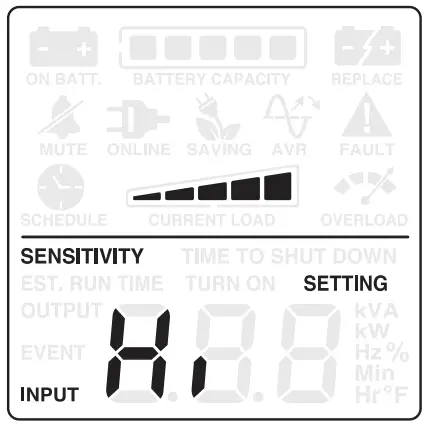 | Escape to Function Menu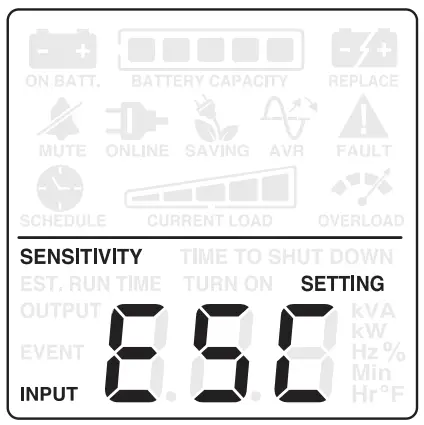 | |||
Low Battery Warning | 5 mins | 5 – 8 mins Escape to Function Menu 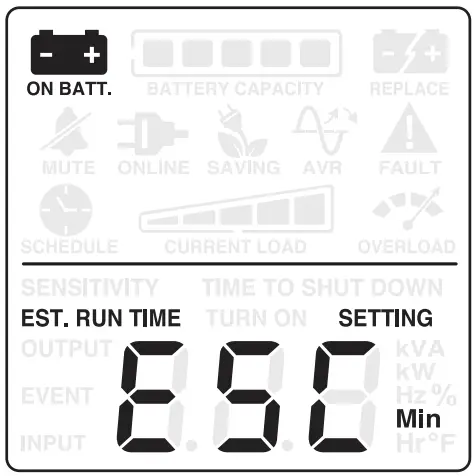 | The audible alarm will sound and the “ON BATT.” icon will flash when the remaining runtime is less than the value selected. | |
Self-Test (Battery Test)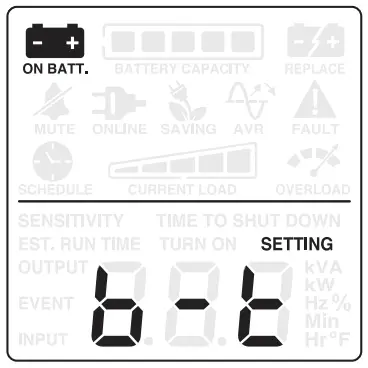 | No Action | YES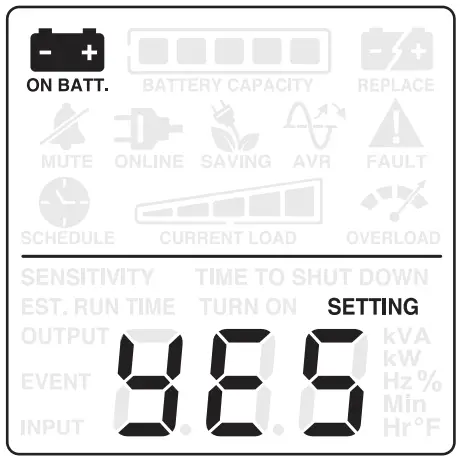 | Escape to Function Menu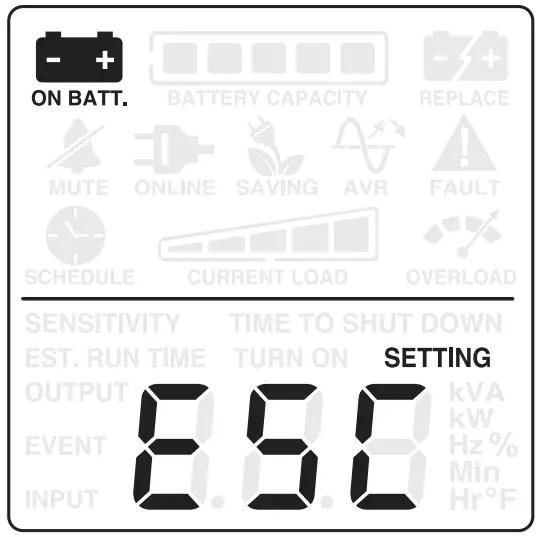 | Select YES to perform a self- test on the battery. *Note: the UPS must be operating on utility power. |
| Function/ LCD Display | Default | Options | Description | |
Event Reset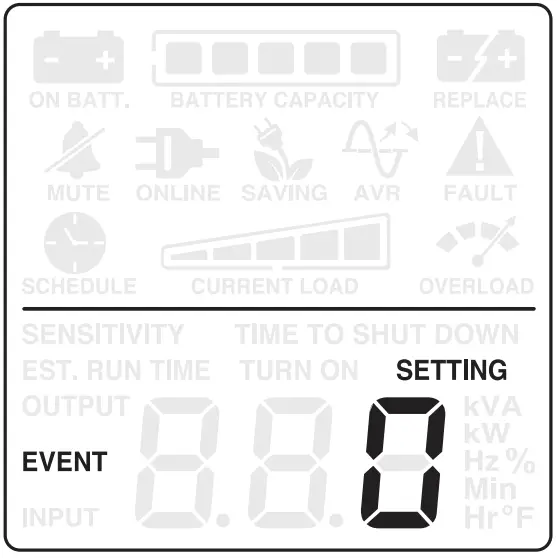 | No Action | YES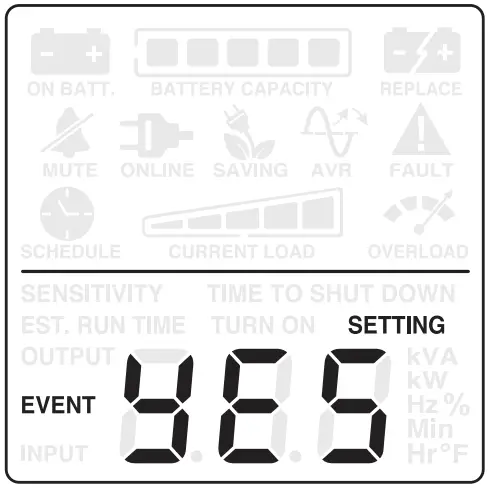 | Escape to Function Menu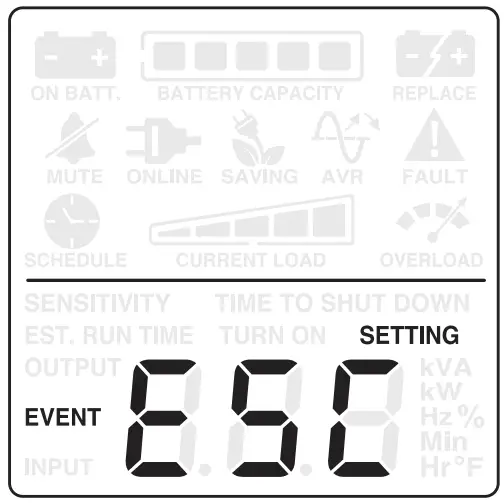 | This meter records the number of power outages. Select YES to clear the EVENT counter. E02 : Charger fault (No Charge) E11 : Battery Fault E21 : Output short E22 : Over load |
Back to Default Settings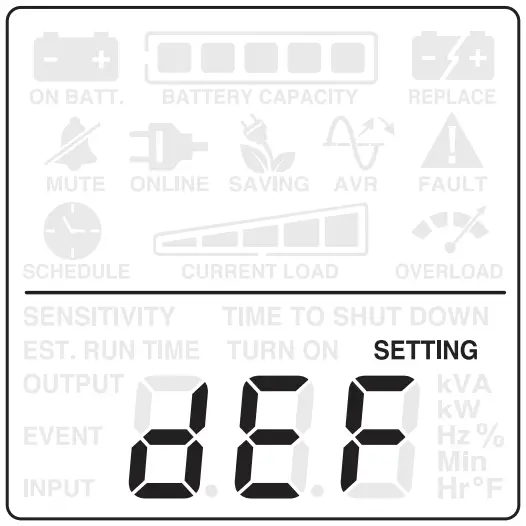 | No Action | YES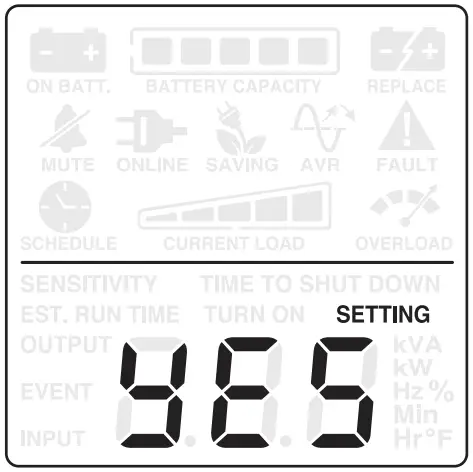 | Escape to Function Menu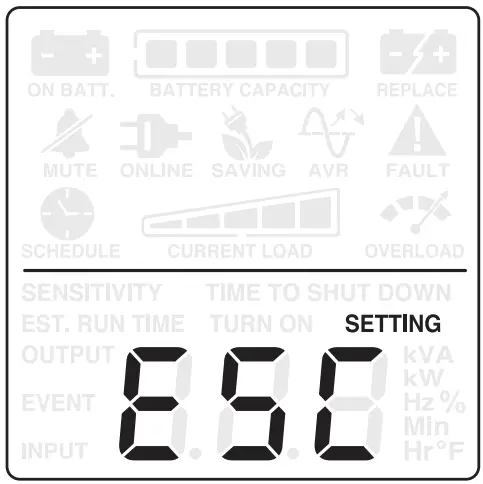 | Select YES to restore the UPS back to factory default settings. |
Return to Status Display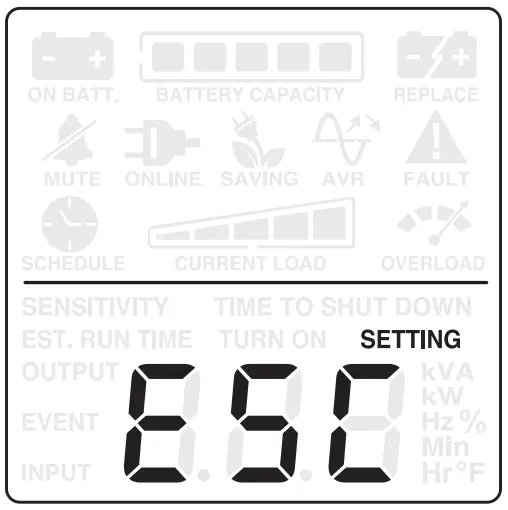 | — | To press the ENTER button to go back to the status display. | ||
All rights reserved. Reproduction without permission is prohibited.
Cyber Power and the Cyber Power logo are trademarks of Cyber Power Systems, Inc., and/or affiliates, which are registered in many countries and regions. All other trademarks are the property of their respective owners.


