![]()
LETO 11 & 11.5 Wet
CANOPY WITH HAND STRAIGHT SOLID STEM
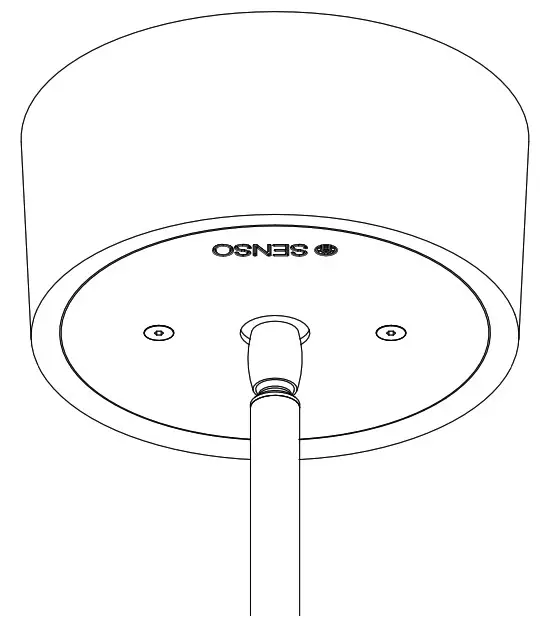
Overview
![]() Read and follow these instructions before installing or maintaining this product
Read and follow these instructions before installing or maintaining this product
- This product is suitable for DRY INDOOR LOCATIONS ONLY
- Make sure this product is NOT on the same circuit as inductive loads, (e.g. fluorescent bulbs, discharge bulbs, ventilation fans, etc…)
- Allow air to flow freely around the fixture
- Do not switch on line voltage until all wiring is complete
- Incorrect wiring will result in irreparable damage to LED and power supply
- This product should only be installed by a licensed electrician
![]() Warranty
Warranty
- This product must be installed in accordance with all applicable installation codes and ordinance
- Limited five (5) years warranty
- Warranty is void in the eventuality of unauthorized modifications and/or improper use
Installation
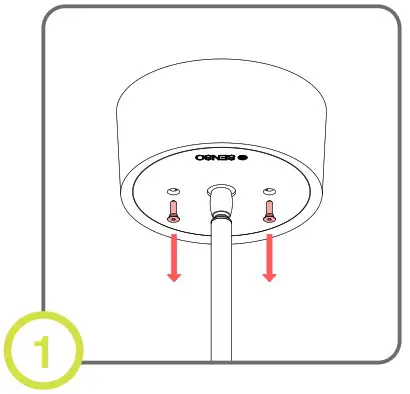 | 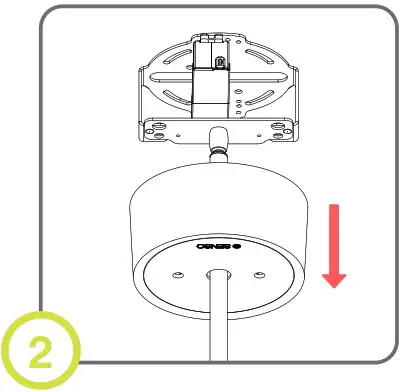 | 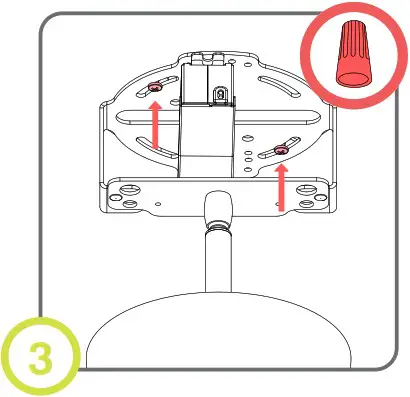 |
| 1. Remove screws from canopy. | 2. Slide canopy down stem. Be careful not to scratch stem. | 3. Attach bracket to junction box. Make electrical connection. |
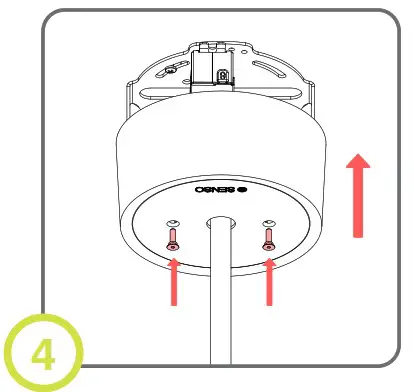 | 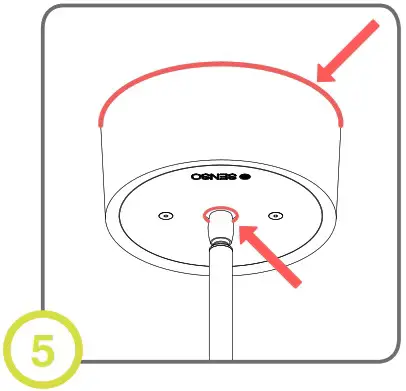 | |
| 4. Slide canopy up to bracket and secure in place with screws. | 5. Apply silicone between ceiling and canopy. Apply silicone to seal the hole above the swivel. |
![]()
2 Rev November 4, 2020
403-216-7043 | [email protected]


