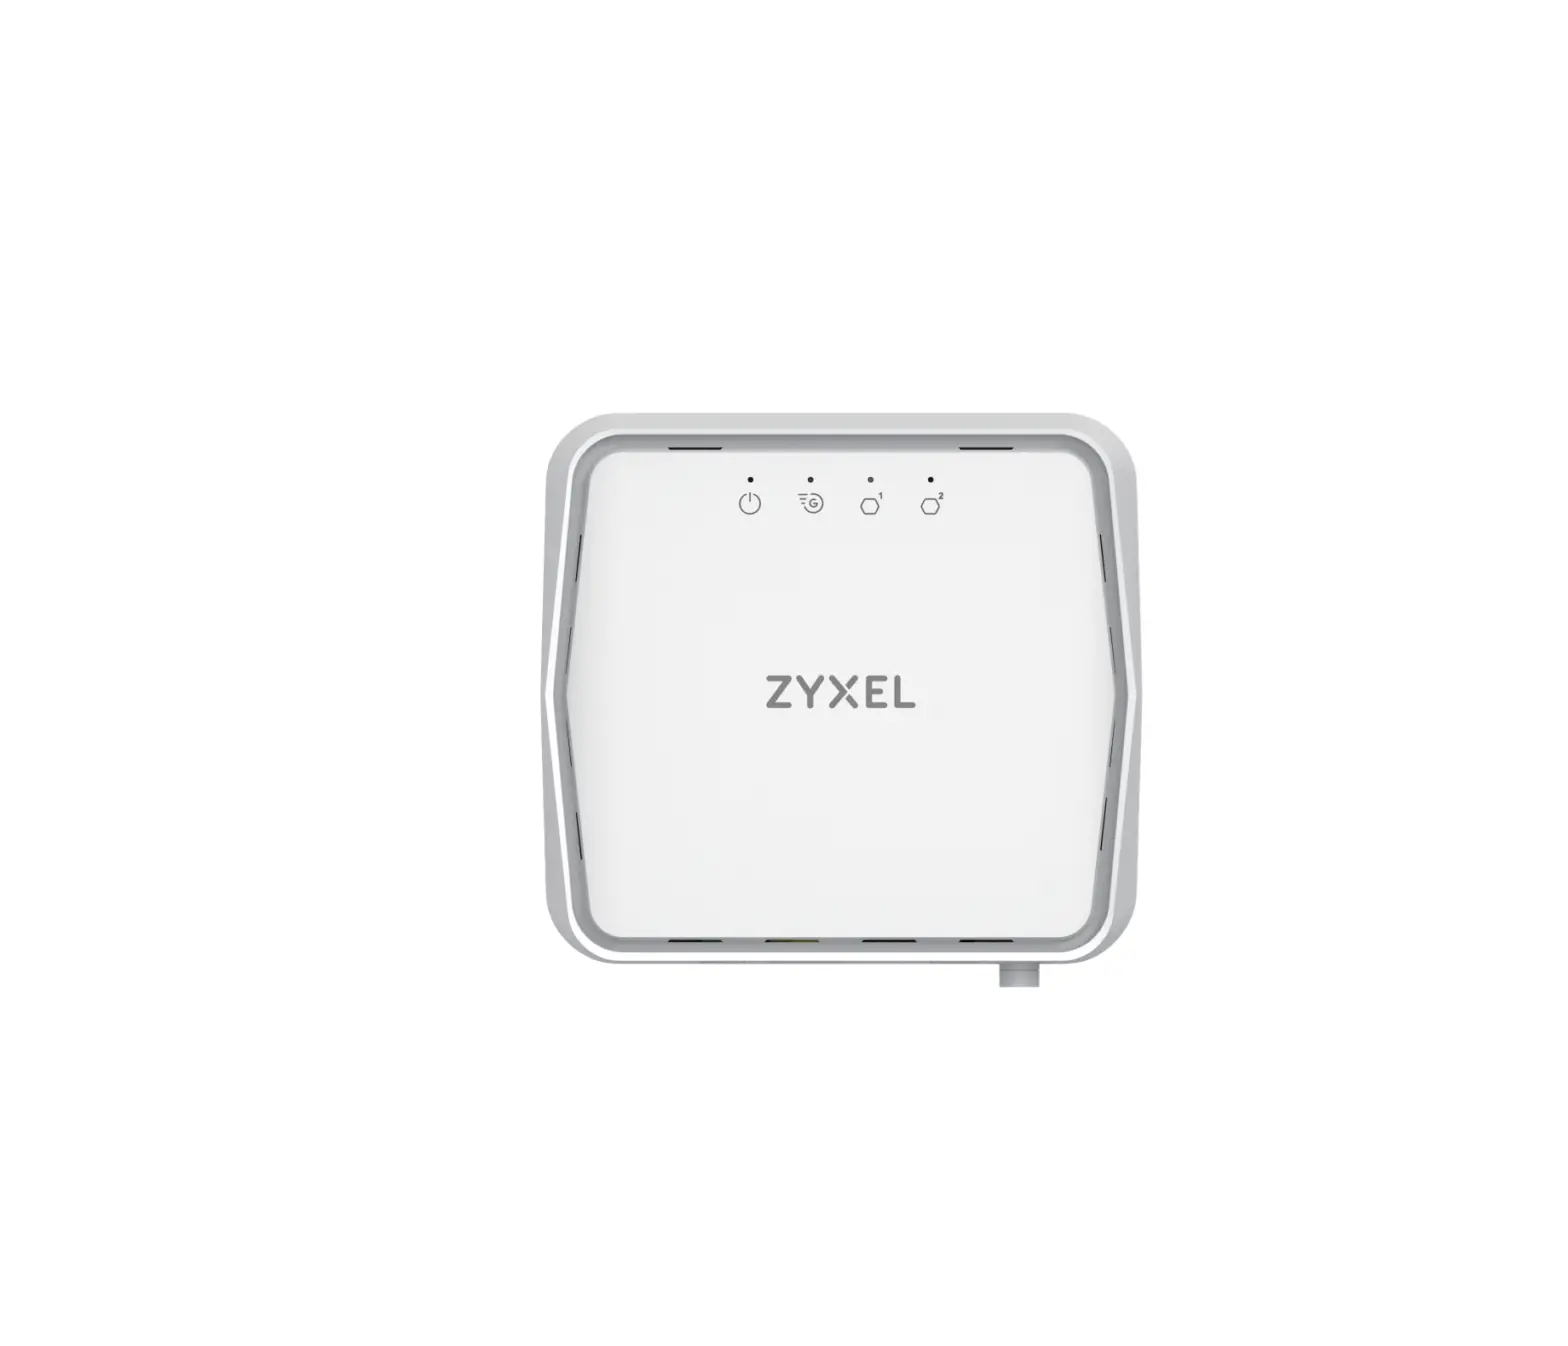
ZYXEL GM4100-B0 G.fast 212 MHz VDSL2 Bridge
Hardware Installation
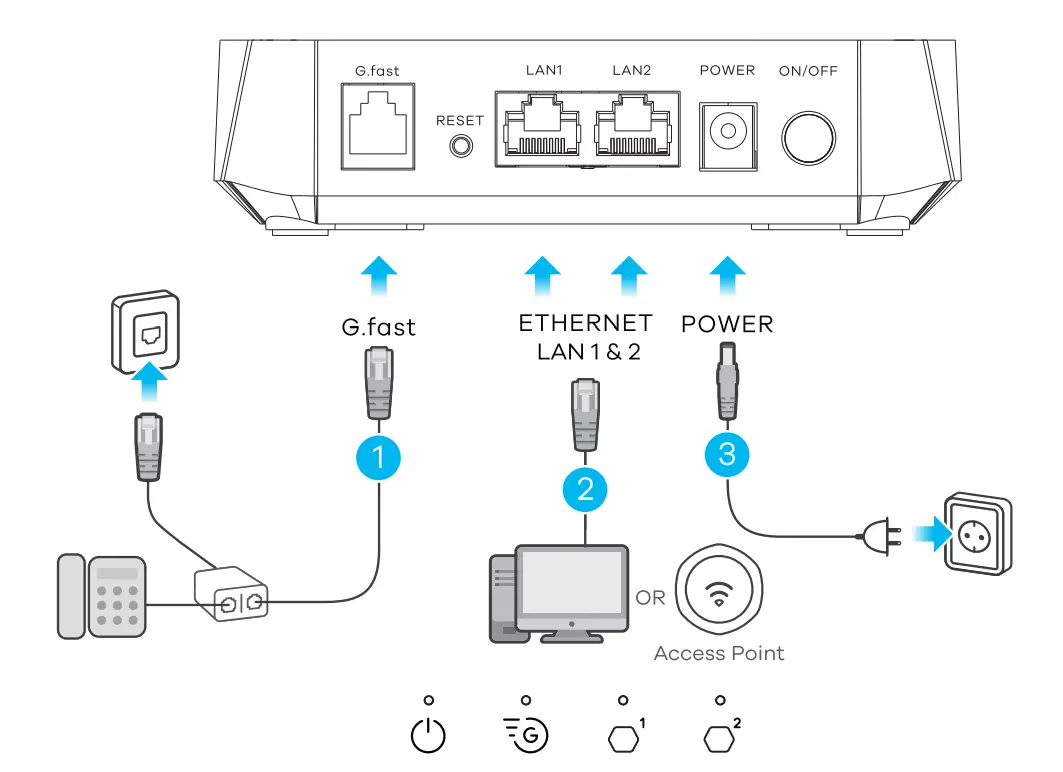
① Use a phone cable to connect the G.fast port to a DSL splitter or directly to thetelephone wall outlet.
② Connect a computer or Access Point to a LAN port using an Ethernet cable.
③ Use the included power adapter to connect the power socket to an appropriate power source. Press the ON/OFF button to turn on the Zyxel Device.
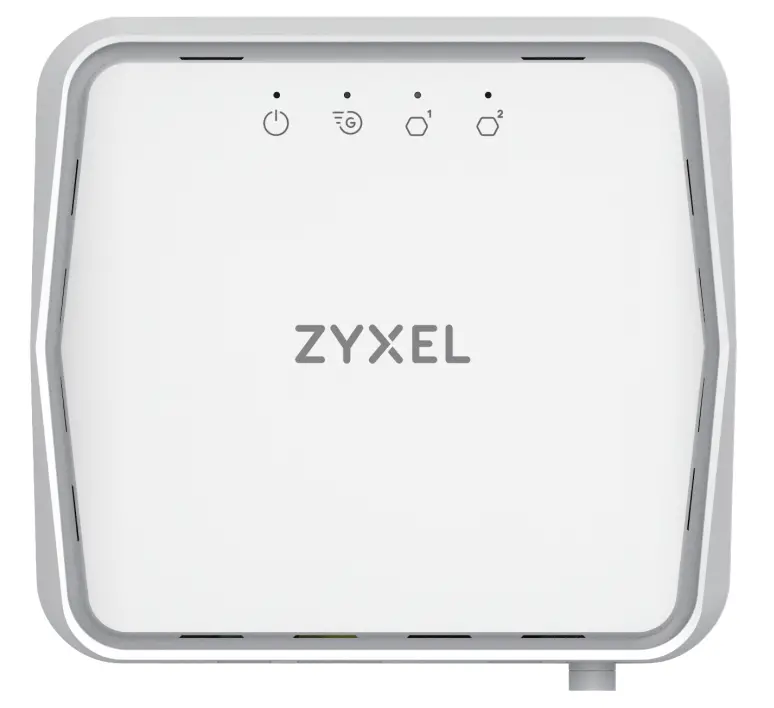
④ Check that the LED lights are already on
| Green | Blinking – The Zyxel Device is booting, getting ready for use. On – The Zyxel Device is ready for use. |
| Red | Blinking – Firmware upgrade is ongoing. On – System failure. | |
| Green | On – G.fast I VDSL 2 I ADSL 2( +) link is up. Blinking (slow) – Link is down and trying to detect carrier signal. Blinking (fast) – Initializing the link. |
| Green | On – Ethernet is ready. Blinking – Transmitting/receiving LAN data. |


Wall Mounting (Optional)
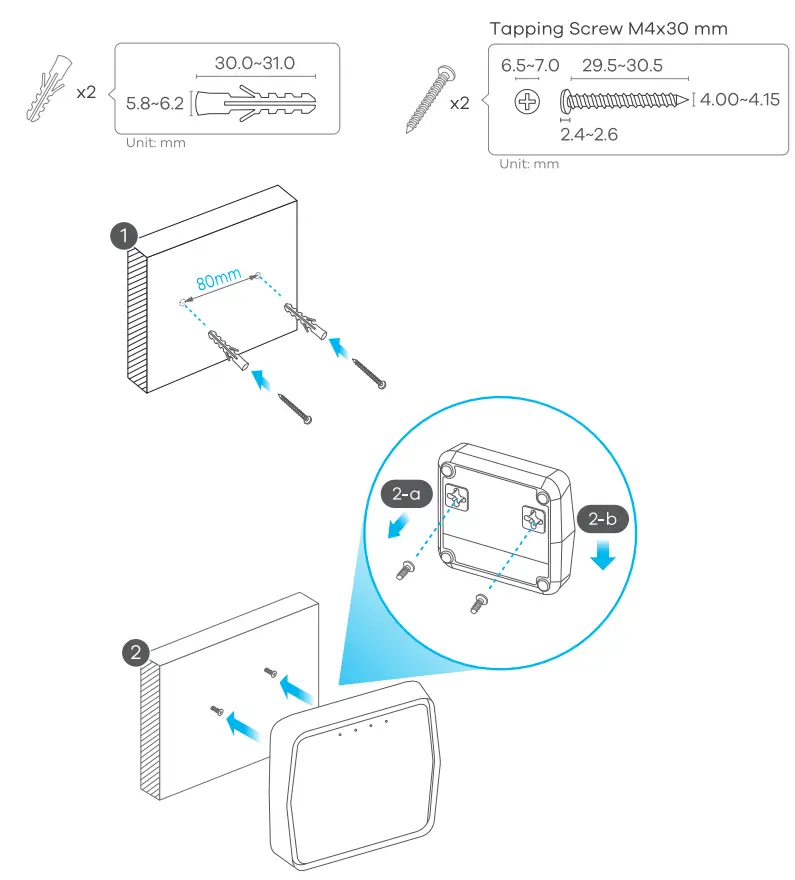
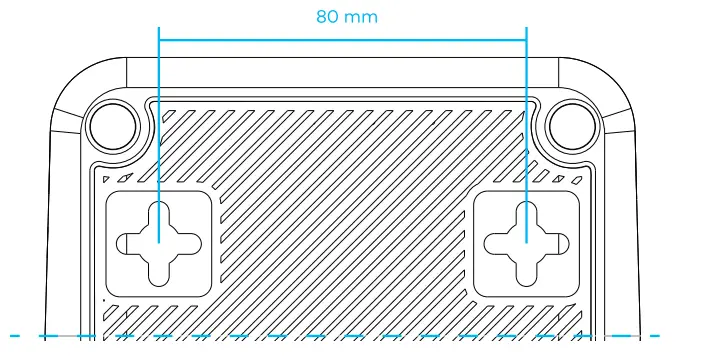
① (Optional) Drill two holes on the wall at the distance of 80 mm. Insert the screw anchors and screws (not provided).2-a Place the Zyxel Device so the wall mount holes line up with the screws.2- b Slide the Zyxel Device down gently to fix it into place.
Drilling Guide
① Place this Quick Start Guide on the wall and use it to mark the holes for drilling.
② Use a 6.0-6.5 mm-size drill bit to drill two holes in the wall to a depth of 32 mm.
Support Information
EU
See the User’s Guide at www.zyxel.com for more information, including customer support and safety warnings.
EU Importer
Zyxel Communications A/S Gladsaxevej 378, 2. th. 2860 S0borg, Denmark.
https://www.zyxel.com/dk/da/
Copyright© 2022 Zyxel and/or its affiliates. All Rights Reserved.