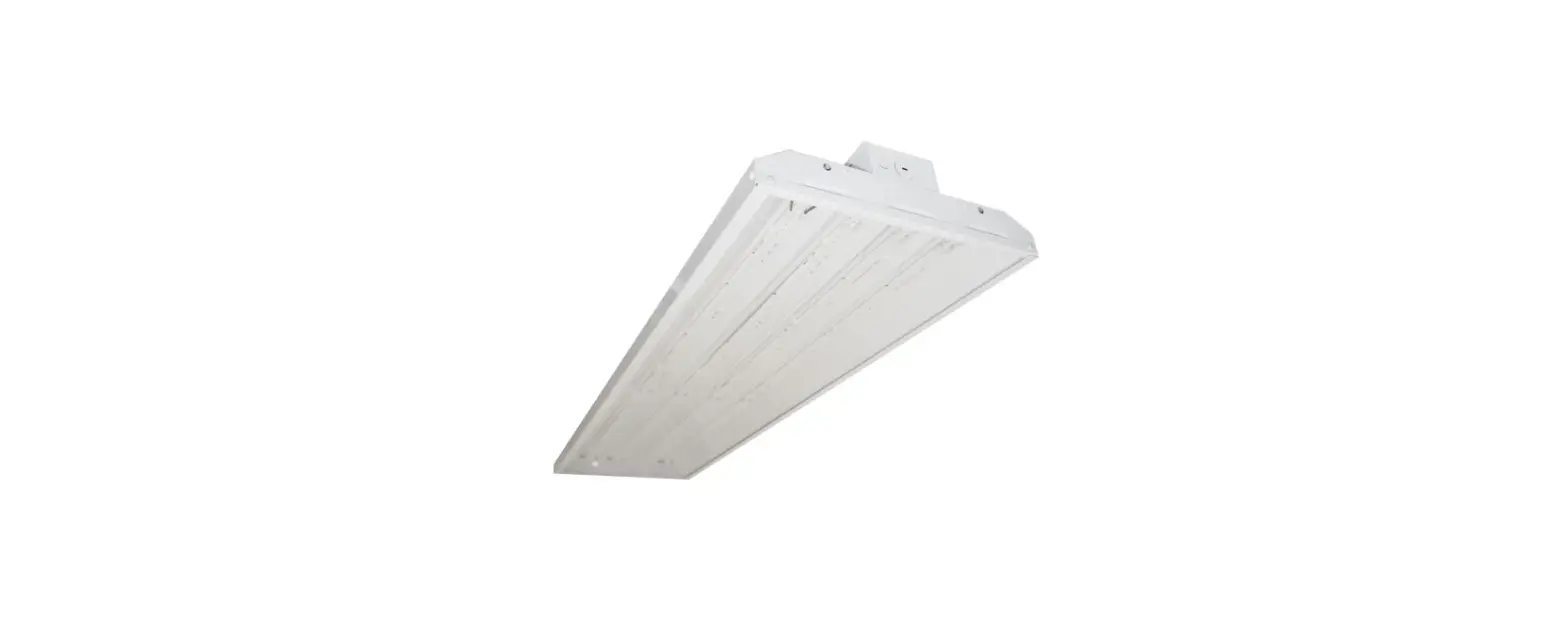
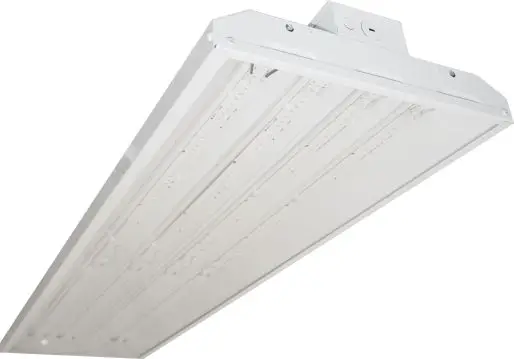
VENTURE LIGHTING BF0010 LED Linear Highbay
Before You Begin
Read These Instructions Completely and Carefully
Upgrade Instructions
- STEP 1: Disconnect power from the existing luminaire and follow proper lockout/tagout procedures before beginning installation or maintenance.
- STEP 2: Remove the existing luminaire. Dispose of the lamp(s) and ballast(s) per local requirements.
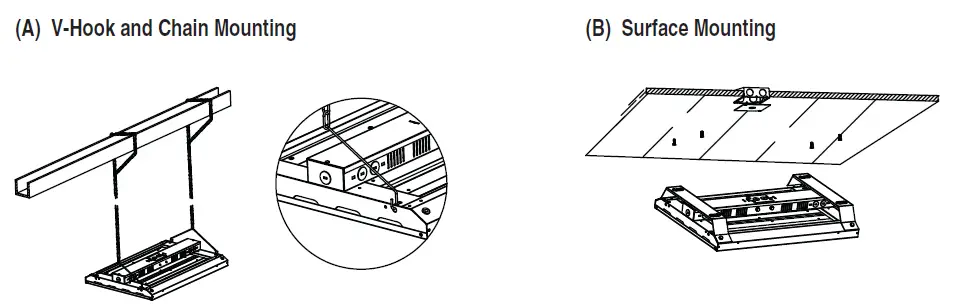
- STEP 3: Choose one of the accepted mounting methods.
V-Hook and Chain Mounting (A)- Install the chain into the provided V-Hook. Secure the other end of the chain to a structure.
- To ensure the fixture is secure, press close the U-bend on the V-hook and the S-hooks.
Surface Mounting (B) - Install the Surface Mount side supports with the hardware included in the surface mount installation kit.
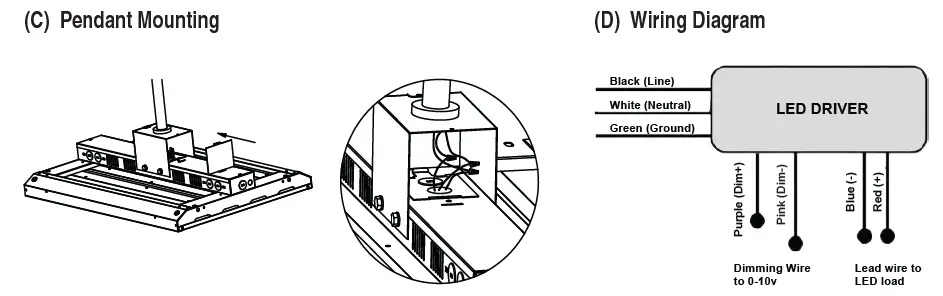
Pendant Mounting (C) - Install the Pendant Mount wiring compartment with the hardware included in the pendant mount installation kit.
Note: Pendant opening for a 3/8” NPT fitting.
- STEP 4: Make the necessary wiring connections as shown in the wiring diagram. (D)
NOTE: The polarity of the dimming connections is important to ensure the performance as desired.
NOTE: If not using the dimming functionality, DO NOT connect the Driver Dim+ (purple) to the Driver DIM- (pink). The fixture will not operate as desired. - STEP 5: Power can now be restored to the fixture.
Wire Guard Installation
- Slide the wire guard clips through the wire guard.
- Using the fasteners provided to secure the wire guard clips to the fixture.
WARNING
Risk of fire and electric shock
- To reduce the risk of death, personal injury or property damage from fire, electric shock, falling parts, cuts/abrasions, and other hazards, read all warnings and instructions included with and on the fixture box and all fixture labels.
- Disconnect power from the luminaire and follow proper lockout/tagout procedures before beginning installation or maintenance. Contact a qualified electrician for installation.
- Venture Lighting’s LED Linear Highbay fixture installation requires knowledge of luminaire electrical systems. If not qualified, do not attempt installation. Contact a qualified electrician.
- To prevent wiring damage or abrasion, do not expose wiring to edges of sheet metal or other sharp objects.
- The product should be installed and operated by a qualified electrician or technician in accordance with relevant local codes.
- Do not alter any open holes in an enclosure of wiring or electrical components during kit installation.
- All wiring connections should be capped with UL listed wire connectors.
- The installer must determine that the supply voltage meets the fixture requirement.
CAUTION
- Risk of burn. Disconnect power and allow fixture to cool before handling the fixture.
- Suitable for use in damp and dry locations.
- Use minimum 90°C supply connectors.

800) 451-2606 6675 Parkland Blvd., Suite 100 Solon, OH 44139 USA
E-mail: [email protected]
VentureLighting.com
© 2022 Venture Lighting International
Venture Lighting is a registered trademarks of Venture Lighting International


