![]()
SmartHome
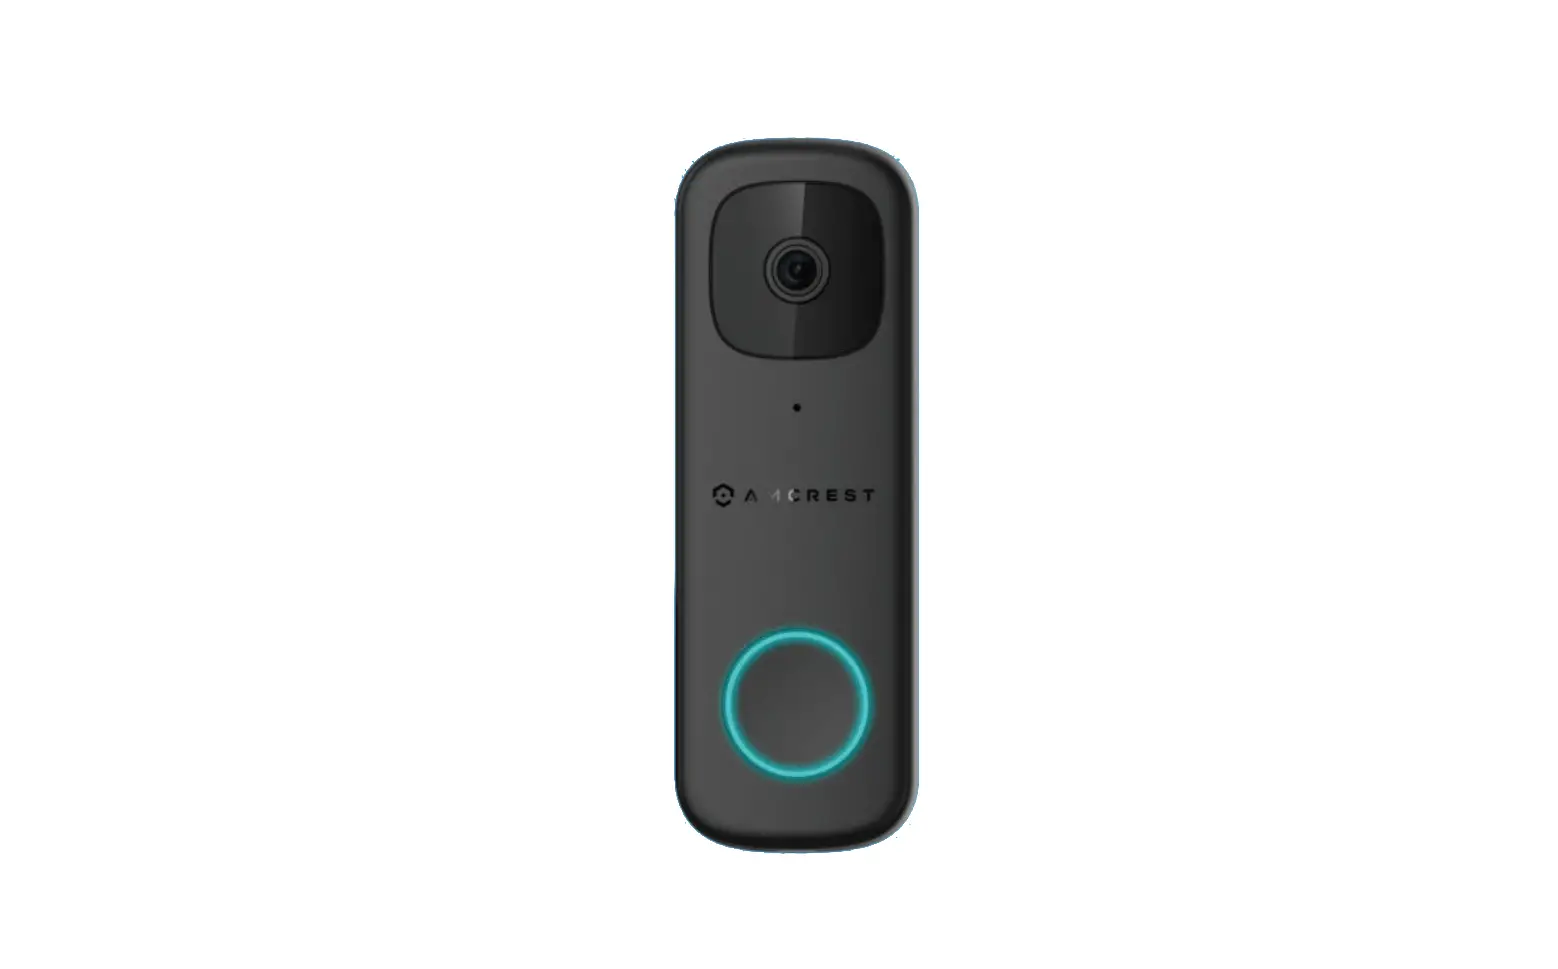
2 Installing Your Wi-Fi Doorbell
Model: AD410
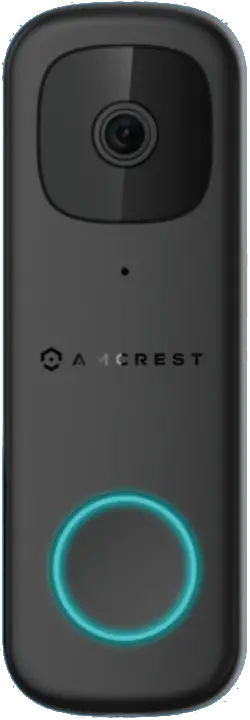
In the Box
![]()
![]()
Wi-E Doorbell Wedge Bracket (5°) Corner Bracket (15°)
![]()
![]()
Mounting Bracket Chime Kit 2 Terminal Screws (Pre-installed)
![]()
![]()
![]()
2 Mounting Screws 3 Wire Nuts 2 Wall Anchors
![]()
6mm (15/64″) Masonry Drill Bit
![]()
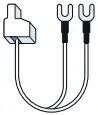
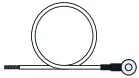
2 Extra Wires Pin Wire Harness
![]() NOTE A corner bracket can be used to angle the doorbell 15° and the wedge bracket can be used to angle the doorbell upward or downward at a 5° angle.
NOTE A corner bracket can be used to angle the doorbell 15° and the wedge bracket can be used to angle the doorbell upward or downward at a 5° angle.
Step 1: Install the Corner or Wedge Bracket
A Remove your existing doorbell from the wall and disconnect the wires. These are the wires we will be using to install your new Amcrest Wi-Fi Doorbell.

B Place a corner or wedge bracket on the mounting surface and mark the drill holes with a marker or pencil.

C Attach a mounting bracket to the corner or wedge bracket and press in to snap both brackets together.

D For Wood, Drywall or Soft Surfaces: Secure the brackets to the mounting surface using a screwdriver and mounting screws.
For Concrete, Stucco or Brick: Using your previously marked holes as a guide, drill holes into the mounting surface using the included masonry drill bit. Then, insert wall anchors and secure the brackets using a screwdriver and mounting screws.
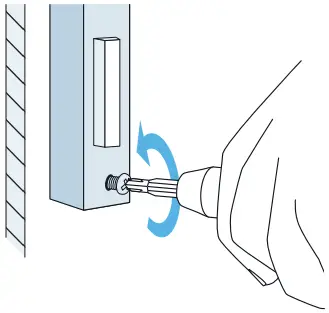
Step 2: Connect Doorbell to Existing Wiring
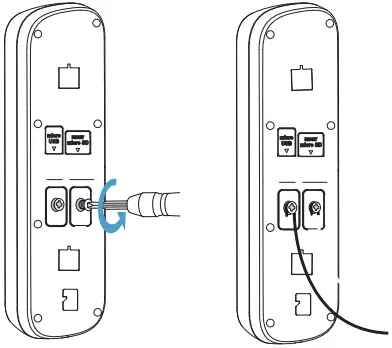
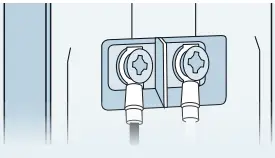
Loosen the terminal screws located on the back of your Wi-Fi Doorbell using a screw-driver. Place your existing doorbell wiring underneath the terminal screws, then re-tighten the terminal screws to secure the wires.
![]() NOTE If your existing doorbell wiring is too short, use the included extra wires and wire nuts to extend your wiring. Remove the terminal screws completely then thread the screws through the extra wire.
NOTE If your existing doorbell wiring is too short, use the included extra wires and wire nuts to extend your wiring. Remove the terminal screws completely then thread the screws through the extra wire.
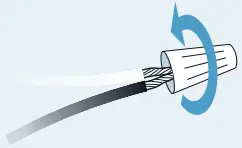
![]() NOTE To attach the wires, align the ends of the two wires, place the wire nut over the exposed wiring and twist the wire nut clockwise to tighten.
NOTE To attach the wires, align the ends of the two wires, place the wire nut over the exposed wiring and twist the wire nut clockwise to tighten.
Inserting a MicroSD Card (Optional)
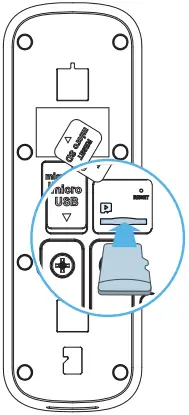
On the back of the device locate the MicroSD card slot. Raise the MicroSD card flap and insert the MicroSD card, gold pins down. Secure the flap back to the doorbell.
 Supports 128GB MicroSD Card (Class 10 or Higher)
Step 3: Mounting the Doorbell
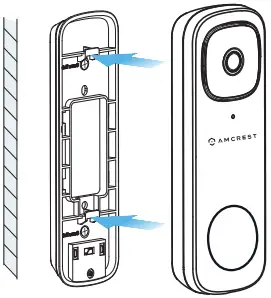
Feed the wiring back into the wall. Then, place the doorbell onto the mounting bracket and slide it down to secure it.
![]() NOTE You will hear a click sound once the doorbell has been secured to the bracket.
NOTE You will hear a click sound once the doorbell has been secured to the bracket.
Step 4: Turn the Breaker Back On
The physical installation is now complete. Turn your breaker back on and the allow the doorbell to power up. It may take the doorbell up to 2 minutes to fully power up.
Amcrest Smart Home
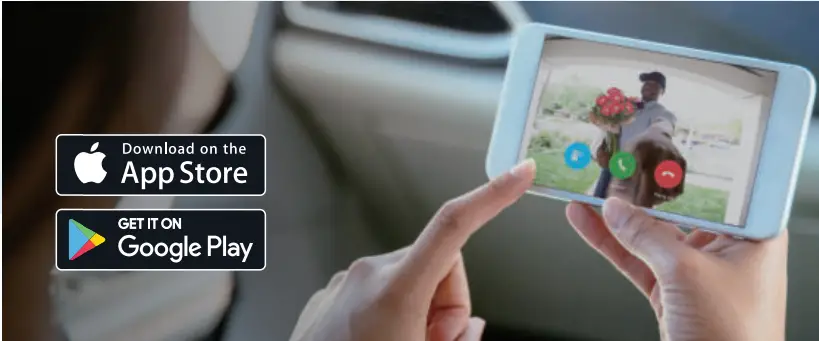
Now it’s time to setup the Amcrest Smart Home App.
To connect your Amcrest Wi-Fi doorbell to your Android or iOS mobile device, download the Amcrest Smart Home app and follow the instructions in the app setup.
We’d Love to Hear From You!
We wanted to personally reach out and thank you for purchasing from our Amazon store. Selling on Amazon is what we do to support our family, and product reviews are the lifeblood of our business. It would mean the world to us if you could take one minute of your time to help share the love by leaving us an honest review using the link below:
Thank you again for being one of our amazing customers!
Sincerely,
Amcrest Team
How can we help?
We are dedicated H providing the highest quality support to our customers and are available 7 days a week.
Online Video Tutorial & Quick Start Guide
amcrest.com/support
Need help?
[email protected]


