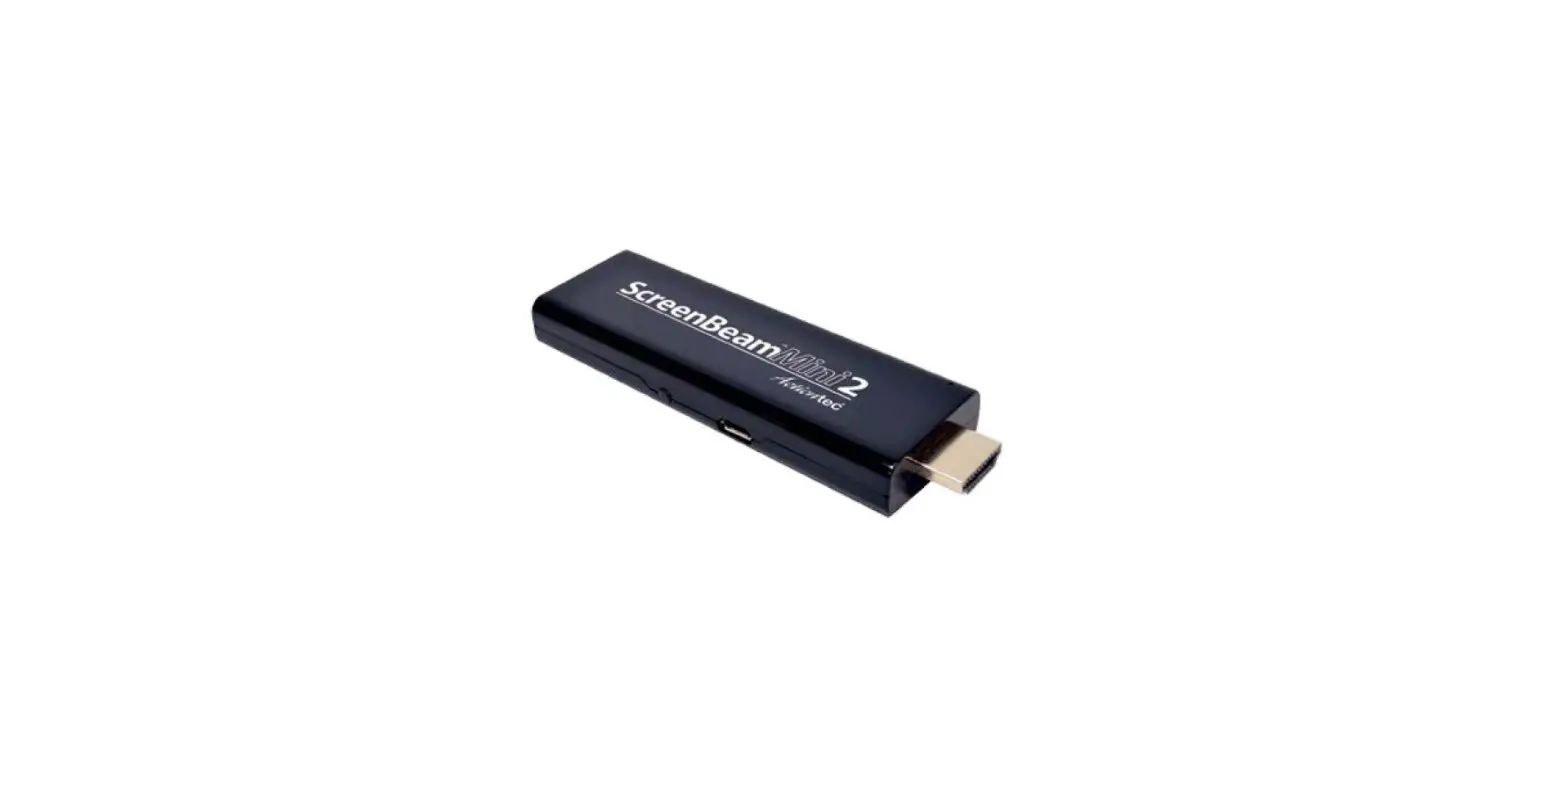
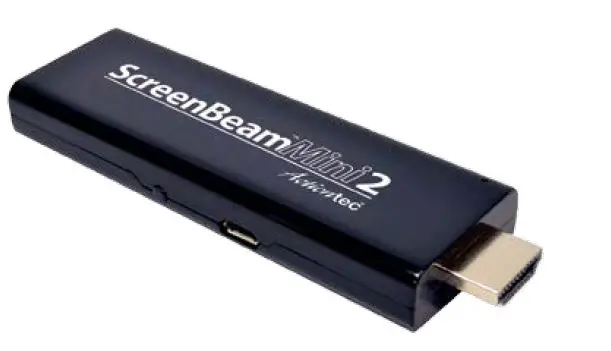
ScreenBeam SBWD60A Mini 2
This Installation Guide provides step-by-step instructions on how to set up your ScreenBeam Mini 2 Wireless Display Receiver
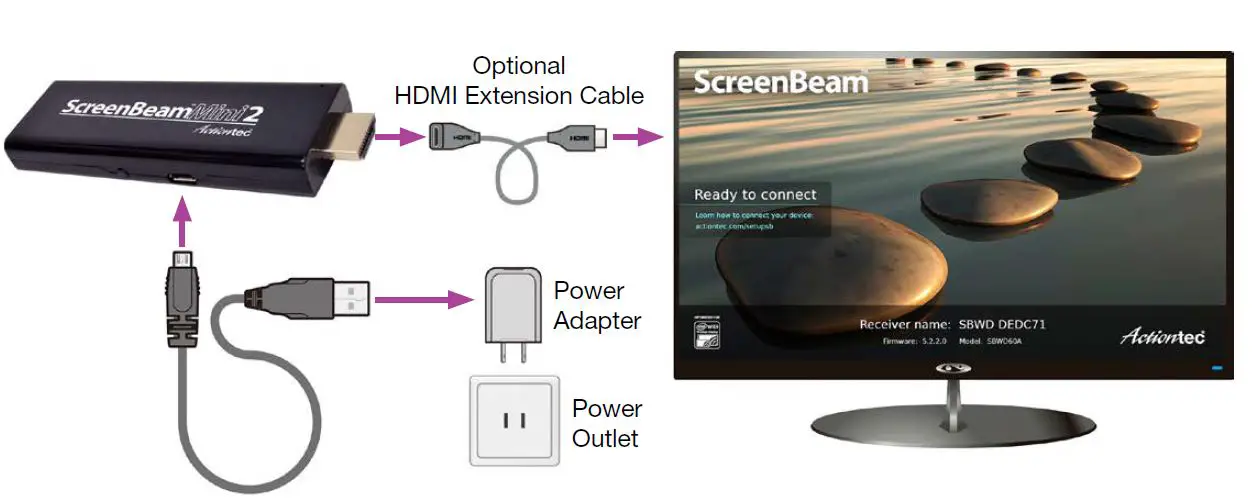
Install the receiver
- Remove the receiver, power adapter, USB cable, and HDMI extension cable from the box.
- Plug the small male connector of the USB cable to the receiver’s micro USB port labeled Power.
- Plug the receiver into an available HDMI port on your HDTV.
Note: If the receiver cannot reach the HDMI port on your TV, use the provided HDMI extension cable to connect the receiver. - Plug the large male connector of the USB cable to the power adapter and plug the power adapter into a power outlet.
- Turn on your TV and switch the input source until you see the Ready to Connect screen.
Connect your Windows 8.1 device
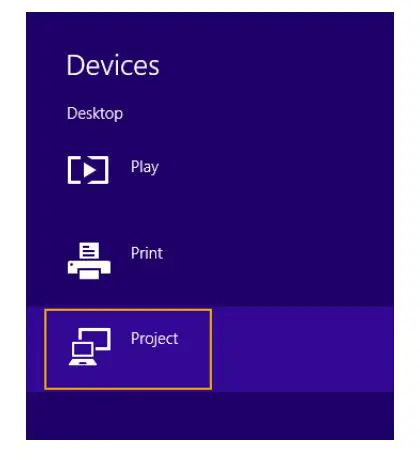
Windows 8.1 Devices
- From the Windows desktop, navigate to the Charms menu and select Devices. You can also use the shortcut keys
 + K.
+ K.
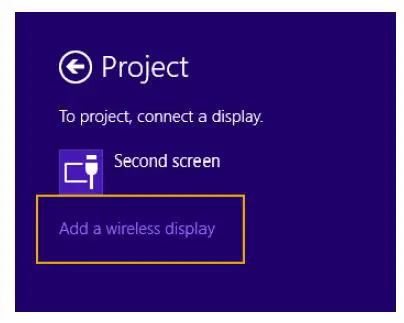
- From the Devices menu, click the Project icon.

- From the Project screen, select Adda wireless display.

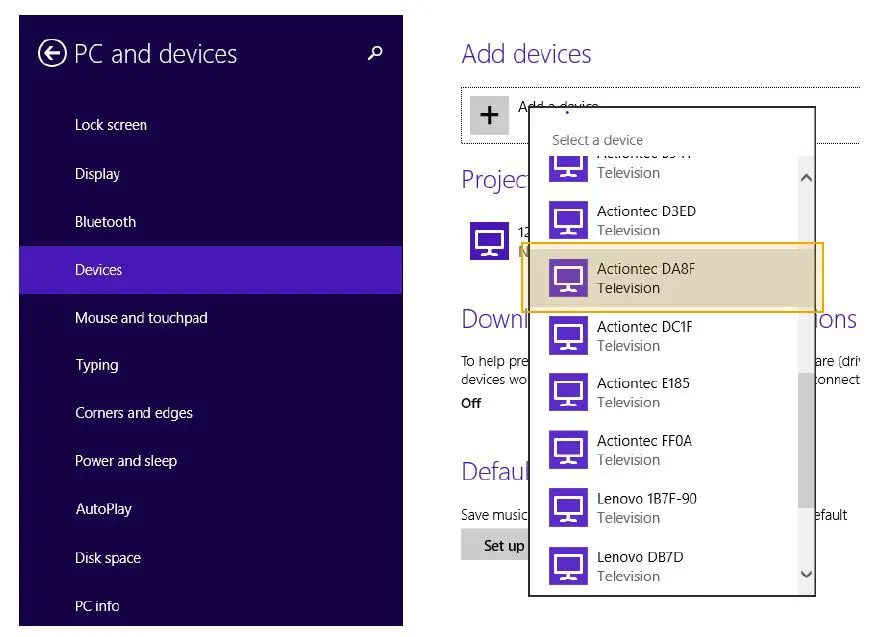
- Select your receiver from the list.
Note: This is the same receiver name that appears on the Ready to Connectscreen onyour TV.
- Enter the PIN as displayed on the TV scree


Connect your Windows 10 device
Windows 10 Devices
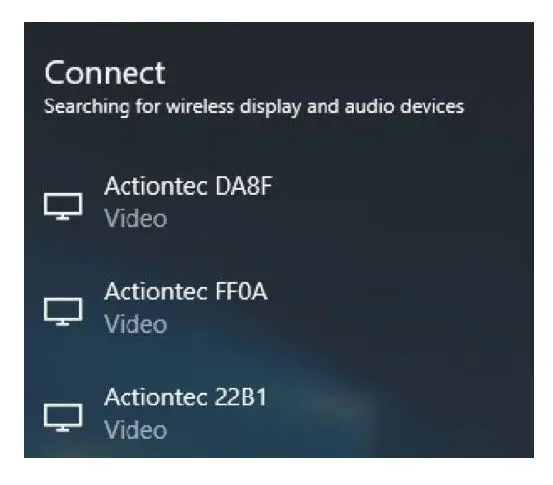
- Click the Notifications icon in the bottom-right corner of desktop, and then select Connect to open the wireless display receiver list, or use the shortcut keys
 + K. Select your receiver from the list.
Note: This is the same receiver name that appears on the TV’s Ready to Connect screen
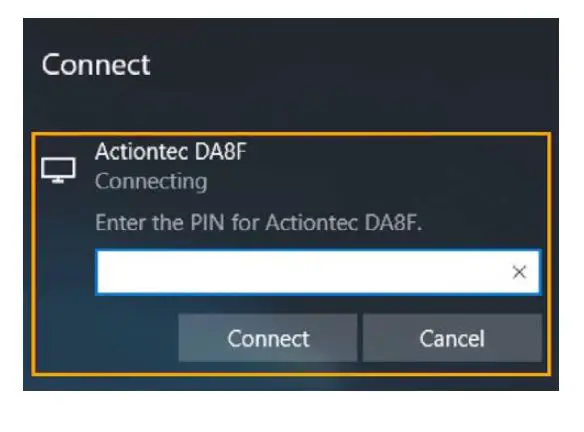
- Enter the PIN as displayed on the TV screen

Connect your Android device
Miracast-Enabled Android Devices
You can also connect to the receiver from a Miracast-enabled Android device, such as a smartphone, tablet, or gaming console (find the wireless display feature in Settings).
Note: The device should be running the latest software for best performance
- On a Miracast-enabled Android device, locate and open the Wireless Display Application.
Note: The name of the Wireless Display Application depends on the device type and model. Refer to the device’s carrier ormanufacturer user manual for more details. - Select the ScreenBeam receiver from the Wireless DisplayApplication’s list of available receivers.
- You may be required to enter a PIN code. Enter the PIN as displayed on the TV screen.
Switch display modes
When connected with a compatible wireless display application, the receiver supports three display modes (Duplicate, Extend and Second Screen Only).
Windows 8.1
Click Charms menu, select Devices, and then Project to launch the display options. Select the desired display mode. You can also use the shortcut keys  + P.
+ P.
Windows 10
Click the Notifications icon in the bottom-right corner of desktop, and click Project to launch the display options and select the desired display mode. You can also use the shortcut keys + P.
Install ScreenBeam Configurator
Actiontec’s ScreenBeam Configurator allows users to wirelessly configure and upgrade ScreenBeam Mini 2 receiver. Please go to and refer to the Configurator user manual for details
Visit actiontec.zendesk.com for more information
User Manual
Troubleshooting Tips
FAQs
Support: (888) 436-0657
Support email: [email protected]
© 2017 All rights reserved. Actiontec and the Actiontec logo are registered trademarks, and ScreenBeam is a trademark of Actiontec Electronics, Inc. All other names are properties of theirrespective owners. Specifications subject to change without notice. 072417
screenbeam.com


