![]()
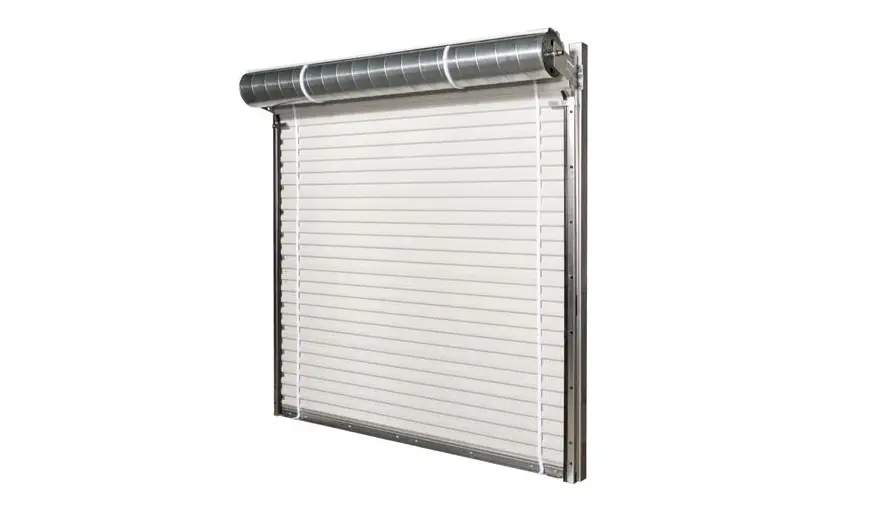
UPGRADE/REPAIR KIT
BARREL INSTALLATION INSTRUCTIONS
1. Assess the work space. Make sure there is sufficient room and lighting in the unit in order to make the repair. You will need approximately 48″ of clearance to safely stage the barrel assembly and perform the take down. Remove any objects in the unit that obstruct or infringe upon the work space.
2. Tools Recommended:
- Screw gun
- 3 “C” type vice clamps
- Optional winding bar
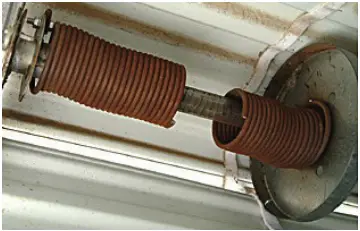
3. Inspect the damaged door unit. Identify whether the door has 1 or 2 springs and whether there is tension still applied on any spring(s). Assume that if a spring is not broken, it is still tensioned. Removing tension on a spring can cause serious injury or harm. Refer to the door manufacturer’s instructions for the recommended procedures for removing tension before continuing further.
4. Identify the location where the brackets attach to the wall and whether there is any additional guide attachment. Make note of the configuration for step #7.
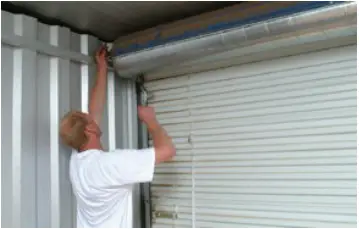
5. Bring the door into an approximate closed position so that the top of the curtain is rolled over the top of the axle assembly and is accessible. Place a clamp on both the right and left guide right beneath the bottom bar to hold the curtain into place.
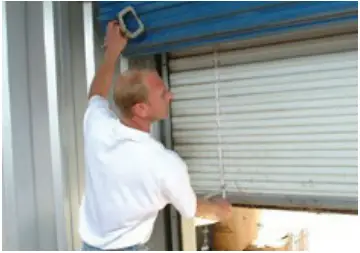
6. Using the screw gun, remove the teks screws attaching the curtain to the axle assembly.
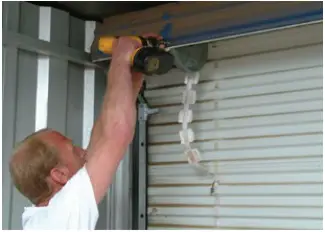
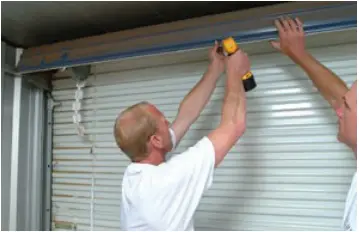
7. (A) Unfasten the bracket above the guides from the jamb of the wall. If there is no attachment between the bracket and the guide, then skip down to part (D).
(B) If the bracket is attached to the guide with carriage bolts, remove them with the screw gun and then skip down to part (D).
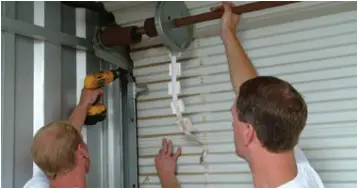
(C) If the bracket is attached to the guide with tab and slots, pull up to lift the bracket tab away from the slot. In some instances, it may be necessary to depress a loc tab before you are able to disengage the bracket tab away from the guide slot. Once detached, proceed to part (D).
(D) Clamp the drum of the axle to the curtain assembly with the 3rd “C” clamp. Repeat the same steps (A) thru (D) on the other bracket.
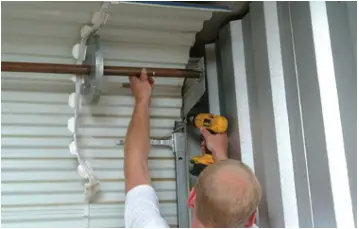
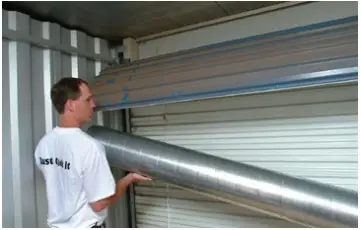
8. Once the defective axle and bracket assembly have been removed, lift the Janus barrel assembly into place.
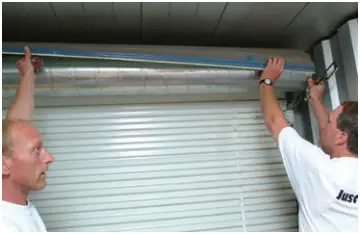
9. Line the hole on the brackets up with the holes left in the jamb. Secure the Janus bracket to the wall using appropriate fasteners supplied. Repeat this step on the other bracket.

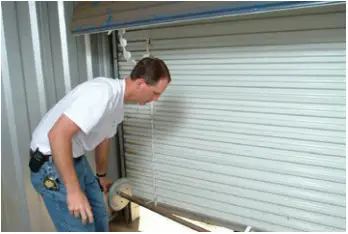
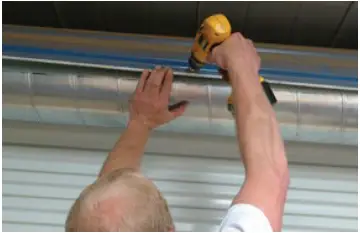
10. Rotate the barrel assembly around until the black line is facing forward in the middle of the drum. Bring the top of the curtain down and place it so that it lines up with the line on the drum. Line the edge of the curtain up with the edge of the barrel assembly and secure with a vice clamp.
11. While secure, fasten the curtain to the barrel in 3-4 evenly spaced locations.
12. Once secured, remove vice grips from the curtain, as well as the guides.
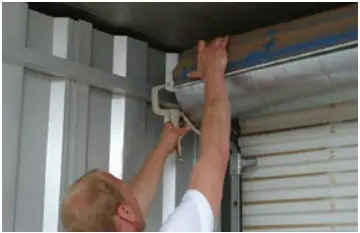
13. Apply tension spring to the Janus door by the tension adjuster on the left end of the barrel clockwise. Test door for operation and repeat as necessary.
Janus International Group
135 Janus International Blvd.
Temple, GA 30179
JanusIntl.com
Please email us at [email protected]
or call 866-562-2580


