![]()
2 Channel, 433MHz Receiver with Frequency Hopping
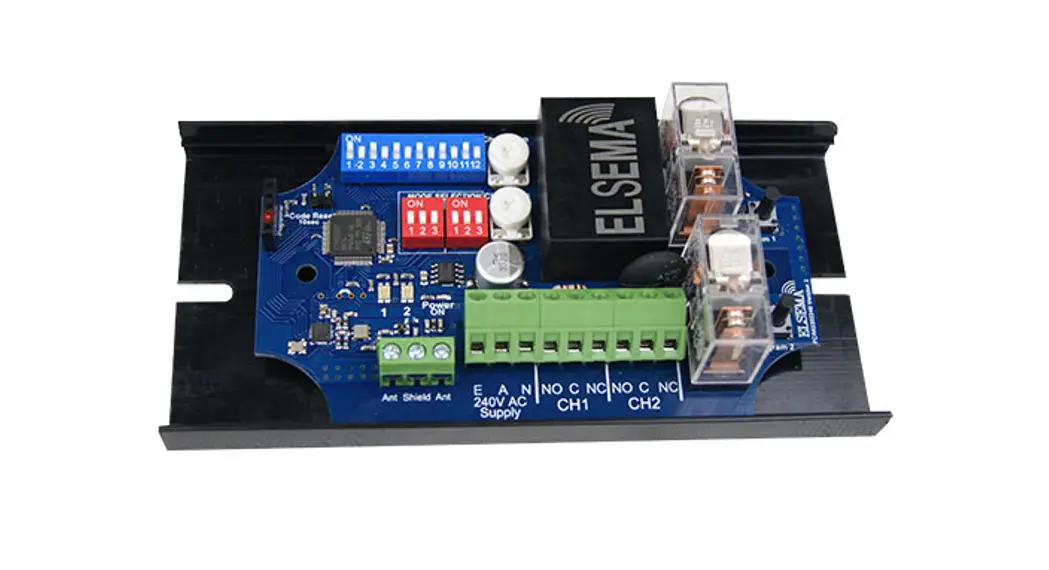
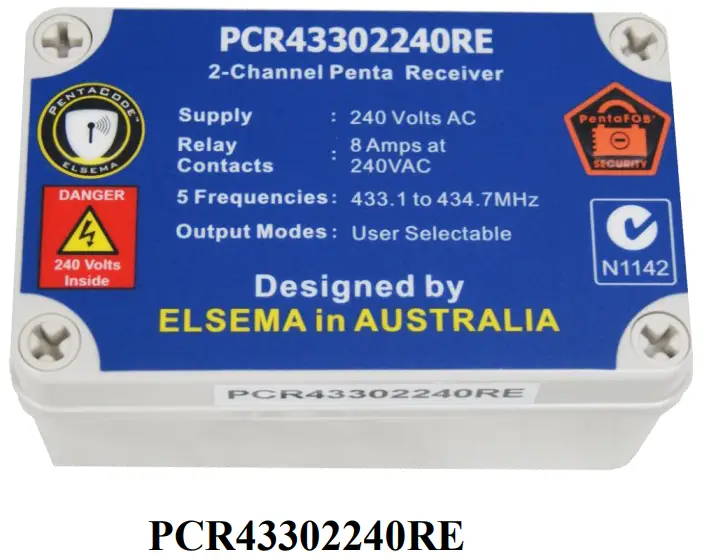
PCR43302240R
2 Channel, 433MHz Penta Receiver with Frequency Hopping
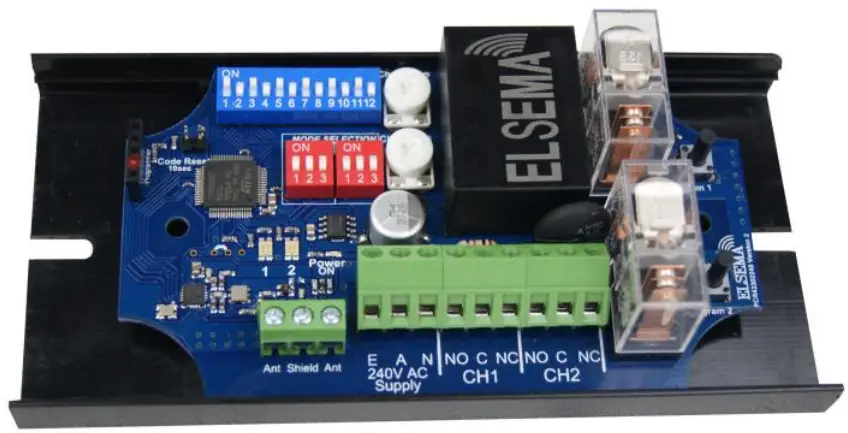
PCR43302240R
Features
- Supply voltage 100 – 240VAC
- Frequency hopping between 433.10 to 434.70MHz
- 12-way dipswitch or encrypted coding
- Relay output modes are user selectable
- Unlimited remotes can be programmed to the receiver
- Antenna diversity for the robust link with an extended range
- Compatible with PentaFOB®and PentaCODE® remotes
- On-board diagnostic LED’s to indicate correct power, reception, and relay activation
Applications
- Keyless access control for Roller shutters, automatic gates, and doors
- Equipment and machinery control for factories and warehouses
- Home automation i.e. garden lights, swimming pool control, etc.
- Security and lighting
…. and anywhere else you need a wireless signal to transmit a contact closure
Description
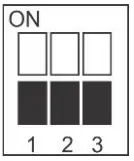
This receiver is compatible with “PentaFOB®” and “PentaCODE® ” remotes. It has several user-selectable modes and can be used in many different applications. The modes are changed by simply switching “ON” the 3way dipswitch.
The PentaCODE® dual coding system gives the installer the option to use the classic 12-way dip switch coding or one of over 17 billion encrypted codes.
With the 12-way dip switch, just match the keyring remotes and the receiver’s dip switch and it’s coded. With the encrypted code, you switch all the 12-way dip switches OFF and the remote and receiver automatically go into the encrypted coding. Please see the coding instructions for the encrypted coding procedure.
The receiver is available as a standalone card with relay outputs or enclosed in an IP66-rated weatherproof case.
Output Modes
Relay output on the receiver can be set to function in different modes. By default, the mode is momentary. Each channel is controlled independently except in “Roller Shutter Mode”.
| 3- way Dipswitch setting Ch1/Ch2 | Modes |
 | “Momentary” Relay stays “ON” for as long as the transmitter button is pressed.“Press and hold” |
 | “Latching” The relay remains “ON” until the next press of the transmitter button. Similar to switching “on” and “off” a light. |
 | “Delayed Off ” The relay stays “ON” for 1-300 seconds, adjustable by trimpot. 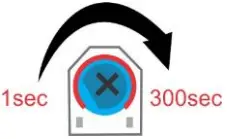 |
 | “On-Off” This mode requires a 2-channel or a 4-channel remote. Receiver Relay 1: Channel 1 will always switch the relay “ON” Channel 2 will always switch the relay “OFF” Receiver Relay 2: Channel 3 will always switch the relay “ON” Channel 4 will always switch the relay “OFF” Receiver relay 2 will only work in “ON-OFF” mode with PentaCODE® remotes. |
 | “Roller Shutter Mode” Open/stop/close cycle. This mode requires a single button on the remote* To use this mode, both Ch-1 and Ch-2 mode selection dipswitches must be set the same. Relay 1 and relay 2 are interlocked. Trimpot adjusts relay “ON” time from 30-120 sec. 1st Press: Relay 1 is “ON” 2nd Press: Relay 1 is “OFF” 3rd Press: Relay 2 is “ON” 4th Press: Relay 2 is “OFF” |
 | “Instant OFF ” The same is “Delayed Off ” except the relay will switch “OFF” as soon as the PCK43304W input is deactivated. |
 | “Security latching ” The relay will switch “ON” and stay “ON” until the supply to the receiver is momentarily interrupted. |
Products in the Range
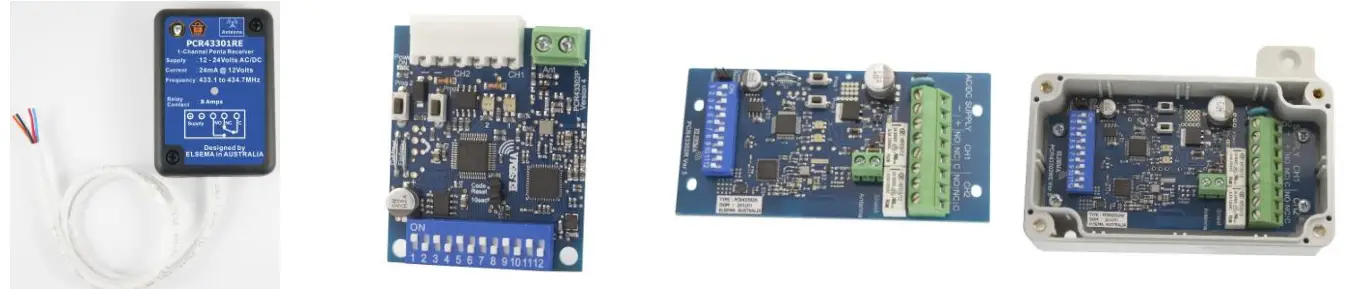 | |||
| PCR43301RE 1-Channel Receiver with Relay Output. Enclosed in a case | PCR43302P 2-Channel Plug in type Receiver with Open Collector Output | PCR43302R 2-Channel Receiver with Relay Outputs | PCR43302RE 2-Channel Receiver with Relay Outputs. Enclosed in a case |
 | |||
| PCR43301240R 1-Channel Receiver with 240VAC mains supply | PCR43301240RE 1-Channel Receiver enclosed in an IP66 case | PCR43302240R 2-Channel Receiver with 240VAC mains supply | PCR43302240RE 2-Channel Receiver enclosed in an IP66 case |
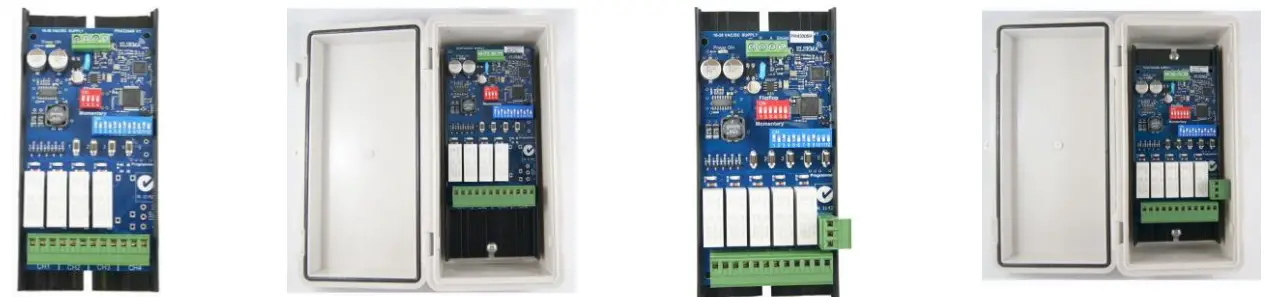 | |||
| PCR43304R 4-Channel Receiver with Relay Outputs | PCR43304RE 4-Channel Receiver enclosed in an IP66 case | PCR43305R 5-Channel Receiver with Relay Outputs | PCR43305RE 5-Channel Receiver enclosed in an IP66 case |
Technical Data
| Supply Voltage | 100 to 240 Volts AC Mains |
| Frequency Band | 433.100 to 434.700MHz |
| Receiver Sensitivity | Better than 0.316uV (-117dBm) |
| Operating Temperature Range | -5 to 50°C |
| Receiver Memory Storage | Unlimited Remotes |
| Decoding System | Encrypted 17 billion codes combinations or Onboard 12-way code switch |
| Outputs | 2 Voltage free change over relay outputs, rated at 8 Amps at 240Volts AC |
| Relay Contacts | Common (C), Normally Closed (NC) & Normally Open (NO) |
| Connections | Screw type terminal block |
| Antenna | ANT433 series for long-range applications. Antenna wire for short-range applications |
| Operating Range | Refer to the remote control or transmitter datasheet |
| Dimensions | 120 x 70 x 30 (PCR43302240R), 125 x 80 x 75 (PCR43302240RE) |
| Weight | 140grams (PCR43302240R), 330grams (PCR43302240RE) |
| Useable Transmitters | FOB433 series and PCK series. |
Block Diagram
PCR43302240R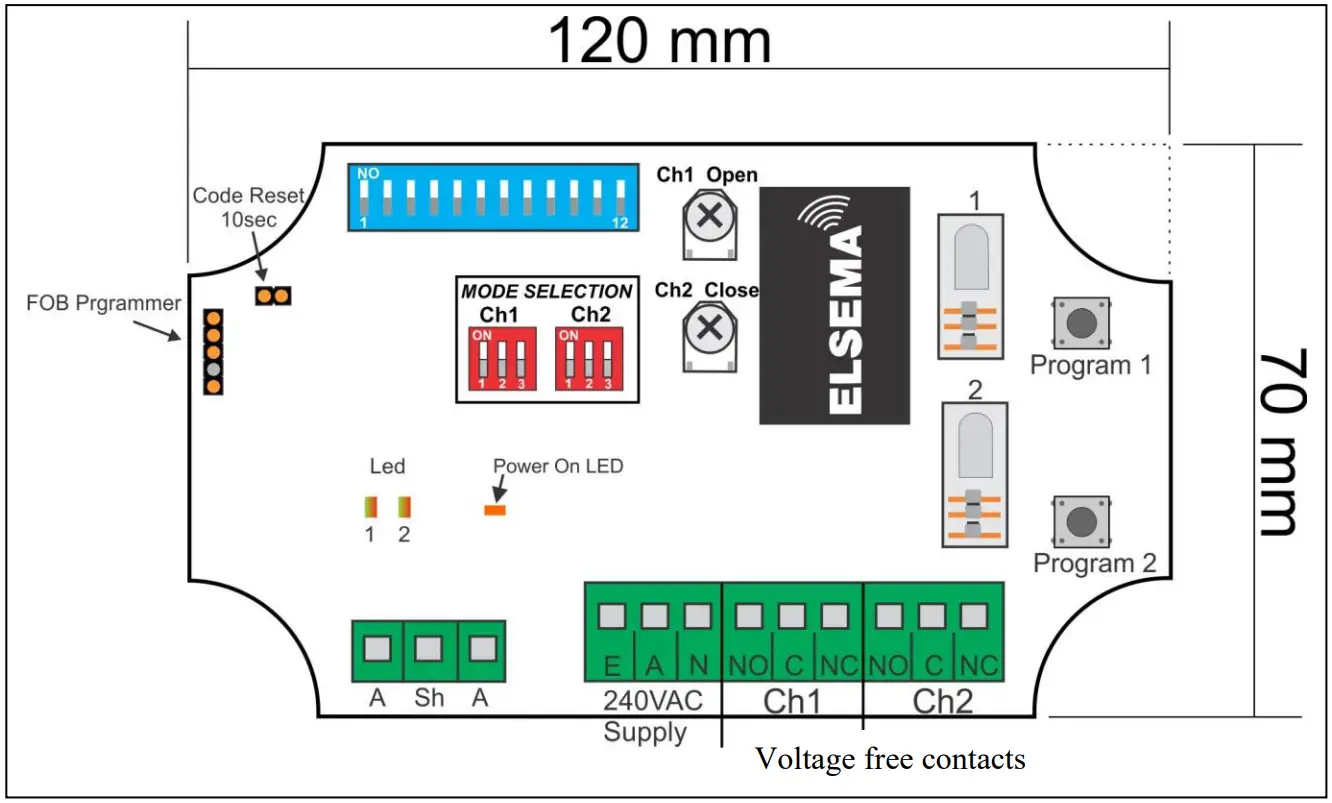 PentaFOB® Programming Instructions
Coding the PentaFOB® remotes and receivers can be done in 2 different ways.
- Remote to Receiver
- Remote to Remote
Remote to Receiver
- Check that all switches are “OFF” on the receiver 12-way dip switch
- Press and hold the program button on the receiver
- Press the remote button for 2 seconds, the receiver LED will flash and then turn Green
- Release the button on the receiver and the remote
- Press the remote control button to test the receiver output
Remote to Remote (you should be near the receiver for this procedure)
- Open the case of the remote control that is already programmed and press and release the program button on the back of the board (The receiver enters learning mode)
- Press the button of the remote in step 1 which activates the receiver
- Press the button on the new remote which needs to be programmed for 2 seconds
- Press the program button again on the remote in step 1(The receiver exits learning mode)
- Press the new remote control button to test the receiver output
For receivers that do not have the red marking
- Open the case of the remote control that is already programmed and Press and release the program button on the back of the board
- Press the new remote control button for 2 seconds
- Press the new remote control button again to test the receiver output
Deleting Receivers Memory
Short the Code Reset pins on the receiver for 10 seconds. This will delete all the remotes from the receiver’s memory.
PentaFOB® Programmer
This programmer allows you to add and delete certain remotes from the receiver memory. This is used when the remote control is lost or a tenant moves from the premises and the owner wants to prevent unauthorized access.
PentaFOB® Backup Chips
This chip is used to back up or restore the contents of a receiver. When there are hundreds of remotes programmed to a receiver the installer normally backups up the receiver memory in case the receiver is damaged.
PentaCODE® Programming Instructions
12- Way Dip Switch Coding
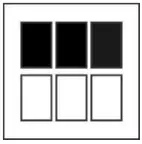
- Set a random code on the receiver dip switch by flicking the dip switches “On” or “Off”. (DO NOT USE THE DEFAULT FACTORY SETTING FOR THE 12-WAY DIP SWITCH AS THIS IS A COMMON CODE)
- Open the battery cover in the PentaCODE® remote.
- Match the 12-way dip switch to the receiver’s 12-way dip switch.
- Press button 1 on the remote and the receiver output should activate. This is indicated by the receiver LED.
To program the same PentaCODE® remote buttons 2, 3, or 4 to another receiver change dip switches 11 and 12 in the 2nd, 3rd, and 4th receivers. For example:
| Receivers Dip Switch 11 | Receiver Dip Switch 12 | |
| Receiver 1 | Off | Off |
| Receiver 2 | On | Off |
| Receiver 3 | Off | On |
| Receiver 4 | On | On |
Encrypted Coding – (All 12-Way Dip Switches must be “Off”)
Coding the PentaCODE® remotes and receivers can be done in 3 different ways.
- Receiver to a Remote
- Remote to a Receiver
- Remote to a Remote
➢ Receiver to a Remote
- Press and hold program button 1 on the receiver.
- Press the remote button you want to program for 2 seconds, receiver LED will flash Green
- Release the button on the receiver and the remote.
- The LED on the PentaCODE ® remote will flash to confirm the coding has been successful.
➢ Remote to a Receiver / Remote to a Remote
Set one of the remotes or receivers to broadcast its code. The broadcaster’s code will be programmed to the other units.
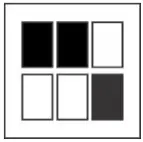
– To broadcast the remotes code make sure all 12 dip switches are “off”. Then press and hold button 1 and flick dip switch 12 “on” and then “off”. This is confirmed by the LEDs being on for 10 seconds. You can release the remotes button 1.
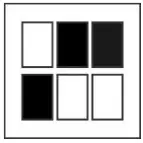
– To broadcast the receiver’s code make sure all 12 dip switches are “off” and then flick dip switch 12 “on” and then “off”. This is confirmed by the green LED is on for 10 seconds.
While broadcasting the code press button 1 on a different remote or receiver for 1 second and then release the button. The LED will flash twice to confirm successful programming.
Broadcasting will be latched on for 10 seconds or stop if any dipswitch is turned on.
Deleting Receivers Memory
Short the CC pin on the receiver for 10 seconds. This will delete all the remotes from the receiver’s memory.


