Q-nex CBX100 Control Box User Manual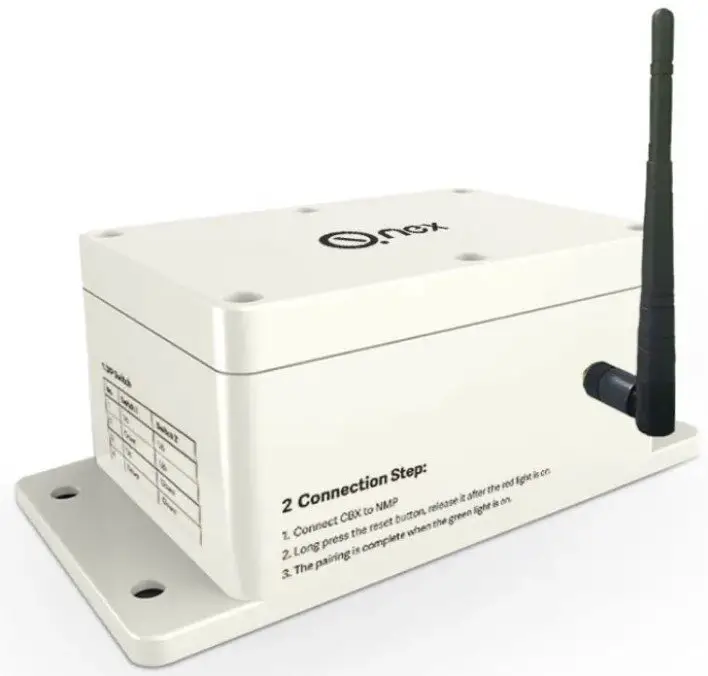
Product Introduction
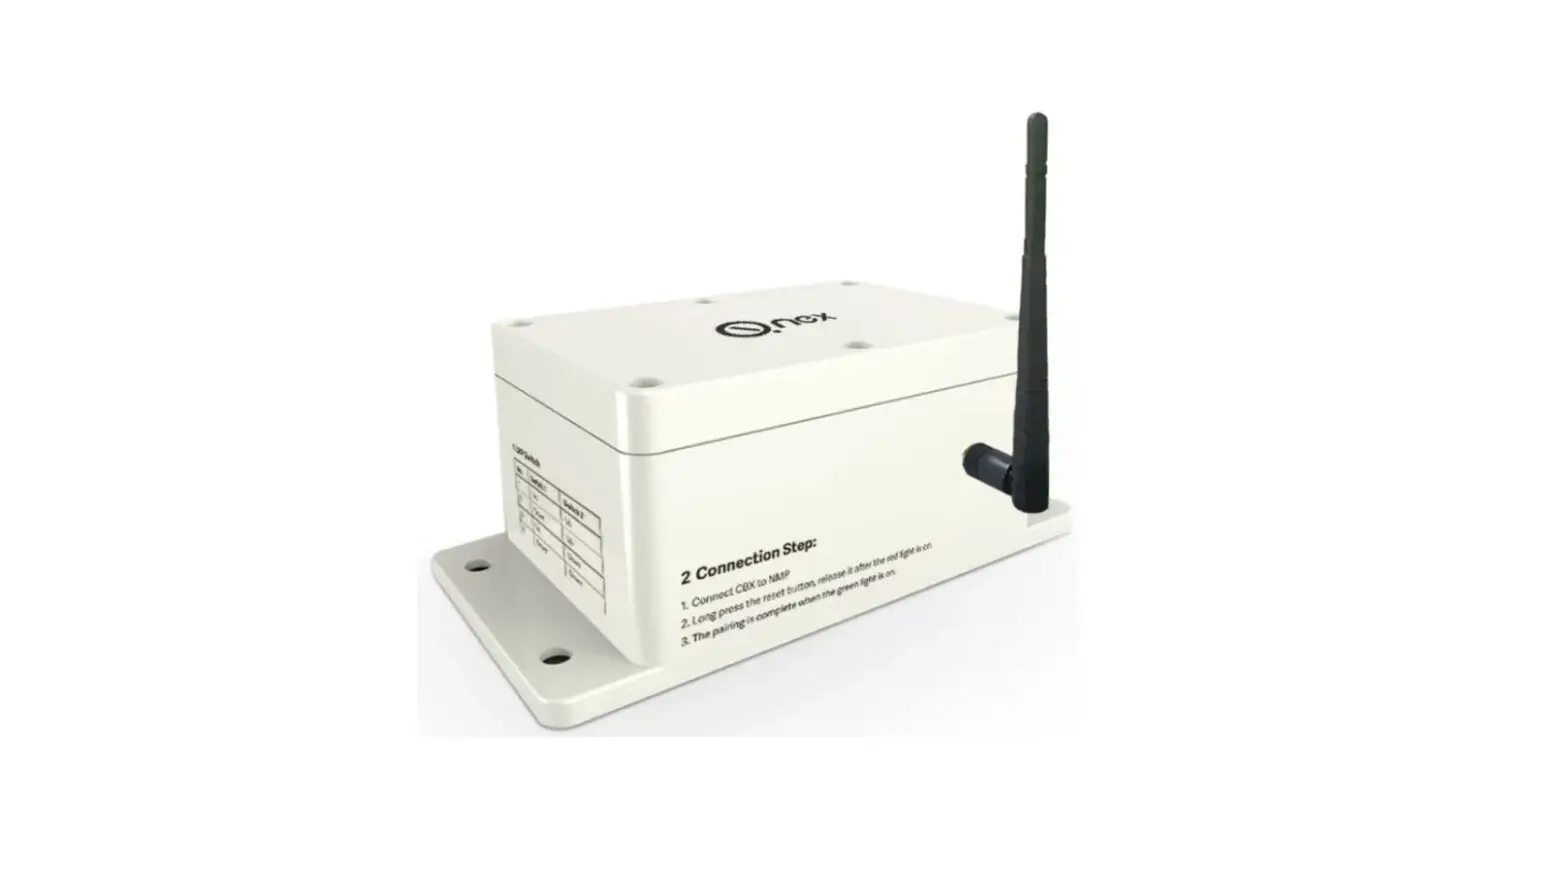
Q-NEX Control Box (CBX), is a part module of Networked Media Processor (NMP). Connect to NMP by wireless network and build a cloud control system, whicheasilyrealizes remote device management on campus for the convenient control of multiple devices such as air conditioners, displays, lights, e-curtains, etc. Effectivelyshorten management cycle and improve the work efficiency of school IT admins. There is no need for wiring. Wall-mounted design ensures easy installationandstable performance.
Product Overview
Front View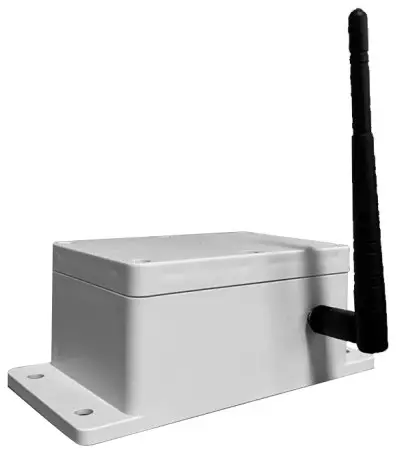
Rear View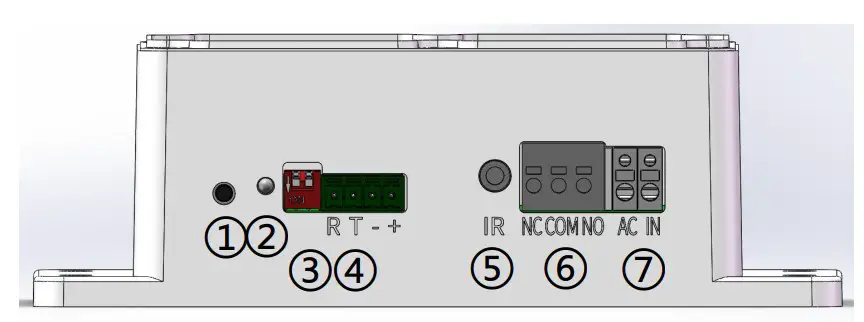
- Reset Button
- Indicator
- DIP Switch
- RS232 Interface
- Infrared Transmitter Interface
- Relay Interface
- Power Supply
Pairing
Each DIP swtiching combination is referd to one CBX, andtheserialnumber is one to-one matched with each CBX, which will appear onQ-NEX Console for device control. One CBX can control one Device
DIP Switch Instruction:
| No | Switch 1 | Switch 2 | |
| 1 | Up | Up | 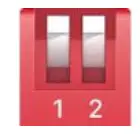 |
| 2 | Down | Up | 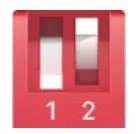 |
| 3 | Up | Down | 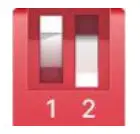 |
| 4 | Down | Down | 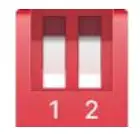 |
According to DIP switch instruction, set DIP swtiching combination of one CBXnumber and start pairing
Wire CBX to NMP by connecting CBX’s RS232 to NMP’s PANEL port as instruction below, it can be done through the cable with connectors provided in the accessory. Or, users can DIY a cable by the instructed connection below.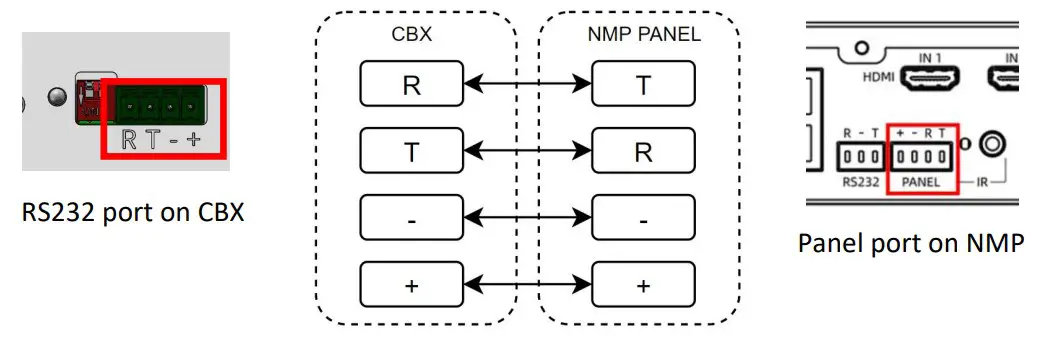
Long press the reset button for 4-5 seconds, the green light flashes while CBX automatically pairs with NMP. The green light is always on after pairing successfully.
Unplug the cable between CBX and NMP. Keep the CBXpoweredon,and connect the CBX box to the device which can be controlledviaRS232,IRor Relay.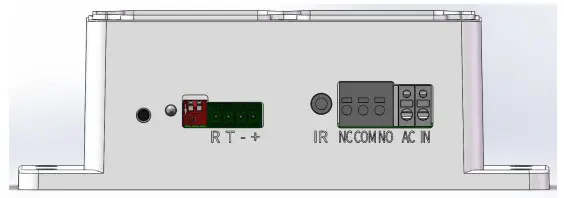
Log in to Q-NEX Dashboard to set up CBX. Device > Device Management, select NMP, and click the “Edit” on CBXfor setting.
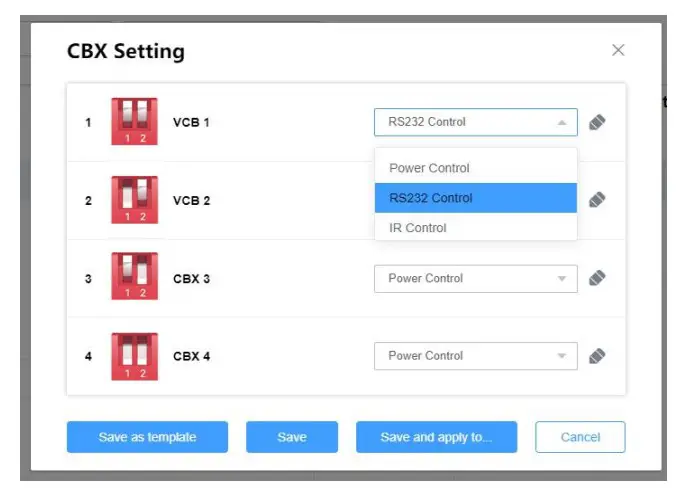
Select the number according to DIP switch, click the selection box of control mode. Power control, RS232 control and infrared control can be chosen.
Please rename CBX and select a brand and model of the device connected by RS232. Note: If the brand and model are not in the list, please refer to “RS232 Control Code” to add a new code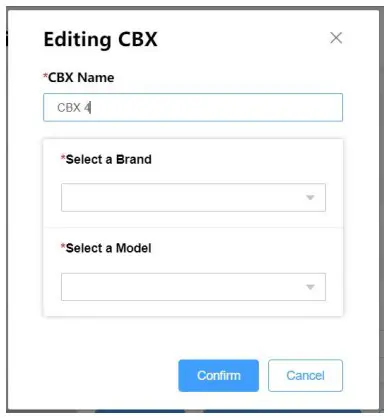
Please rename CBX andselect anairconditioner OR a remotecontrol deviceconnected by IR.
Note: If the IR deviceis not inthelist,please refer to “IRControl”tolearnanew IR control Code.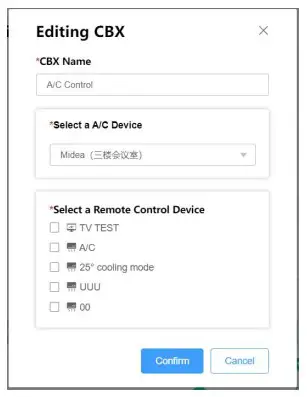
Click Save after the setting is complete.
Notice:
- Press the reset button on CBX to restart the operation from the first step, when the NMP is changed.
- When a device for controlling is replaced, please log in to Q-NEX Dashboard to reset.
- Indicator Instruction:
Indicator Status Green light flashes CBX is pairing with NMP Green light is on CBX is connected to NMP via WiFi Red light is on CBX is disconnected to NMP via WiFi - The Relay interface of CBX is mainly used for power control, such as lamp, projector, TV etc.;
RS232 interface can be used to control RS232 devices, such as interactive flat panel, projector, etc.;
IR interface is used to control devices with infrared remote control, such as: Air conditioning, TV, curtains, etc.
Device Control
Control by Q-NEX Console
Log in to Q-NEX Console, click Device Control, and select the NMP that has beenpaired with CBXs. Then you will see the list of devices connected to CBXs, whichareready to be controlled.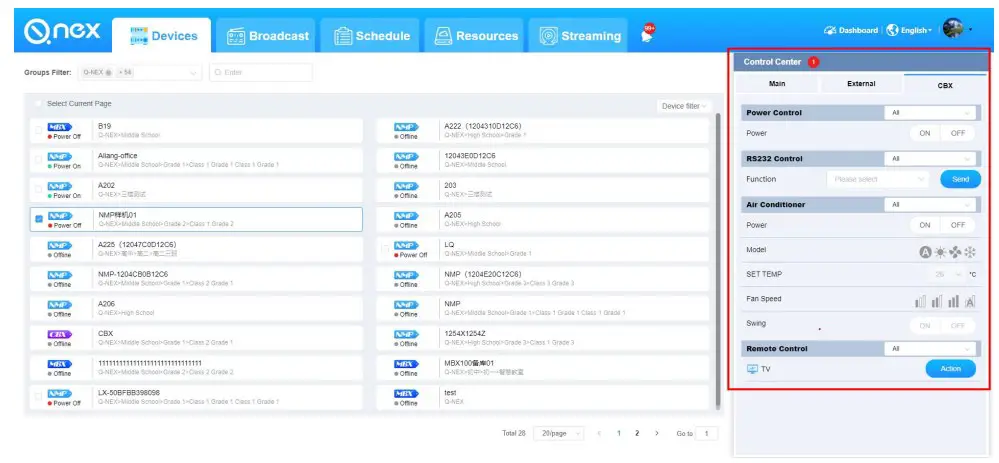
Control by Q-NEX App
Log in to the Q-NEX APP, select the NMP that has been paired with CBXs. Then you will see the list of devices connected to CBXs, which are ready to be controlled.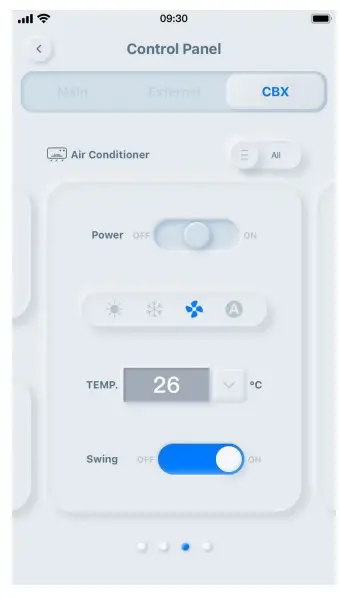

![]() www.QnexTech.com
www.QnexTech.com![]() [email protected]
[email protected]![]() 6th Bldg. High-Tech Base. Fuzhou Fujian Prov. China
6th Bldg. High-Tech Base. Fuzhou Fujian Prov. China


