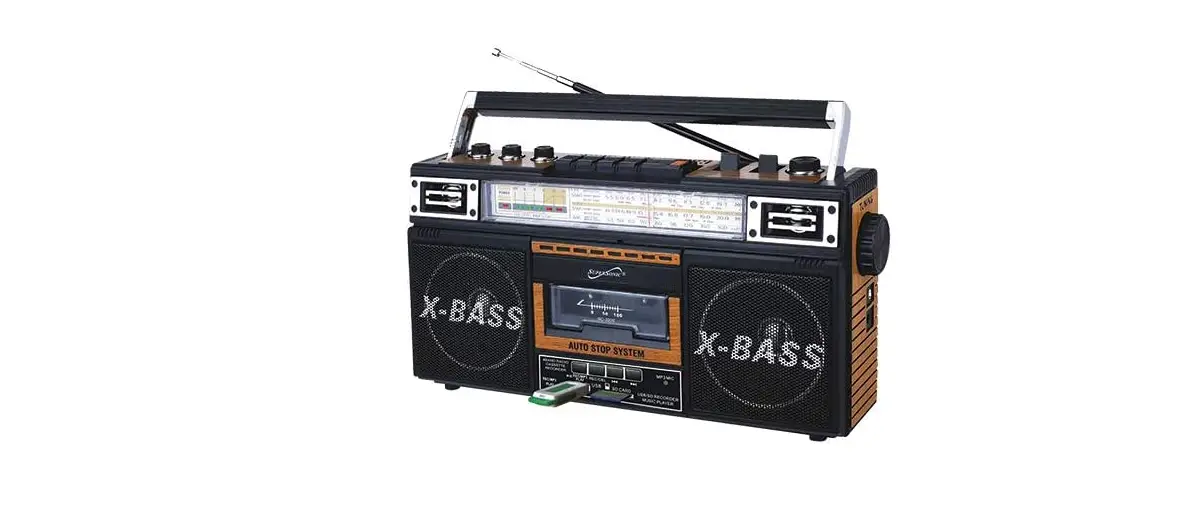
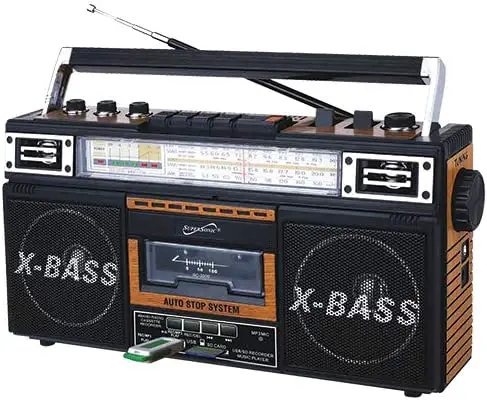
SuperSonic SC-3201BT Retro Radio
Specifications
- EQ MODEL: 3 Band
- ANGLE: 360º Antenna
- JACK: 3.5mm Stereo Earphone Jack
- POWER CONSUMPTION: 20W
- OUTPUT POWER: 4W
- AC POWER: 120/240V ~ 60/50Hz
Manufacturer of consumer and mobile electronics is called Supersonic. The primary purpose statement, “To deliver Design, Value and top Quality products, which promise years of ultimate entertainment pleasure for our consumers,” has been the foundation of our success. They provide high-quality, creative items that may be incorporated into any lifestyle. Supersonic works cooperatively with its associates, vendors, and clients to meet the evolving technological demands of the consumer.
With the variety of Bluetooth speaker systems, which are simple to use and quick to set up, you can enhance your sound at home or while you’re on the move. Users get access to countless musical selections because to the Wifi capability. Every type of person may use a Bluetooth speaker, from the agile traveler who prefers small, portable designs to the huge DJ speaker system. Enjoy your music wherever you go.
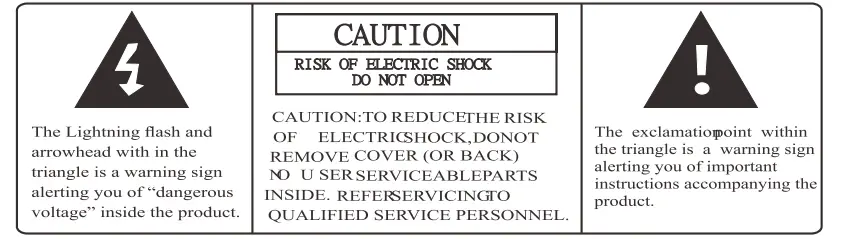
Caution
Do not install this equipment in a confined or building-in space such as a book case or similar unit, and remain a well ventilation conditions at open site. The ventilation should not be impeded by covering the ventilation openings with items such as newspaper, table-cloths, curtains etc.
WARNING: To reduce the risk of fire or electric shock, do not expose this apparatus to rain or moisture. The apparatus shall not be exposed to dripping or splashing and that objects filled with liquids, such as vases, shall not be placed on apparatus.
WARNING: The battery (battery or batteries or battery pack) shall not be exposed to excessive heat Such as sunshine, fire or the like. WARNING: The mains plug is used as disconnect device, the disconnect device shall remain readily pairable.
No naked flame sources, such as lighted candles, should be placed on the apparatus. Attention should be drawn to environmental aspects of battery disposal.
Bluetooth MP3 Instructions:
Push the function switch to the “MP3/BT”, after hearing the Bluetooth prompt sound, open the Bluetooth of the mobile phone to search the “FP-BT” point to enter the connection, the successful connection has “Ding dong” rang and the indicator light flashing, then you can choose to play music on the phone. Press ” rewind ‘or” forward “to select the previous or next track and press ” pause “to pause.
If you want to play USB/SD, insert the USB or SD card that contains MP3 files into the corresponding socket of the radio, music will be automatically played. Press “rewind” or “forward” to select the previous or next track, and press to pause, long press forward” can fast forward songs, long press can fast rewind songs. If you want to play a recording file, long press the “MP3/REC PLAY” button to convert it.
MP3 Recording Function Instruction:
- Radio recording:
Push the function switch to the “RADIO”, and then select the program to be recorded, insert USB or SD into the device, then press the “REC” button, and start recording when the “REC/MP3 PLAY” light turns on. If you want to exit the recording, press the “REC” button again or push the function switch to the “USB” to exit the recording and start playing the recorded file. - MP3 tape recording:
Push the function switch to “TAPE”, then put the tape into the card holder, press the down button to PLAY music, and then insert USB or SD into the machine, then press the “REC” button, when the “REC/MP3 PLAY” 1light turns on, the recording will start. If you want to exit the recording, press the “REC” button again or push the function switch to the “USB” to exit the recording and start playing the recorded file - Outside the recording:
Push the function switch to the “USB”, insert the USB or SD into the machine, and then press the “REC” key. When the “REC/MP3 PLAY” light turns on, talking to the built-in “MP3 MIC” position of the machine and start recording. Press the “REC” key to exit the recording and start playing the recorded file. Long press “REC/MP3 PLAY” if you want to go back to playing MP3 file when playing the recording file. Long press “REC/DEL” for 3 seconds to delete the currently playing file. - MP3 /BT Tape recording:
Push the function switch to the “MP3/BT”, after hearing the Bluetooth prompt sound, open the Bluetooth of the mobile phone to search the “FP-BT” point to enter the connection, the successful connection has “Ding dong” rang and the indicator light flashing, then you can choose to play music on the phone or insert the USB or SD card with MP3 files into the corresponding position on the machine to play music. Put the tape into the card holder and press the recording button to start recording, and then push the function switch to the “TAPE” to play the recording file.
Sources of Power
AC Operation
- Before connecting the unit of an AC Outlet, check that the operating VOLTAGE of the unit is identical with the VOLTAGE of your Local Power Supply.
- Connect the supplied AC Power Cord to the AC Socket at the side of unit.
- The Battery will be automatically disconnected, when The AC Power Cord is plugged into the socket.
Battery Operation
Unplug the AC cord from AC jack. This unit requires UM IX4(not included), open battery Insert the batteries in the battery compartment at the downside of the unit, being careful of position according to the notes. Close the battery compartment cover.
Battery Precautions
- 1Maintain correct polarity(tand-) when installing battery.
- 2Take out batteries when the unit will not be used fora long time
Radio Operation
- Select required band (FM/AM/SW1-SW2) with BAND selector.
- Turn to required station by rotating the TUNING Control.
- The built-in AM antenna and the antenna are directional. When receiving FM or SW1-SW2 broadcast, pull out the telescopic antenna in full length; the strongest reception can be achieved by rotating the set of antenna.
- Adjust VOLUME control to your listening preference.
- Set the Function Șelector SLEEP position, Press PLAY Button. The radio will be automatically turned off when the tape reaches the end.
- To turn off the radio, set the function selector to TAPE (OFF) button.
Listening with Headphones (not included)
For private listening, you can use headphones with the unit. Connect the headphones (not included) to the Headphones jack at the side of the unit. The sound from the speakers is automatically turned off. Listening with Headphones (not included). For private listening, you can use headphones with the unit. Connect the headphones (not included) to the Headphones jack at the side of the unit. The sound from the speakers is automatically turned off when headphones are connected to the unit.
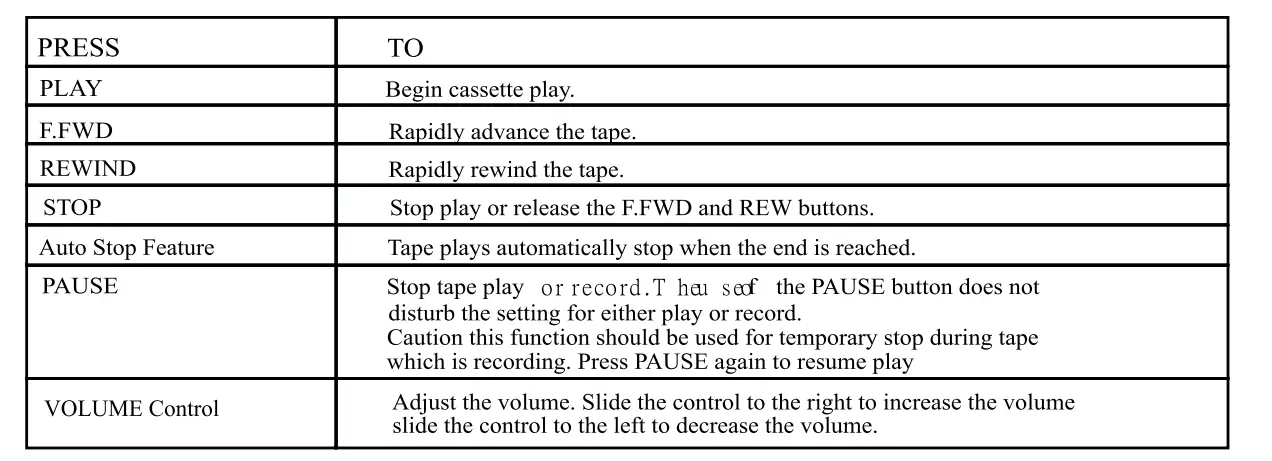
Play Back Operation
Cassette play
- Set the Function selector to the TAPE position
- Press the STOP/E.JECT button to open the cassette door. Insert the cassette so the open side faces up. Close the cassette door.
- Use the following buttons and controls for cassette play.
Changes or modifications not expressly approved by the party responsible for compliance could void the user’s authority to operate the equipment. This equipment has been tested and found to comply with the limits for a Class B digital device, pursuant to Part 15 of the FCC Rules. These limits are designed to provide reasonable protection against harmful interference in a residential installation. This equipment generates uses and can radiate radio frequency energy and, if not installed and used in accordance with the instructions, may cause harmful interference to radio communications. However, there is no guarantee that interference will not occur in a particular installation. If this equipment does cause harmful interference to radio or television reception, which can be determined by turning the equipment off and on, the user is encouraged to try to correct the interference by one or more of the following measures:
- Reorient or relocate the receiving antenna.
- Increase the separation between the equipment and receiver
- Connect the equipment into an outlet on a circuit different from that to which the receiver is connected.
- Consult the dealer or an experienced radio/TV technician for help
This device complies with part 15 of the FCC rules. Operation is subject to the following two conditions (1) this device may not cause harmful interference, and (2) this device must accept any interference received, including interference that may cause undesired operation.
Directly Recording from the In-In Radio
- Set the Function Selector to the RADIO position.
- Turn in the radio station you want to record.
- Insert a blank cassette into the tape compartment.
- Press the Record button, play button will be pressed automatically and recording starts.
- Direct recording will continue until the STOP or PAUSE button is pressed, or until the tape reaches the end.
Care and Maintenance
TO ensure optimum performance from your unit, keep the tape inside clean. To clean the tape path, open the cassette door. Moisten a cotton swab with isopropyl alcohol or special tape head cleaning fluid. Remove any excess alcohol from the swab. Clean the tape head, capstan and pinch roller. Avoid scratching the head surface. To clean the unit housing, use a soft damp cloth. After cleaning, wipe the unit surface with a dry cloth.

Troubleshooting
Check The Following Guide for Problem Resolution

FAQ’s
- How reliable are Kaito radios?
It is a fantastic choice for someone who wishes to use it as a traditional radio to listen to music because of its high AM and FM ratings. Similar to previous crank radios, it can receive the NOAA weather band. One of the quietest radios we tested, the maximum level is only 76.7 dB at one meter from the speaker. - Which radio does NOAA suggest?
The Midland WR400 is by far the greatest NOAA weather radio currently on the market. It’s a terrific upgrade from your present alarm clock because it also functions as an AM/FM alarm clock. - Do any radios come from the USA?
The Fourth of July is a wonderful occasion to honor our “Made In USA” goods! Because Pacific Radio is a family-run business in the United States, we have always supported domestic producers and businesses. - Shortwave radios are still in use.
Shortwave receiver ownership has been and continues to be common in many nations, especially in the majority of poor countries and in the Eastern Bloc during the Cold War (in many of these countries some domestic stations also used shortwave). - What is the lifespan of a wind-up radio?
The radio may run for up to a day when fully charged; one minute of winding results in 20 minutes of playback. The radio can run for up to 7 hours after being completely charged through a USB connector. - Describe a five-way radio.
You do not need to request or purchase a specific “5 way” radio system to have 5, 6, 7, or more walkie-talkies conversing on the same channel. - How can I operate the NOAA weather radio on my Voyager?
Set the band selection to WEATHER and choose your local weather station on the weather band to use the NOAA Alert function. The Power Selector Switch should then be set to NOAA Alert. - What factory produces Midland radios?
Manufacturing firm Midland Radio Corporation, with headquarters in Kansas City, Missouri, is sometimes known as Midland Radio or just Midland. Products for radio communications are created by Midland Radio. - Is shortwave radio a reliable emergency tool?
Despite not being the ideal option for daily listening, emergency crank-powered analogue shortwave radios are excellent as a backup radio since they can be self-powered. - Which radio type is utilised in an emergency?
Emergency officials view hand crank radios as being crucial components of an emergency kit. The top emergency crank radios offer illumination, sustained power, and NOAA weather warnings. These radios can be a ray of hope when you need it most in a time when we are essentially powerless without cell phones and the internet.


