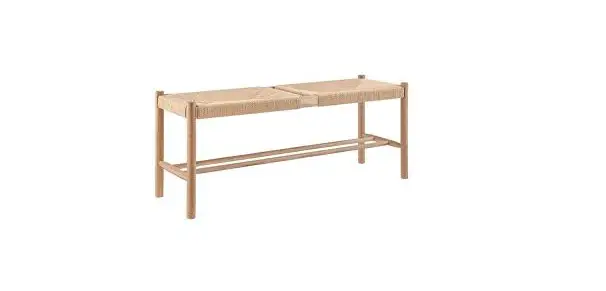
MATT BLATT Amber Bench Stool Large User Guide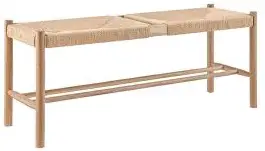
COMPONENTS
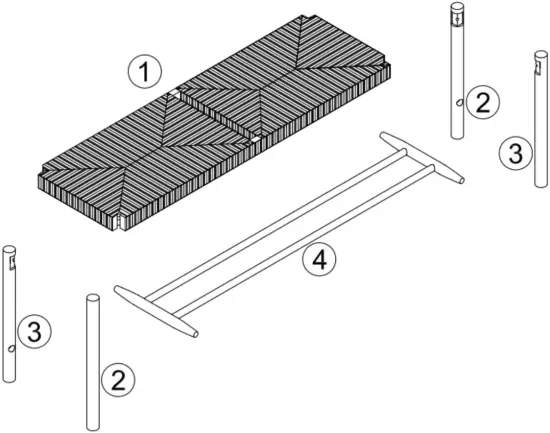
- Stool cover (x1)
- Leg (x2)
- Leg (x2)
- Rack (x1)
- A: (x4)

- B: (x4)

- C: (x4)

- D: (x4)

- E: (x4)

- F: (x1)

- G: (x4)


Hardware
- A: Dowel (x4)
- B: Split washer (x4)
- C: Washer (x4)
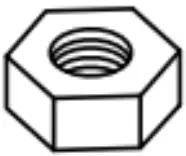
- D: Nut (x4)
- E: Screw (x4)
- F: Wrench (x1)
- G: Adhesive pad (x4)
ASSEMBLY
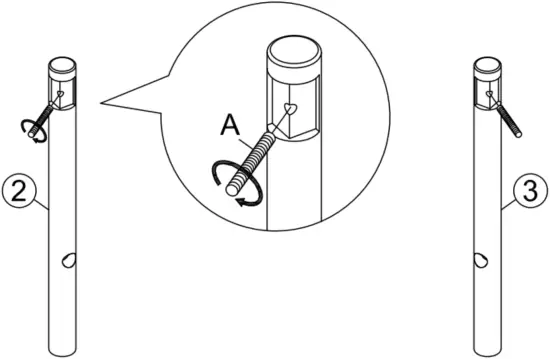
- Step 1: Screw in the dowels (A) into the top of all legs (2 & 3).

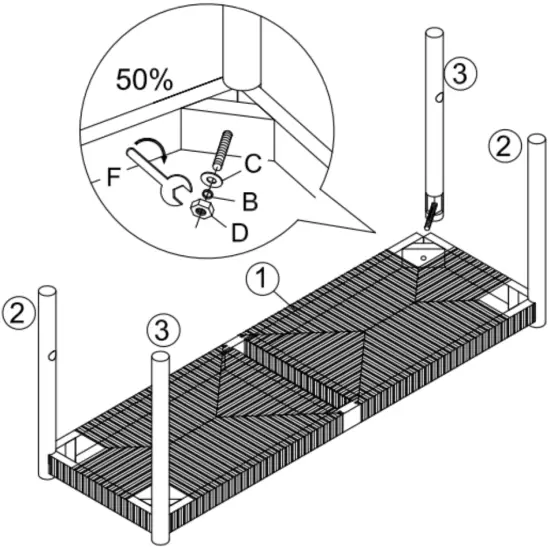
A (x4) - Step 2:
- Turn the stool cover over to expose the underside.
- With the legs (2 & 3) standing dowel end facing down on the corners of the stool cover (1), place a washer (C) and split washer (B) all the way to the end of each dowel (A).
- Put one nut (4) onto each dowel (A) and tighten using the wrench (F) until halfway down their length.

- B (x4)
- C (x4)
- D (x4)
- F (x1)
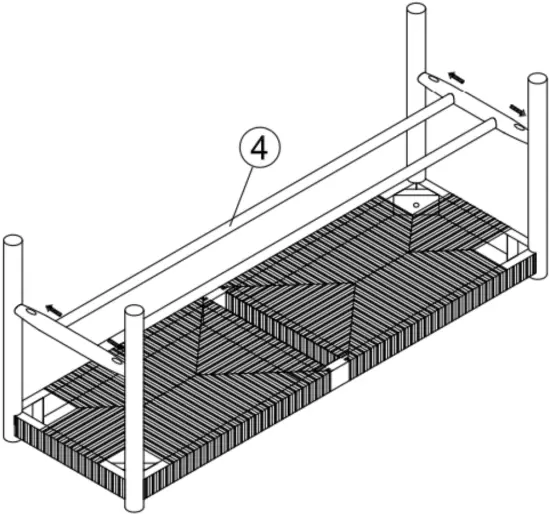
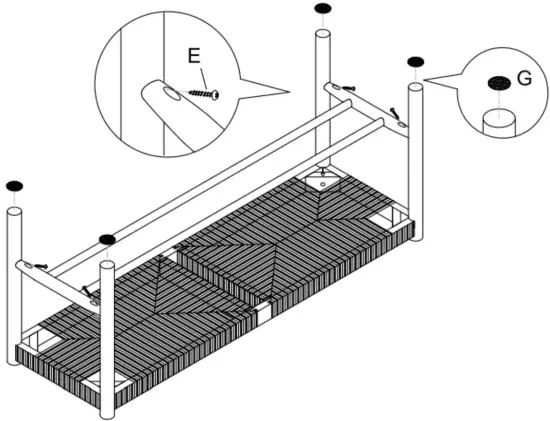
- Step 3:
Align and insert the rack (4) into the holes of the legs (2 & 3) to secure it in
place.
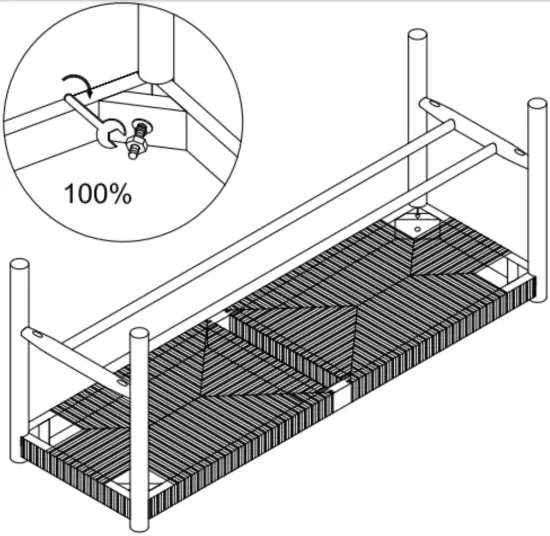
- Step 4:
Using the wrench (F), tighten the nuts (D) on the dowels (A) all the way down the dowel’s length until secure.
- F (x1)
- F (x1)
- Step 5:
Insert and secure the screws (E) into the holes of the rack (4).
Then peel the adhesive pads (G) and attach them to the bottom of the legs (2 & 3).
- E (x4)
- G (x4)
- E (x4)
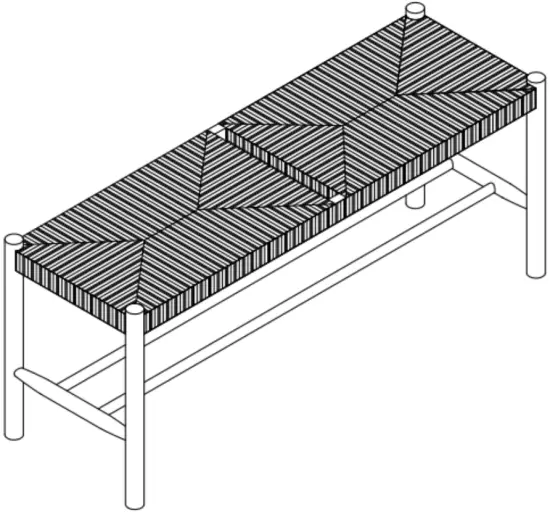
- Step 6:
Turn the bench stool right side up.
Customer Support
NEED MORE INFORMATION?
We hope that this user guide has given you
the assistance needed for a simple set-up.
For the most up-to-date guide for your product,
as well as any additional assistance you may require,
head online to help.mattblatt.com.au

 User Guide")


