ACTION Brush Seal Kit Installation Guide
Tools Neededs
- #2 Phillips Driver Bit

- Drill

- Tape Measure

- Hack Saw

- Scissors

- Pencil

- Ladder


Installation Instructions
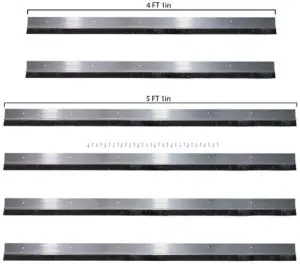
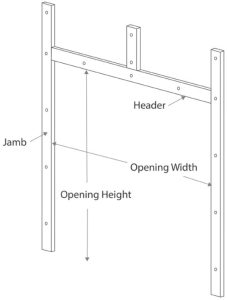
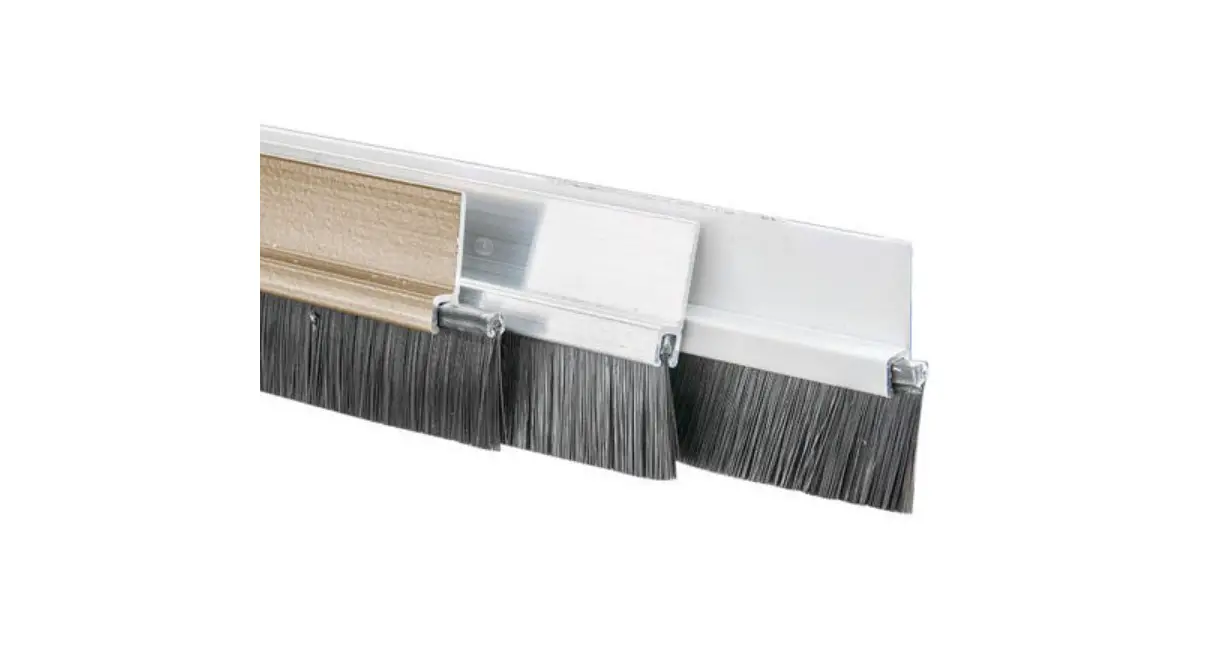
- Step 1: Lay your kit components out and Identify which piece is needed to install on the header of your door. If you have an 8X10 door, the header section would be 4 feet long for a retail kit, and 8 feet for a professional kit (Figure 2).

- Step 2: Remove any existing weather seal around the jamb of your garage door
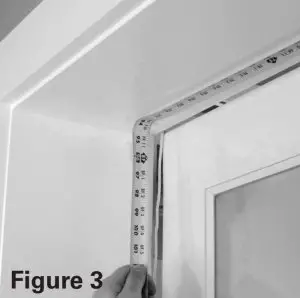
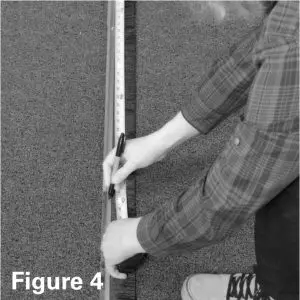
- Step 3: Measure the top or header (Figure 1& 3) of your garage door. Mark the measurement of the header with your pencil on the retainer (Figure 4).


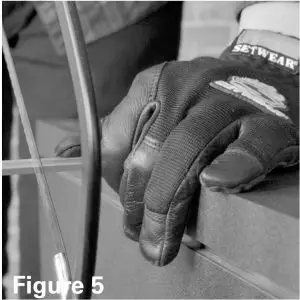
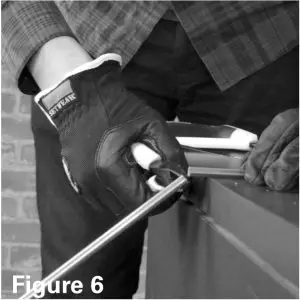
- Step 4: If needed, cut the retainer and brush to match the measurements you took using the hack saw and scissors (Figures 5 and 6).
- Step 5: Mock-up the positioning of the kit for the sides and header of your door. With a pencil to mark the mounting position by using the pre-drilled holes in each retainer. If needed, use the hack saw to cut down the retainer to fit. It is recommended that the brush seal makes contact with the door.
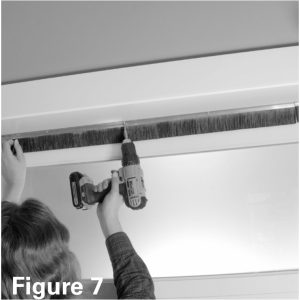
- Step 6: Using a ladder, drill, #2 phillips driver bit, and the included phillips pan Head tekscrews, secure the vertical portions of the kit to the header. (Figure 7)
- Step 7: Repeat step 4 starting from the bottom of the door. Install the remaining kit segments to the sides of the door until the installation is complete.