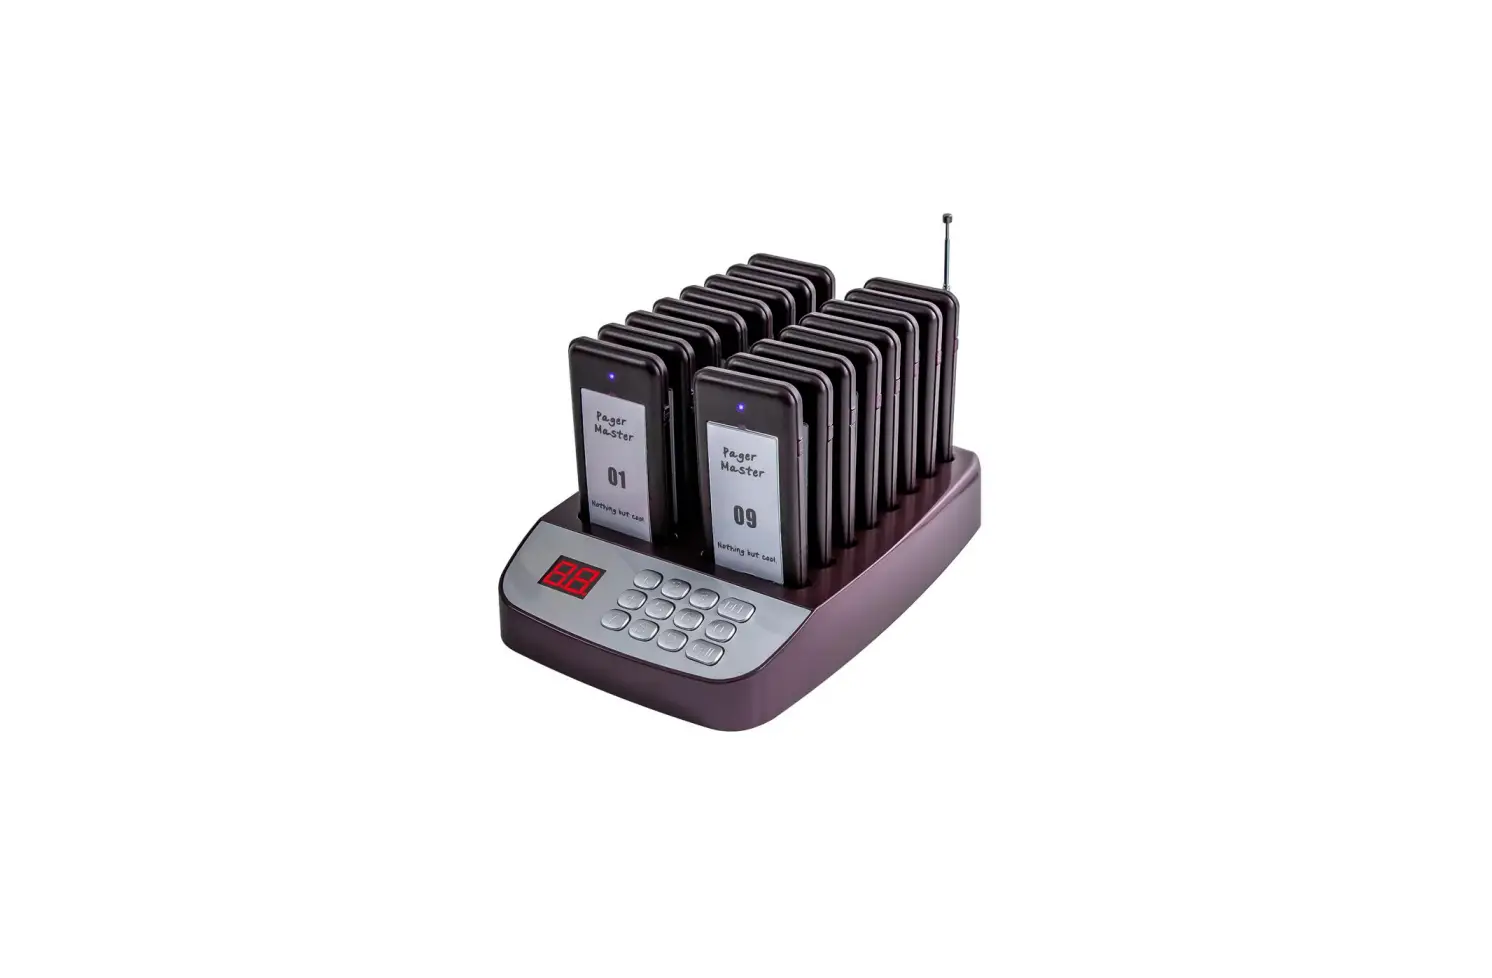
Biancheng BCT-6950 Restaurant Pager User Manual
Product List
| Pager | Keypad | ||
| Pager dimension | 103*51*11mm | Keypad dimension | 235*155*35mm |
| Pager material | ABS | Keypad material | ABS |
| Receiving sensitivity | -114dB | Transmitting power | 130mW |
| Standby time | Approximately 20 hours | Keypad frequency | 315MHz |
| Pager battery | Built-in 3.7V 200mAh rechargeable lithium battery | Power adapter | Input: AC 100- 240V, 50/60Hz Output: DC 12V, 1A |
| Pager frequency | 315MHz | ||
| Reminding method | Ring vibrate and flash | Keypress method | No touch panel |
| Distance of transmission | About 300 meters in a wide-open field | Modulation | AM |
| Brand | AGJ | Manufacturer | Wirelesslinkx |
| Model | 6950 | Protection level | IP32 |
Instructions
- Charging: Before using, please connect the charging base to power, and put the pagers in the charging slot for 10 minutes to charge.
- Switch On Pager: Connect the charging base to power.
And put the pagers in the charging slots. Pagers will be switched on automatically. - Switch Off Pager: Connect the charging base to power, and put the pagers in the charging slots. Input 99 in the keypad and call all pagers. And all pagers will be switched off.
Pagers need to be paired with keyboard transmitter first. - Keypad ID Setting: Press CALL and DEL at the same time, and the display will show “U”. Input a number from 01-99 to change the keypad ID. Press CALL again to save, and press DEL twice to quit and finish.
And the display will show — . Try not to change the keypad ID. When the ID is changed, all the pagers will be repaired to work. Keypad ID can’t be 00 or 99. - Pager Number Setting: Take the pager off the transmitter and take away the plastic sheet and paper sticker.
There is a small round metal button on the pager front and there is a small button on the side of the pager.
Press these 2 buttons at the same time, and 2 lights will be on. These 2 lights will last for 4 seconds.
Within the 4 seconds, press a number from the transmitter from 01 – 98. Don’t use number 99, because 99 is the shut-off function. And press CALL to save the number. If you need to change the pager number, just repeat pairing method above. - Pager Alarm Time Setting: Take the pager off the transmitter and take away the plastic sheet and paper sticker.
There is a small round metal button on the pager front.Use a small screw driver to press the metal button.
Each time you press the metal button, there will be one more light on the pager.
When there is one light on, the pager can ring, flash and vibrate. The prompt time is 7 seconds.
And the pager will stop ringing, flashing and vibrating automatically.
When there is two light on, the pager can ring, flash and vibrate. The prompt time is 14 seconds.
And the pager will stop ringing, flashing and vibrating automatically.
When there is three light on, the pager can ring, flash and vibrate. The prompt time is 21 seconds.
And the pager will stop ringing, flashing and vibrating automatically.
When there is four light on, the pager can ring, flash and vibrate. The prompt time is 28 seconds.
And the pager will stop ringing, flashing and vibrating automatically.
When there is five light on, the pager can ring, flash and vibrate. The prompt time is 35 seconds.
And the pager will stop ringing, flashing and vibrating automatically.
When there is NO light on, the pager can flash and vibrate, no beep. The prompt time is 10 seconds.
And the pager will stop flashing and vibrating automatically.
After pressing the metal button and changing the prompt time,
always press the small button on the pager side to save and exit.
Note: 2 and more transmitters can call one pager. Please change the transmitters’ ID to the same ID number.
FCC Warning
This device complies with part 15 of the FCC rules. Operation is subject to the following two conditions:
- this device may not cause harmful interference, and
- this device must accept any interference received, including interference that may cause undesired operation.
Changes or modifications not expressly approved by the party responsible for compliance could void the user’s authority to operate the equipment.
NOTE: This equipment has been tested and found to comply with the limits for a Class B digital device, pursuant to part 15 of the FCC Rules. These limits are designed to provide reasonable protection against harmful interference in a residential installation. This equipment generates uses and can radiate radio frequency energy and, if not installed and used in accordance with the instructions, may cause harmful interference to radio communications. However, there is no guarantee that interference will not occur in a particular installation. If this equipment does cause harmful interference to radio or television reception, which can be determined by turning the equipment off and on, the user is encouraged to try to correct the interference by one or more of the following measures:
- Reorient or relocate the receiving antenna.
- Increase the separation between the equipment and receiver.
- Connect the equipment into an outlet on a circuit different from that to which the receiver is connected.
- Consult the dealer or an experienced radio/TV technician for help.


