
H-1328, H-1329 1-800-295-5510
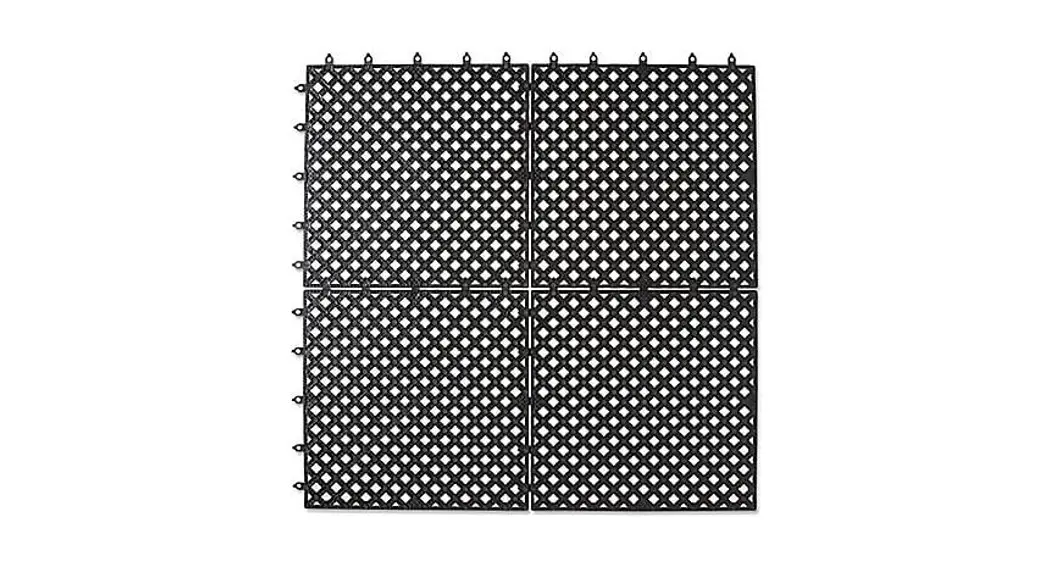
LOK-TYLETM MAT
uline.com
INSTRUCTIONS
ASSEMBLY
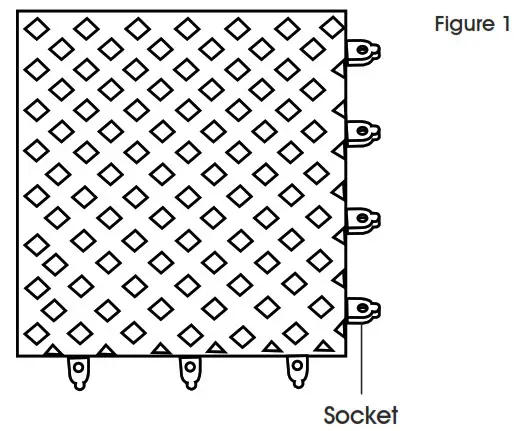
- Place one mat tile in the corner, flush against the wall, or in the desired location.

 NOTE: Sockets should face the direction the next mat tile is to be placed. (See Figure 1)
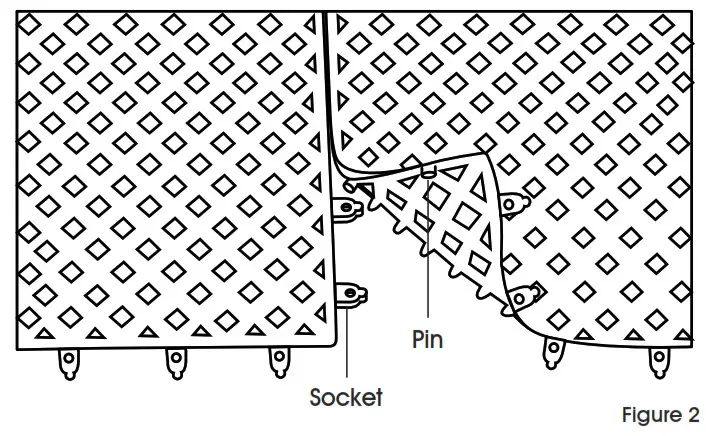
 - Place the second tile adjacent to the first with pins of the second tile facing sockets of the first tile. Snap pins into sockets. (See Figure 2)

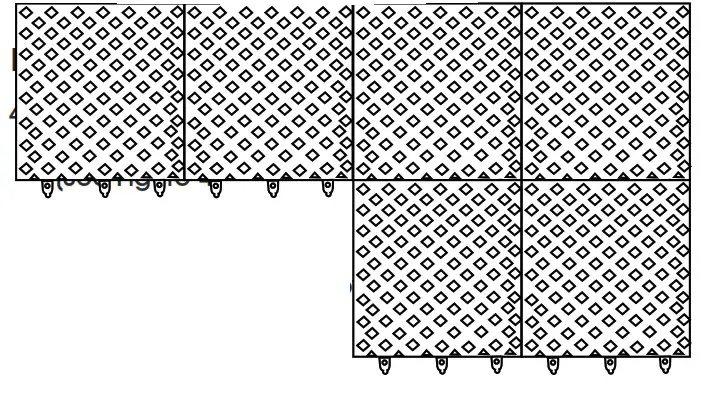
- Continue to install mat tiles one row at a time, snapping pins into sockets. (See Figure 3)
 NOTE: Pins can be removed by cutting a Figthurea3 knife or with wire snips.
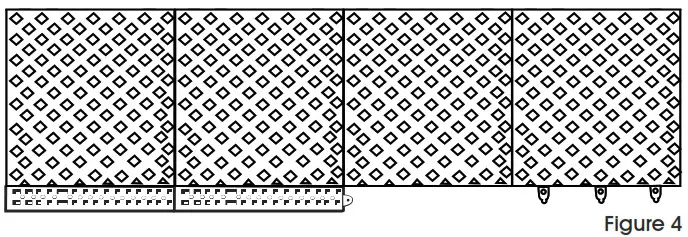
 - Attach the ramp at the end of a row of mat tiles by clicking the mat pins into the ramp sockets. (See Figure 4)

CLEANING
The mats can be cleaned by hosing off, steaming or rinsing with soapy water.![]() NOTE: Make sure each consecutive mat tile is facing the same direction as the first.
NOTE: Make sure each consecutive mat tile is facing the same direction as the first.
800-295-5510
uline.mx


