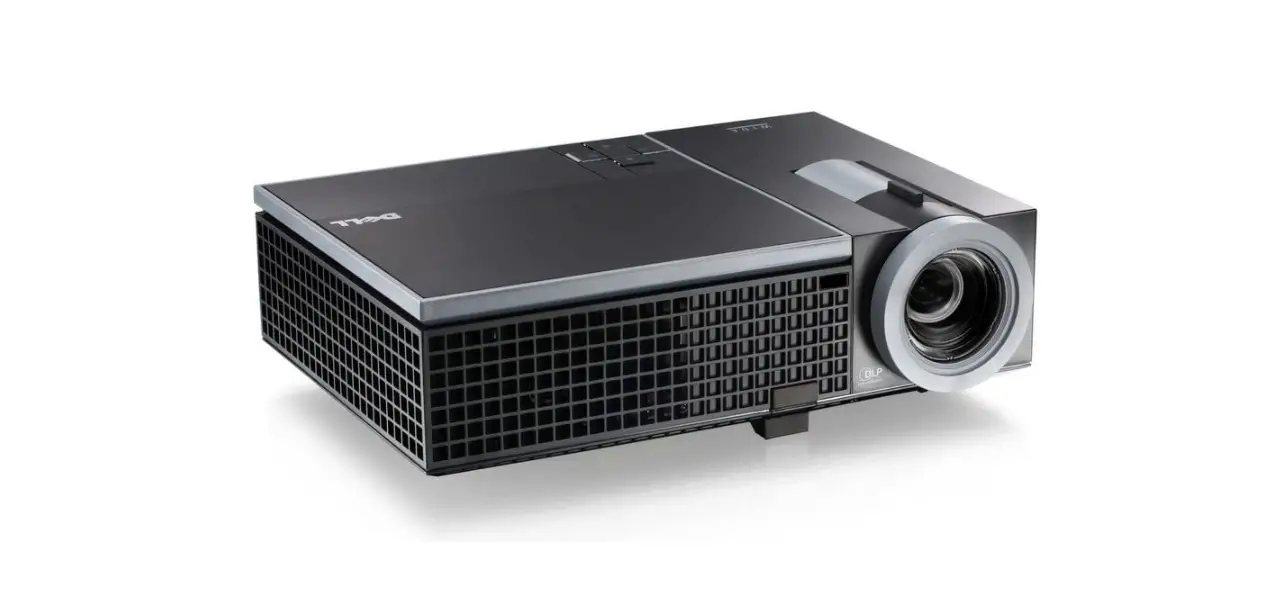
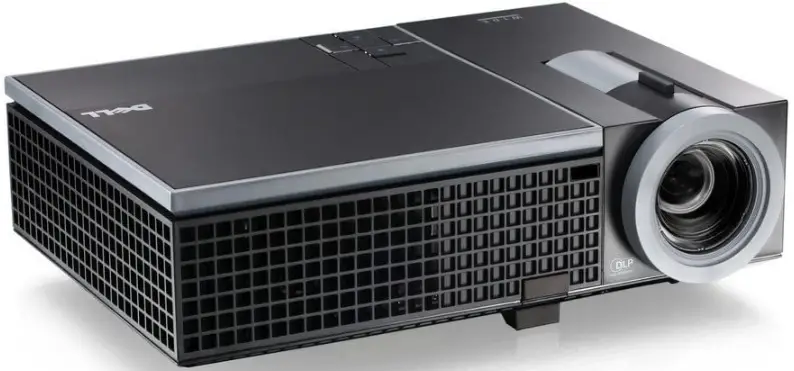
Dell 163TJ 1610HD Projector
Specifications
- Brand: Dell
- Connectivity Technology: HDMI
- Display resolution: 1280 x 720
- Item Dimensions:25 x 19.25 x 15.75 inches
- Item model number: 163TJ
- Batteries: 2 AAA batteries required
- Item Weight: 9.85 pounds
What’s in the box?
- HD Projector
Product Descriptions
A projector is an output device that projects images made by a computer or Blu-ray player onto a screen, wall, or other surface to create a replica of the image.
Portable home theatre projector
Often, the surface onto which the projection is made is large, flat, and softly colored. An overhead projector is a device with a light inside that may be used to make the text or images on a sheet of plastic appear on a screen or a wall. Another abbreviation used is OHP.
Features
Password and Lock Slot protection on LED (Edge-Lit) is provided to assist limit access to the projector. You may quickly browse through your presentations using controls for page up and page down that are customizable.
- 1920x1080P The tiny projector offers a 1000:1 contrast ratio and a 1920x1080P resolution. Image that is realistic and distinc
- Huge Screen 16 to 110 inches may be projected on using the 1080p projector. With 2W speakers, a projection size of 80 to 100 inches works well.
- Micro USB Interface Its dimensions are 4.5 x 3.6 x 2 inches, and it weighs about 0.57 pounds. It may be charged through the Micro USB port using a power bank, a car charger or a mobile phone charger (requires 5V/ 2A compatibility).
- Numerous Ports The video projector has a number of connectors, including USB, AV input, and voice frequency, to make it simple to connect to a TV, PC, and laptop.
- Pay Attention An extra Micro USB, Type C to High Definition Multimedia Interface converter (not included) is needed when connecting to a smartphone.
FAQ’s
· Activating the Projector
· The projector’s lens cap should be removed.
· Connect a video source to the projector’s rear and the power wire to an electrical socket.
· Activate the power button.
· The visual source (computer, DVD player, etc.) should be turned on.
· If there is no signal, the Dell logo will be seen.
Using the Volume keys on the projector’s remote control, you could change the projector’s volume.
If you have the right software, you can. All you would need if you were talking about streaming a camera on your laptop is some kind of software that could do it. Consider a projector as a monitor that mirrors what is on your computer or can serve as an extension of the laptop’s monitor (by using extend mode).
Yes, but you must buy the mount for it first.
No, it is just used to remotely control the projector’s settings and to get notifications when alarms go off.
Check the saturation level by going to the Picture section of the on-screen menu. You’ll get a black and white image if the saturation is completely off. Under Video Setting, you may select a mode other than Custom or manually modify the saturation.
When the projector is turned on, pressing the Source button causes it to automatically locate the following input signal. To lock the current input signal, choose off. When the Auto-Source mode is turned off, you can choose the input signal manually by pressing the Source button.
Press “P” while continuing to hold down the Windows keyboard button. You’ll see your display choices. Holding down the Windows button while pressing “P” will highlight each selection. To utilize the projector as a second monitor, highlight “Extend.” Once the chosen choice has been highlighted, let go of the Windows button.
You may change the brightness/contrast settings of your projector using the Brightness/Contrast option. Brightness may be changed by using the and buttons on your remote control.
Connect the HDMI cable to the HDMI port on your laptop, and then connect the other end of the cable to your LCD projector. Make sure the cable is inserted tightly so it won’t come away before plugging it in. Activate the laptop. The projector should now show the screen from your laptop or PC.
The most frequent causes of the “No Signal” notification are as follows: The source device and the projector are not properly linked. Verify the plugs on the wires and adapters are secure. Make sure you are connecting your source device to the projector with the correct cable and/or adapter.
Open the lens on the projector, switch it on, and connect an HDMI connection to both your laptop and the projector (using an adaptor if necessary). Open your laptop’s display settings and make the appropriate adjustments. To project your desktop, use mirror display, or expand display so the projector may serve as a second monitor.
Press “F8” while maintaining pressure on the “Fn” key on your Dell laptop’s keyboard. With the projector selected as the external display, this keyboard shortcut directs your laptop to switch the video from the laptop’s display to the external display.
If your device has a USB-C connection, you may connect it to the projector via a USB-C to HDMI cable.
Raise or lower the projector, then change the display angle with the front tilts adjustment wheel or push button. until the image is clear, turn the focus ring (2). The projector can focus between 3.94 and 32.81 feet away.


