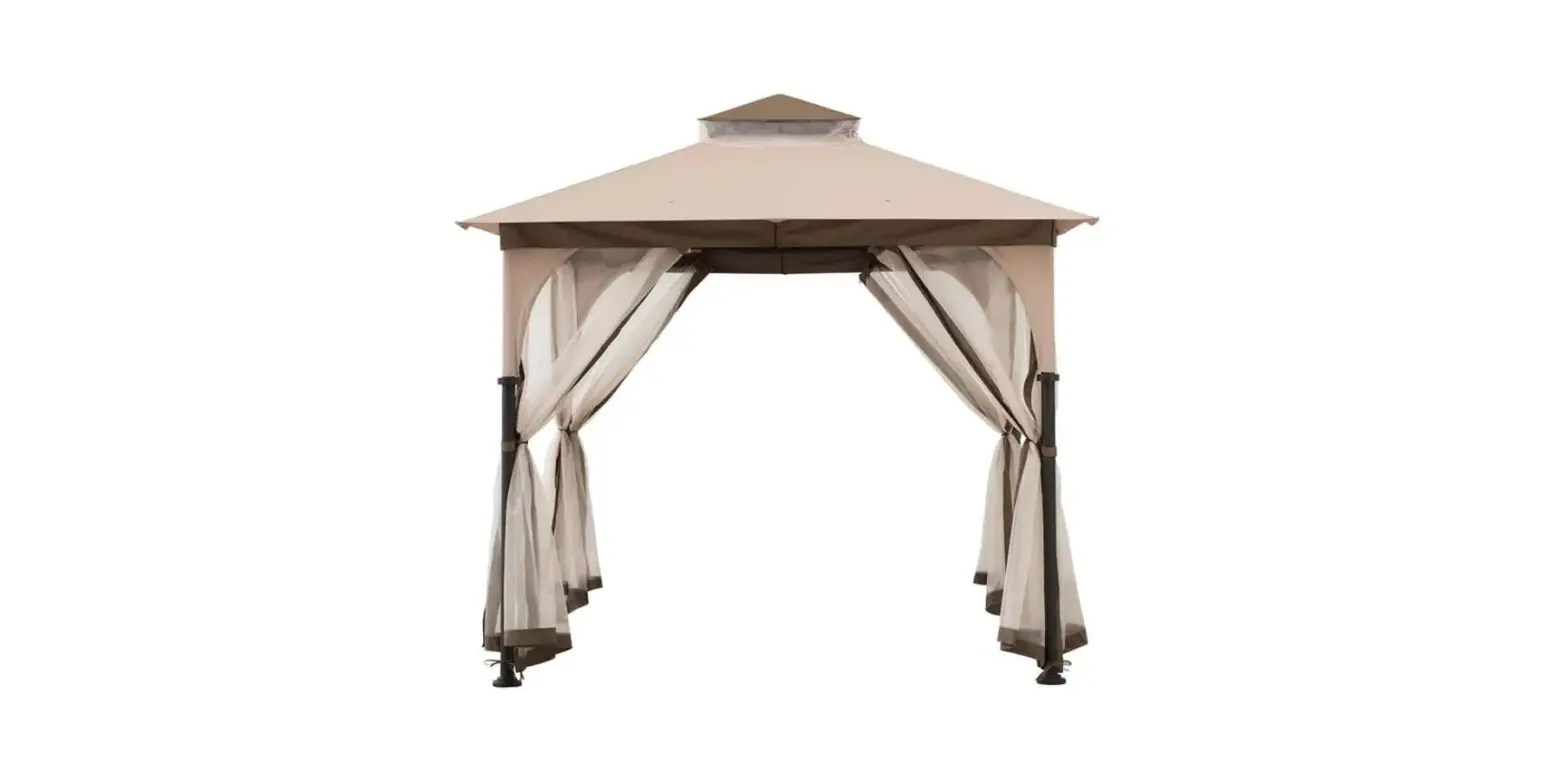
SUNJOY GROUP A101011100 Beige+Light Brown Replacement Canopy For Column Gazebo Instruction Manual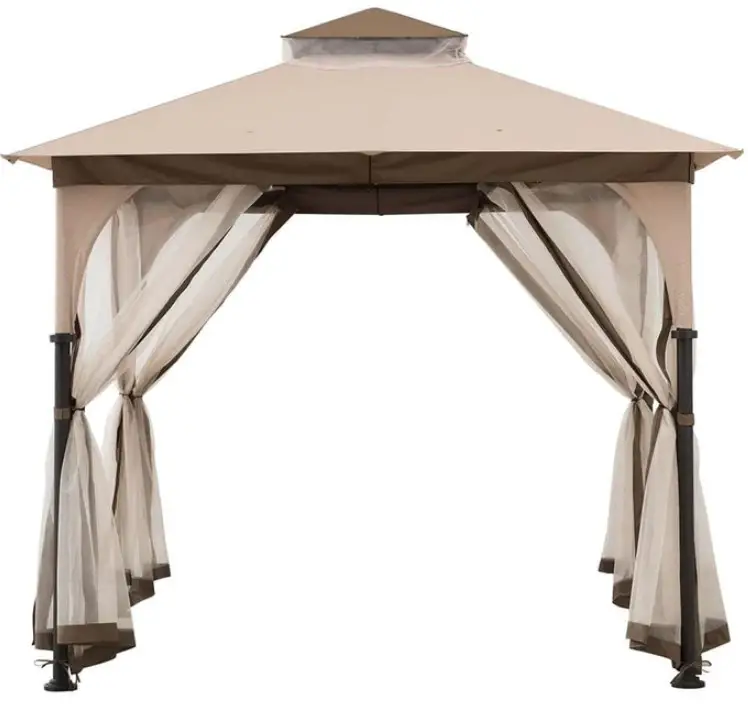
Safety Information
- Two people are required for this assembly.
- Some parts may contain sharp edges. Wear protective gloves.
- When assembling and using this product, basic safety precautions should always be followed to reduce the risk of personal injury and damage to equipment. Please read all instructions before assembly and usage.
![]() CAUTION: Do not climb on top of the gazebo. Falling off the gazebo can result in serious injury.
CAUTION: Do not climb on top of the gazebo. Falling off the gazebo can result in serious injury.
NOTICE: For outdoor use
Warranty: 12 months
![]() DANGER: This unit is heavy! Do not assemble this item alone.
DANGER: This unit is heavy! Do not assemble this item alone.
![]() WARNING: Do not leave the gazebo where there is a risk of high wind, as possible damage will occur to the structure.
WARNING: Do not leave the gazebo where there is a risk of high wind, as possible damage will occur to the structure.
![]() WARNING: Keep all flame and heat sources away from this gazebo fabric. This Gazebo is made with fabric that meets CPAI-84 specifications for flame resistance. It is not fire proof. The fabric will burn if left in continuous contact with any flame source.
WARNING: Keep all flame and heat sources away from this gazebo fabric. This Gazebo is made with fabric that meets CPAI-84 specifications for flame resistance. It is not fire proof. The fabric will burn if left in continuous contact with any flame source.
The application of any foreign substance to the gazebo fabric may render the flame-resistant properties ineffective.
WHAT IS COVER?
The limited warranty is extended to the original purchaser and applies to material and manufacturer’s defect provided the item is maintained with care and used only for personal, residential purposes.
Hardware Pack
| AA | H010020011 | M6 * 15 Bolt | 4 PCS | 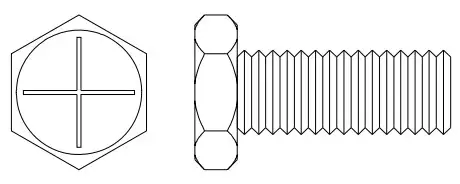 |
| BB | H010020023 | M6 * 30 Bolt | 32 PCS | 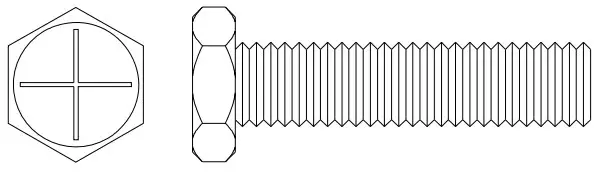 |
| CC | H010020013 | M6 * 35 Bolt | 8 PCS | |
| DD | H050030001 | M6 Flat Washer | 52 PCS | 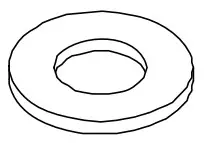 |
| EE | H040010004 | M6 Nut | 8 PCS | 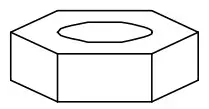 |
| FF | H090010017 | M6 Wrench | 2 PCS | 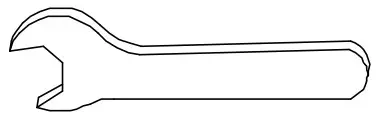 |
| GG | H070010003 | φ 8 * 180 Stake | 12 PCS | |
| HH | P005100264 | Mosquito Netting Hook | 32 PCS |  |
Parts List
| Al | P000501069 | Top connector | 1PC | 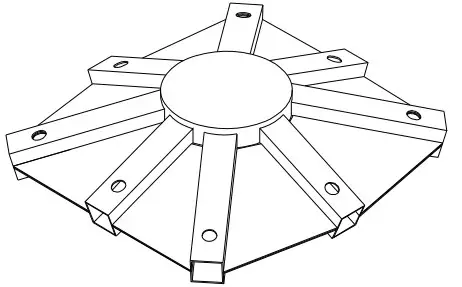 |
| B1 | P000601233 | Long angle beam | 4PCS | |
| 0 | P005700602 | Short angle beam | 12PCS |  |
| D1 | P000601234 | Girder | 4PCS | |
| El | P000400816 | Horizontal beam 1 | 4PCS |  |
| Fl | P000400817 | Horizontal beam 2 | 4PCS | |
| G1 | P000501070 | Connector | 4PCS |  |
| H2 | P000200405 | Post | 4PCS |  |
| J1 | P005000415 | Arc connector | 4PCS | 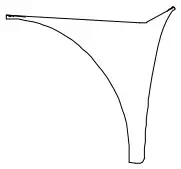 |
| K1 | P005800001 | Hook | 1PC | 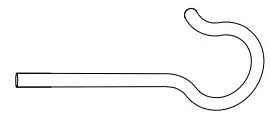 |
| L1 | P001100506 | Small canopy | 1PC | 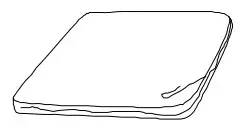 |
| M1 | P001100507 | Big canopy | 1PC |  |
| N | P001200215 | Mosquito netting | 1PC |  |
Assembly Instructions
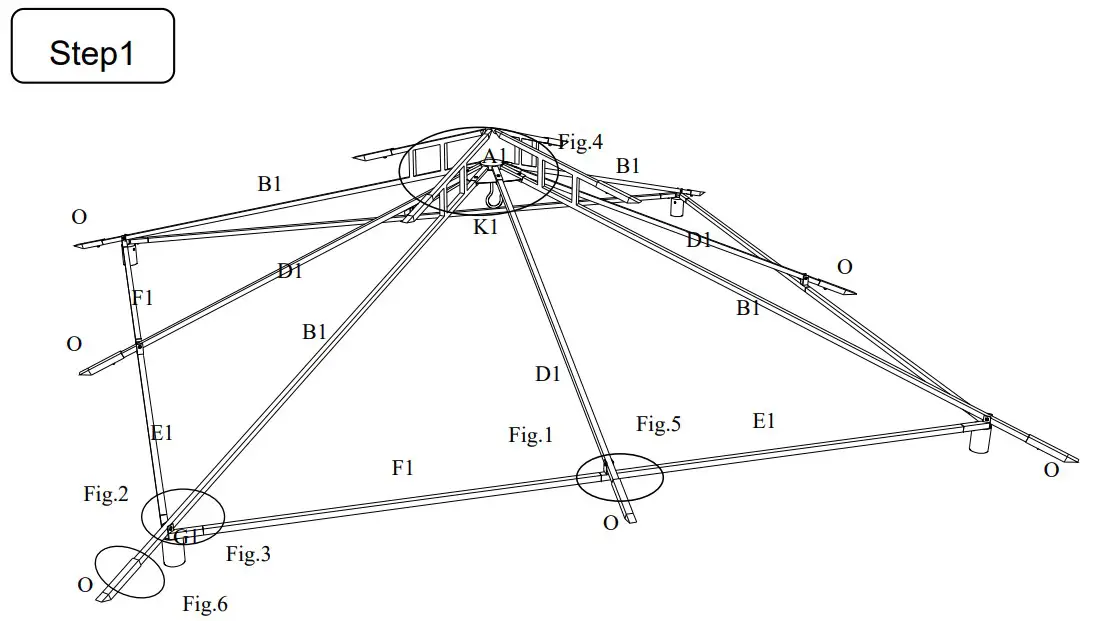
Fig.1: Insert one side of horizontal beam 1(E1) into horizontal beam 2 (F1) (Fig.1) Repeat on all sides.
Fig.2: Insert another side of horizontal beam 1(E1) and horizontal beam 2 (F1) into the hole of connector (G1) (Fig.2). Repeat on all sides.
Fig.3: Connect short angle beam (B1 ) with connector (G1) and tighten with bolt (CC), washer (DD), nuts (EE) (Fig.3)
Fig.4: Insert hook (K1) into top connect (A1) first, then insert long angle beam (B1) and one side of girder (D1) into Top connector (A1). Repeat on all sides. (Fig.4)
Fig.5: Insert one side of long angle beam (D1) into short angle beam (E1). (Fig.5)
Fig.6: Insert one side of long angle beam (B1) and girder (D1) into Short angle beam (O) (Fig.6) repeat on all sides.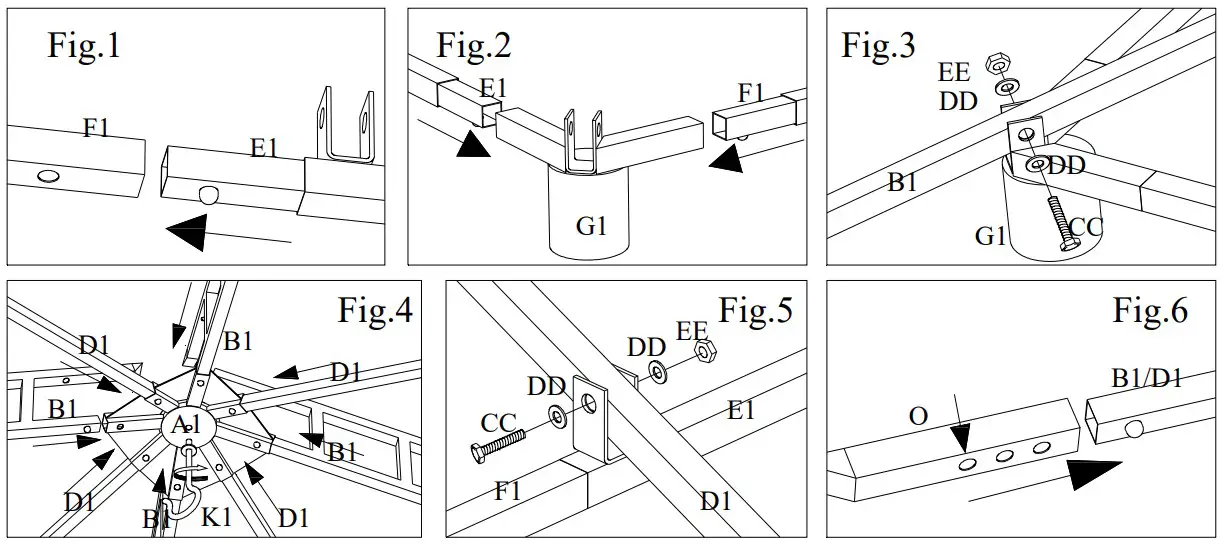
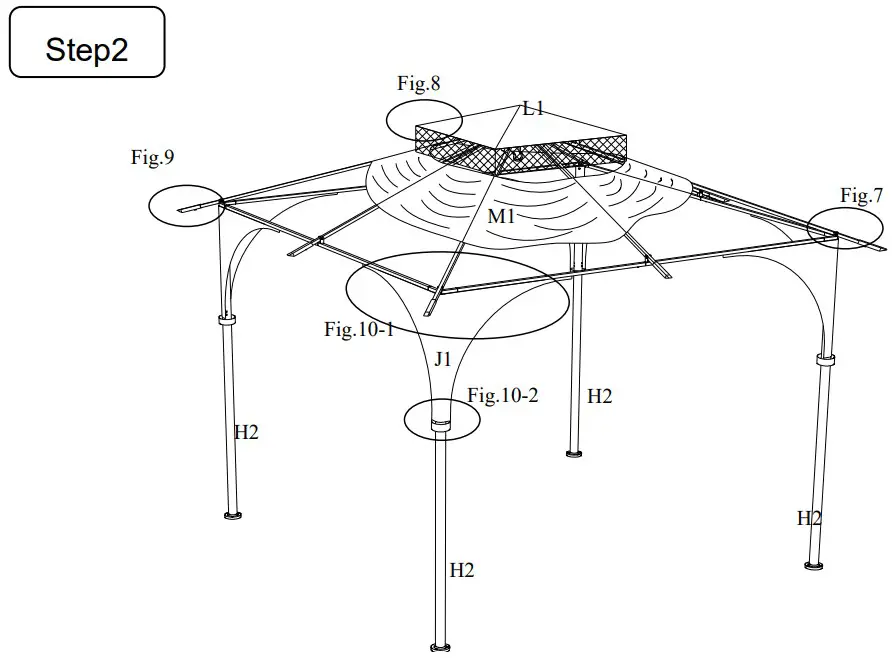
Fig.7: Lift assembled roof (G1) up, fix connector (G1) and post (H2) with bolt (AA), flat washer (DD) Repeat for all posts. (Fig8).
Fig.8: Finish covering small canopy (L1), install big canopy (M1) on the structure but do not fully cover (Fig.8)
Fig.9: Spread big canopy (M1) over the entire structure, and slide into each corner (Fig.9).
Fig.10-1/2: Connect one side of arc connector (J1) with pole (H2), and connect the other side with horizontal beam 1(E1) And horizontal beam 2 (F1), fasten by using bolt (BB) and flat washer (DD),and fasten with Velcro . (Fig.10-1/2).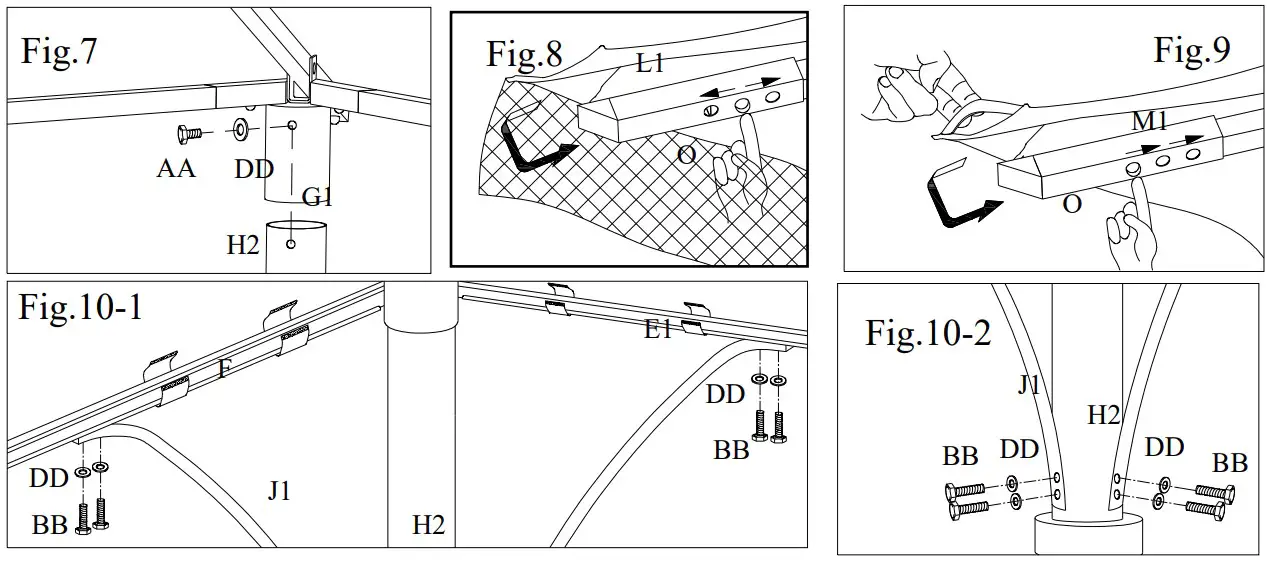
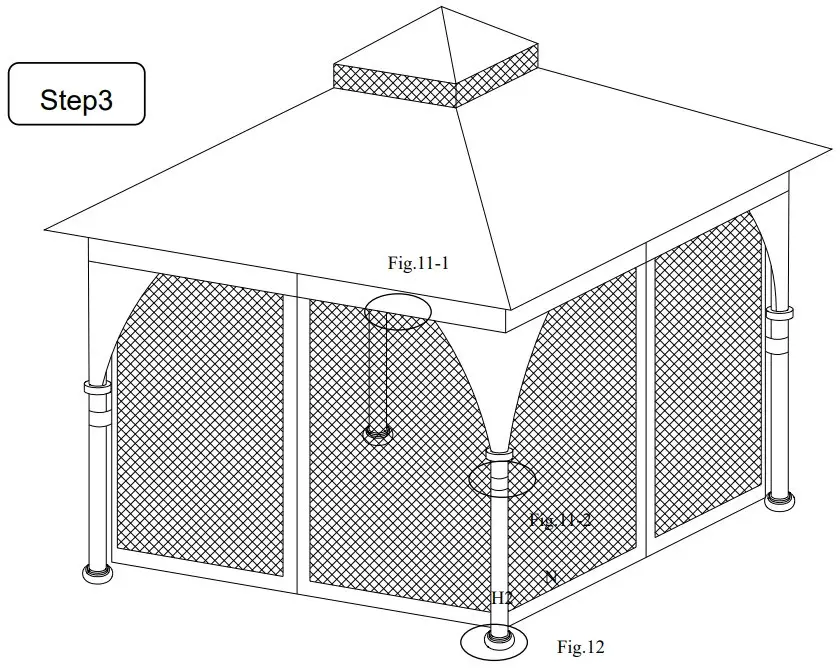
Fig.11-1: Use mosquito netting hooks (HH) to hang mosquito netting (N) onto horizontal beam 1 (E1) and horizontal beam 2 (F1).
Fig.11-2: Make sure the Velcro tie of the mosquito netting (N) is properly attached to the pole (H2).
Fig.12: Insert stakes (GG) in post (H2) to secure gazebo to the ground. Repeat on all posts. Y our gazebo is now fully assembled.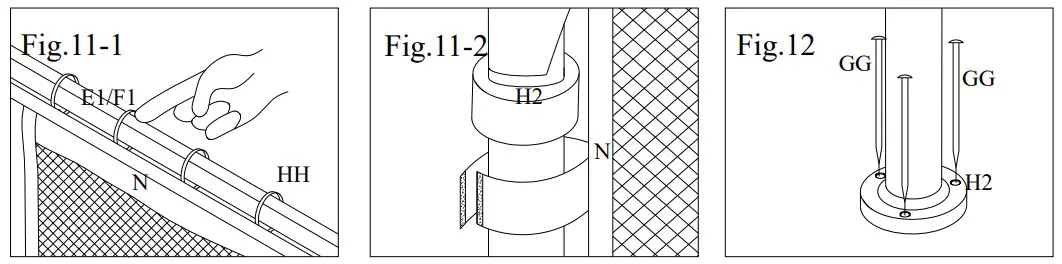
Care and Maintenance
- Our steel components for garden accessories and furniture are treated with rust inhibiting paint that protects it from rusting. However, due to the nature of steel, surface oxidation (rusting) will occur once these protective coatings are scratched. This is not a defect and thus not covered by the warranty.
- To minimize this condition, we recommend care when assembling & handling the product to prevent scratching the paint. Should any scratching or damage occur, we recommend immediate touch‐up with rust inhibiting paint.
- Surface rust can also be easily removed with a very light application of common cooking oil. If surface oxidation (rusting) occurs and if no measure is taken to prevent this, the oxidation may start dripping on to deck or patio and caused damaging stains, which may be difficult to remove. This can be prevented if the above‐mentioned measures are taken to keep the product from oxidizing.
- Use damp cloth to wipe off the stains as quickly as possible.
- If necessary, wash with a mild solution of soap and water; rinse thoroughly and dry completely.
- Periodically check and ensure that all bolts are well‐tighten during use.
Limited Manufacturer’s Warranty
Sunjoy Group warrants to the original purchaser that this item is free from defects in workmanship and materials for a period of 12 months from the date of purchase, provided the item was factory‐sealed at the time of purchase and is maintained with care and used only for personal, residential purposes. Should any manufacturing defect arise within this warranty period, Sunjoy Group will replace (at our option) any defective merchandise or parts upon proof of purchase; however, transportation and delivery costs, as well as payments to a third party for assembly or disassembly of the item, remain the responsibility of the purchaser. A purchaser of an “open box,” previously‐returned, or “clearance” item, as well as original purchasers outside of the warranty period, may obtain replacement parts from Sunjoy Group for products in current production, at nominal cost.
Exclusions
Items used for commercial, contract, or other non‐residential purposes, or items damaged due to acts of nature, vandalism, misuse, or improper assembly are not covered. Corrosion or rusting of hardware is not covered. Proof of purchase (dated register receipt) is required for warranty claims. Warranty is to the original purchaser and is non‐transferable. Any replacement of warranted items will be in the original style and color, or a similar style and color if the original is unavailable or has been discontinued. As some states do not allow exclusions or limitations on an implied warranty, the above exclusions and limitations may not apply. This warranty gives you specific rights, and you may also have other rights, which vary from state to state.
CONTACT US
24 hours / 7 days a week![]() www.sunjoyonline.com
www.sunjoyonline.com![]() [email protected]
[email protected]