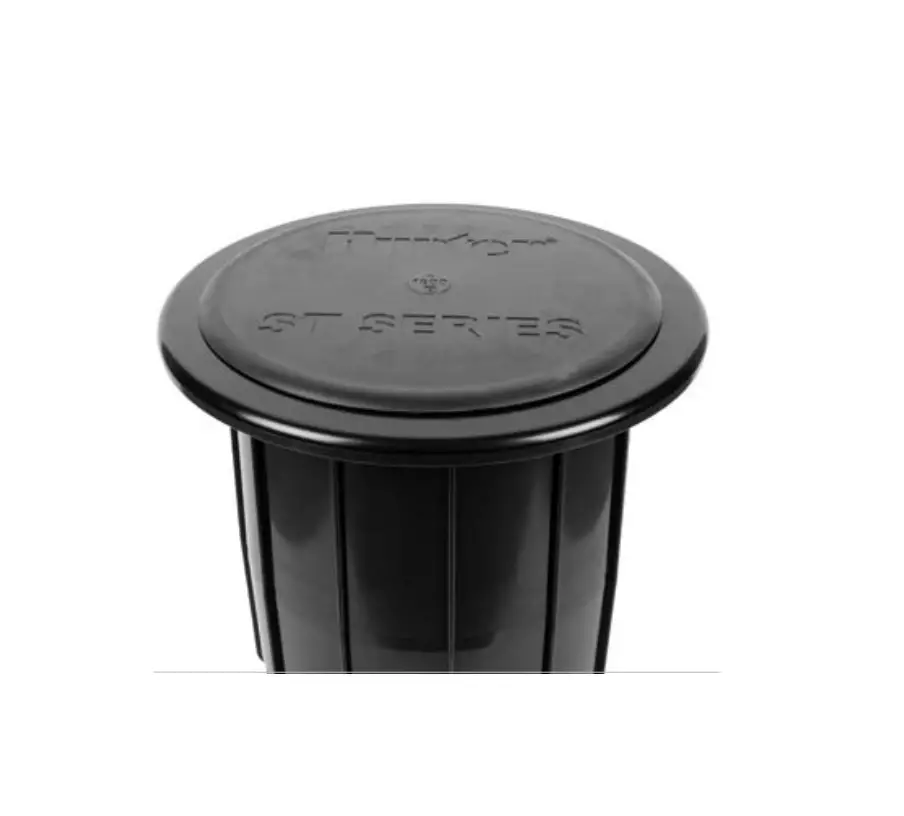
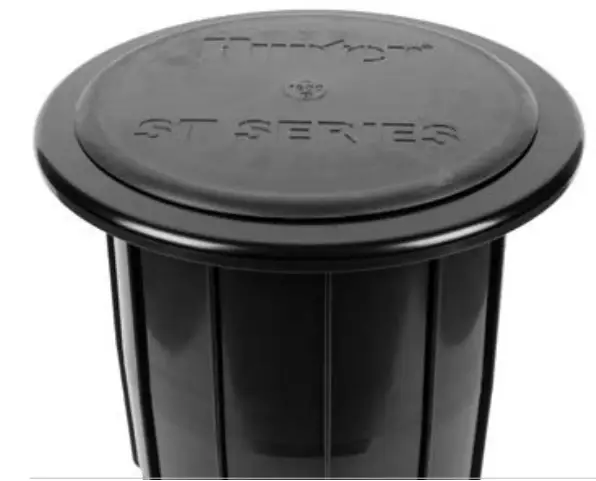
Hunter ST-IBS-1600 Infill Barrier System
ST-IBS-1600 Installation
DO NOT
Do not apply adhesive to the Hunter ST Infill Barrier System when installing the rotor. All parts must remain removable to allow for rotor servicing.
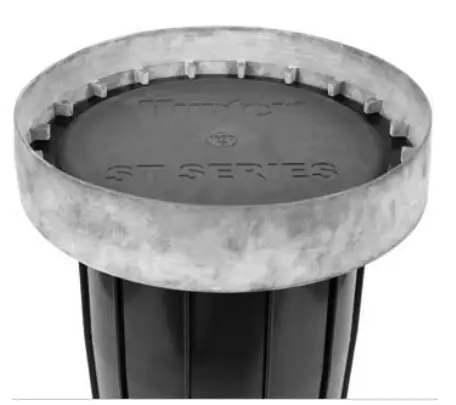
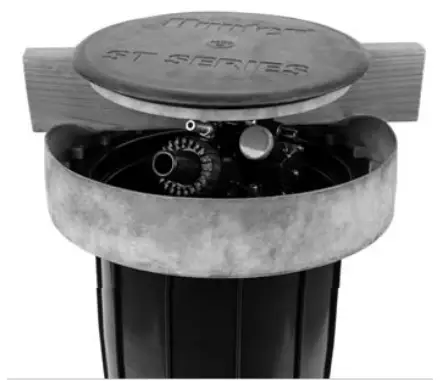
- To install the ring of the rotor flange, use your fingers to pull and place each retaining segment of the ring under the flange.

- After all retaining segments have been positioned, recheck to make sure they are completely under the rotor’s flange.

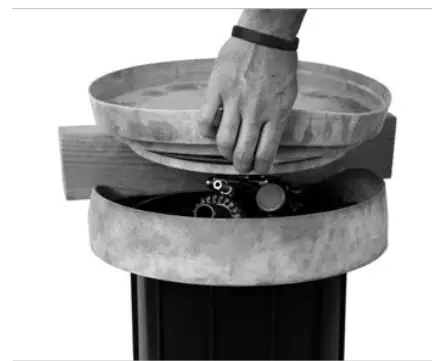
- To install the cup over the rotor’s green logo cap, lift the logo cap and insert a piece of wood underneath.

- Place the cup over the edge of the logo cap.

- Use your fingers to pull and place each retaining segment of the cup under the logo cap’s outer edge
- After all retaining segments have been positioned, recheck to make sure they are completely under the logo cap.

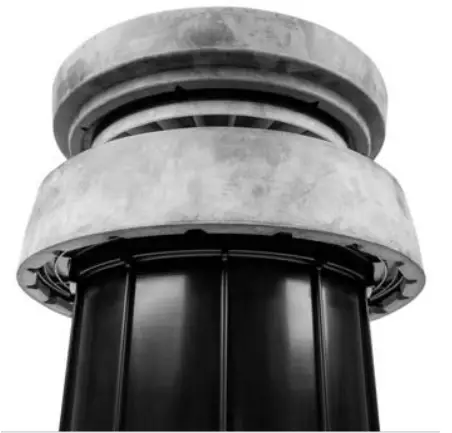
- Carefully lower the logo cap and cup assembly. Take care not to disengage the cup from the logo cap. Make sure the cup and ring are aligned.
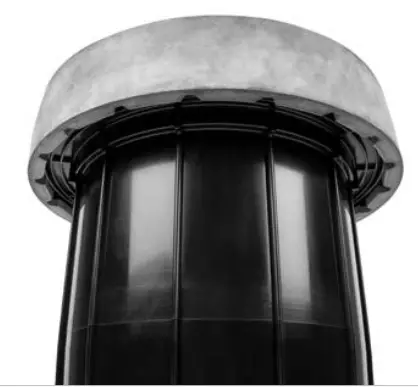

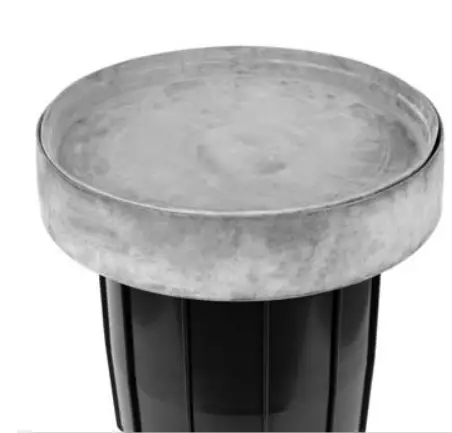
✓ Fit and Finish
After installation for non-infill type material or to create a smoother transition to the playing field, follow these additional steps.
- Use a blade or hot knife to trim/remove the infill barrier vertical walls.
- Cut a round 143/8″ diameter piece of the synthetic material being used for the project.
- Use a Hunter-approved adhesive (ST-ADH-K) to attach it to the Infill Barrier System.
HUNTER INDUSTRIES | Built on Innovation® 1940 Diamond Street, San Marcos, CA 92078 USA hunterindustries.com
© 2022 Hunter IndustriesTM. Hunter, the Hunter logo, and all other trademarks are property of Hunter Industries, registered in the U.S. and other countries.
RC-137 IG US 10/22
hunterindustries.com