BOSMA EX Outdoor IP Camera Installation Guide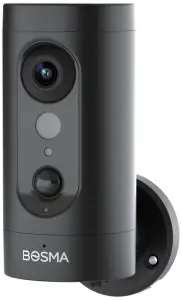
In the Box
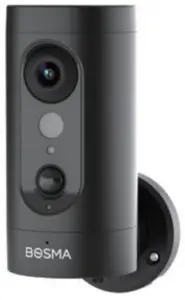
- EX Security Camera x1

- Drill Bit x1

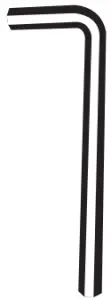
- Alien Key x1

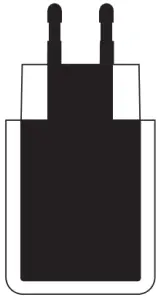
- Power Adapter x1

- Installation Sticker x1

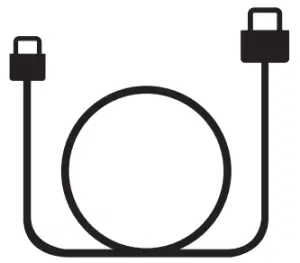
- Power Cable x1

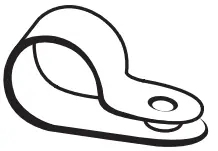
- Cable Clips x15

- Screw x18

- Anchor x18


Tools you may need
- Drill

- Hammer

- Screwdriver

- Pencil


Installation – EX
Requirements:
Power Source: AC 100-240V, 50/60Hz
Helpful Resources:
- For a video installation guide, and other resources, please visit EX’s support page: https://www.bosmasmarthome.com/support/ex/
- For more troubleshooting steps and general questions, please visit EX’s FAQ page: https://www.bosmasmarthome.com/faqs/ex/
In-app Setup
It is highly recommended to add the camera in the Bosma app prior to installation. Please follow the steps below to set up the camera in the app.
- Download “BOSMA” from Google Play or App Store.


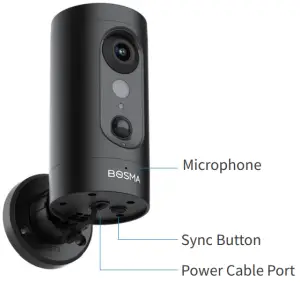
- Connect you EX to power, and wait until it says “waiting for connection”. If you did not hear the prompt, quickly press the SYNC button at the bottom of the camera 5 times to reset the camera.
- Log in to BOSMA or create a new account.
- Tap the “+” button at the top right corner of the screen.
- Select “EX” and follow the instructions on screen to complete the setup.


Installation Steps
Please make sure that the Wi-Fi signal is strong at the camera’s installation location. You can check the Wi-Fi signal strength in the app after you have added EX in the app.
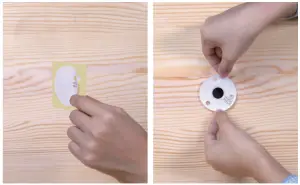
- Peel off the installation sticker. Stick the Installation Sticker on the wall. If you are routing the power cable through the wall to an indoor outlet, adjust the orientation of the sticker to get the desired outgoing direction for the power cable.

- Use the 5mm drill bit to drill 3 holes at the marked spots on the sticker.

- Insert the plastic anchors into the 3 holes. If necessary, use a hammer to gently tap them in until they’re flush with the wall.
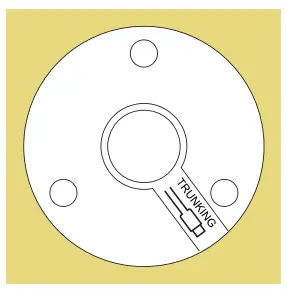
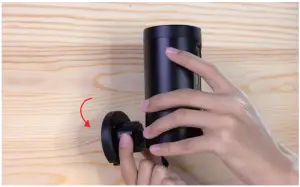
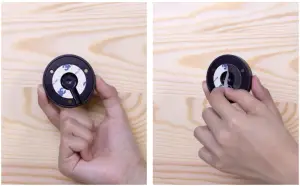
- Twist the mounting plate counter-clockwise to remove it from the camera.
(1) Installation Option 1: If you are routing the power cable to an outdoor power outlet, follow steps 5-9 below. - Remove the backing of the adhesive at the bottom of the mounting plate.
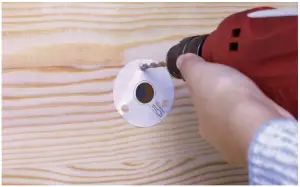
- Place the mounting plate on the wall. Make sure the direction of the cable groove matches that on the sticker. Use the screws to secure the mounting plate on the wall.
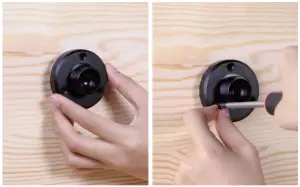
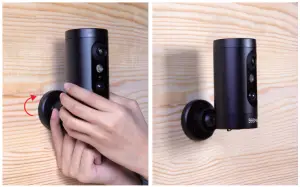
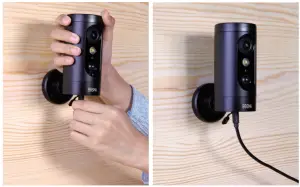
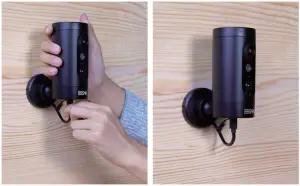
- Place the camera over mounting plate. Adjust the orientation of the camera so it covers the area you want to monitor, then tighten the knob to secure the camera.
- Plug the power cable into the camera. It is recommended to plan the route of the cable from the power outlet to the camera so that it leaves some slack at both ends.
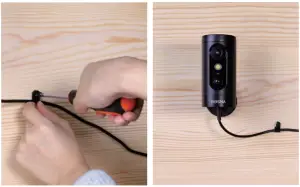
- Use the cable clips to secure the cable to the wall. To install a cable clip, use the provided drill bit to drill a hole, insert a plastic anchor, wrap the cable clip around the cable, and use a screw to secure the clip.
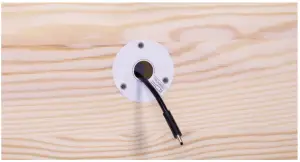
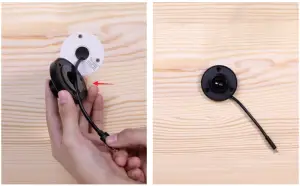
(2) Installation Option 2: If you are routing the power cable through the wall to an indoor power outlet, follow steps 10-15 below. - If you are routing the power cable through the wall, before installing the mounting plate, make sure to leave a segment of the cable long enough to connect to the camera on the exterior side of the wall.

- Remove the backing of the adhesive at the bottom of the mounting plate.

- Place the mounting plate against the wall. Make sure the cable fits in the groove on the mounting plate.
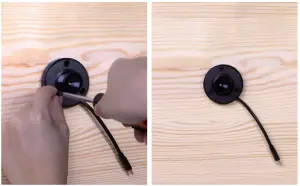
- Then, use the screws to secure the mounting plate on the wall.
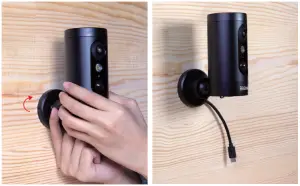
- Place the camera over the mounting plate. Adjust the orientation of the camera so it covers the area you want to monitor, then tighten the knob to secure the camera.
- Finally, plug the cable into the camera.
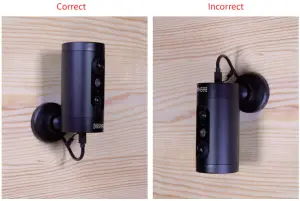
Warning: Make sure that the camera is installed upright. The camera may fail to be weather proof if installed upside down or horizontally.


FCC Warning
This device complies with part 15 of the FCC rules. Operation is subject to the following two conditions:
- this device may not cause harmful interference, and
- this device must accept any interference received, including interference that may cause undesired operation.
Changes or modifications not expressly approved by the party responsible for compliance could void the user’s authority to operate the equipment.
NOTE: This equipment has been tested and found to comply with the limits for a Class B digital device, pursuant to part 15 of the FCC Rules. These limits are designed to provide reasonable protection against harmful interference in a residential installation. This equipment generates uses and can radiate radio frequency energy and, if not installed and used in accordance with the instructions, may cause harmful interference to radio communications.
However, there is no guarantee that interference will not occur in a particular installation. If this equipment does cause harmful interference to radio or television reception, which can be determined by turning the equipment off and on, the user is encouraged to try to correct the interference by one or more of the following measures:
- Reorient or relocate the receiving antenna.
- Increase the separation between the equipment and receiver.
- Connect the equipment into an outlet on a circuit different from that to which the receiver is connected.
- Consult the dealer or an experienced radio/TV technician for help.
Radiation Exposure Statement
This equipment complies with FCC radiation exposure limits set forth for an uncontrolled environment. This equipment should be installed and operated with minimum distance 20cm between the radiator and your body.
Customer Service
 [email protected]
 1(800)-976-0881
 www.bosmasmarthome.com
The Installation Instruction is subject to change without notice, please find the latest version on www.bosmasmarthome.com