UNEEKOR Eye XO and QED
Product Information
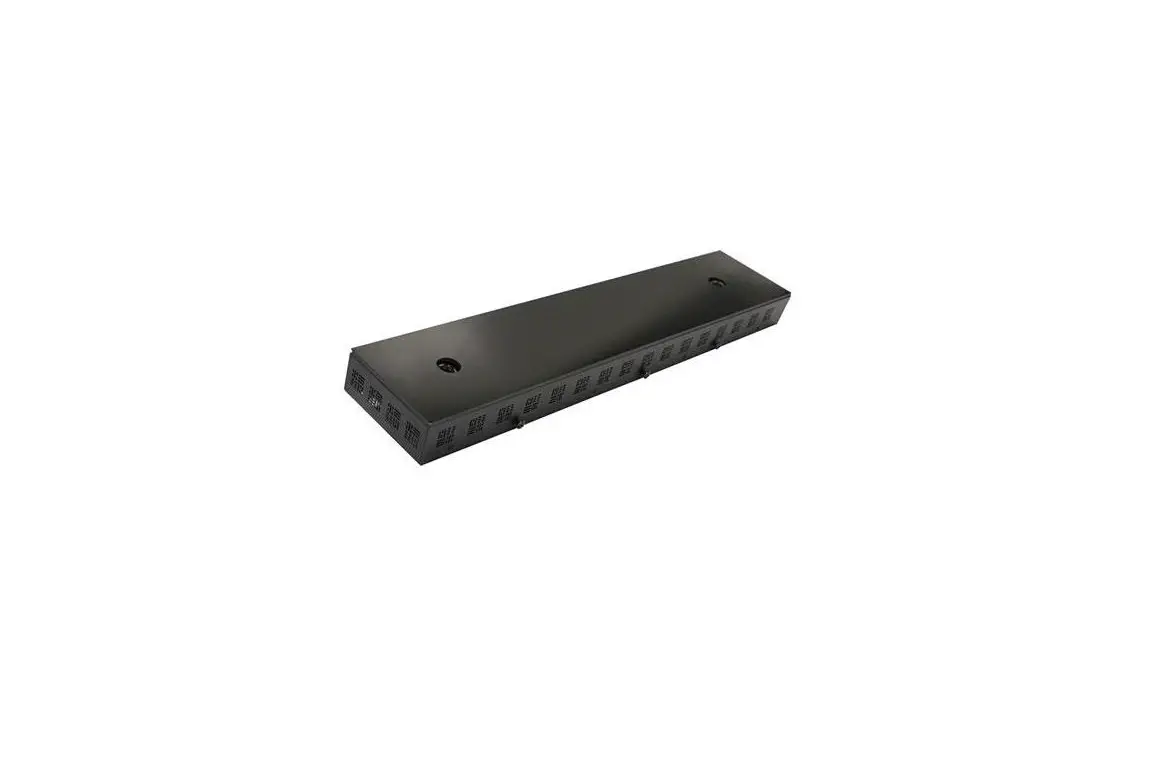
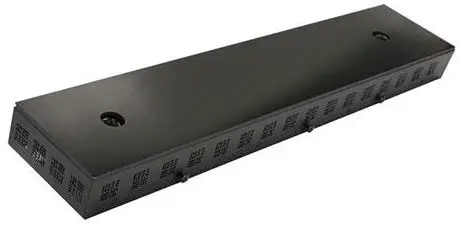
Sensor Bar for PC
The Sensor Bar for PC is a device that can be connected to a computer via LAN cable to enable the use of certain applications.
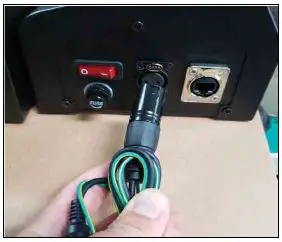
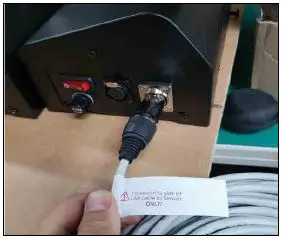
It requires a LAN cable, which is included in the shipping box, and must be directly connected to the computer’s Ethernet port, not a USB adapter or hub. Before starting the network setup process, ensure that the sensor bar is powered on and connected to your PC.
Product Usage Instructions
Network Setup
- Type “Control Panel” in the search bar on the bottom left of your tool bar and click on the app.
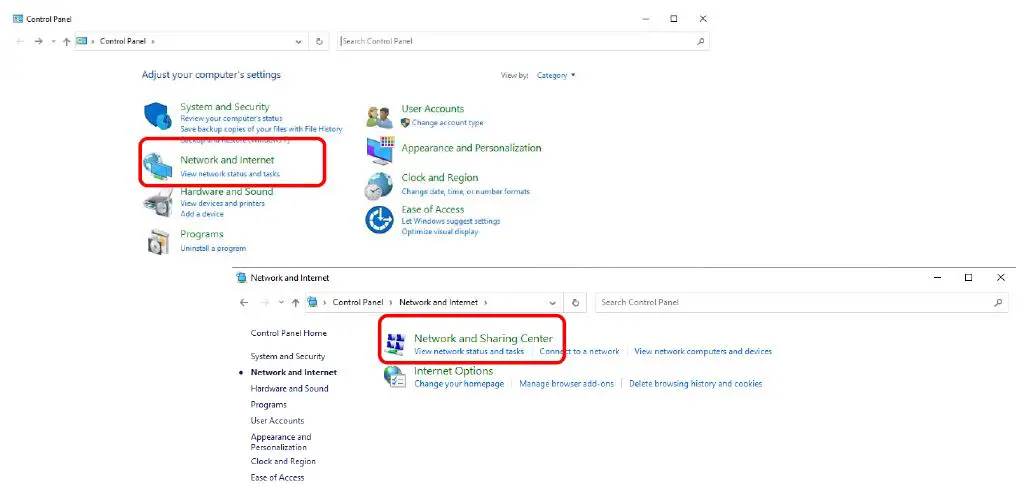
- In the Control Panel window, find and click on the Network and Internet icon, then click on the Network and Sharing Center icon.
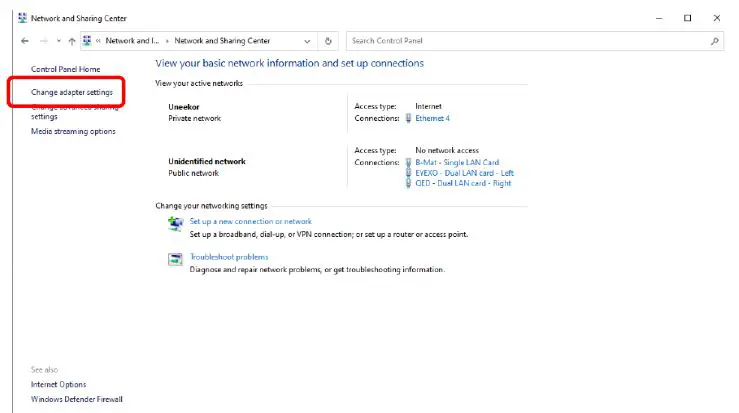
- In the Network and Sharing Center window, find and click the Change Adapter Settings option (located in the left side column).
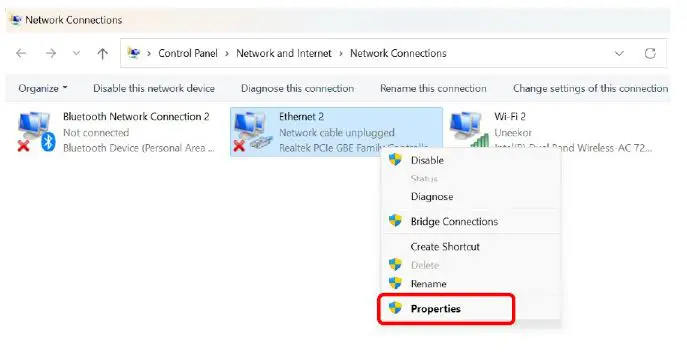
- After clicking Change Adapter Settings, you will see the Network Connections window. In this window, right-click the Ethernet icon and click the Properties option.
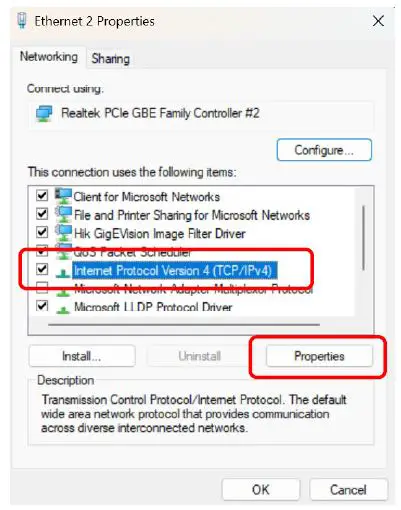
- In the Ethernet Properties window, scroll down and click on Internet Protocol Version 4 (TCP/IPv4) once to highlight. Then click the Properties button.
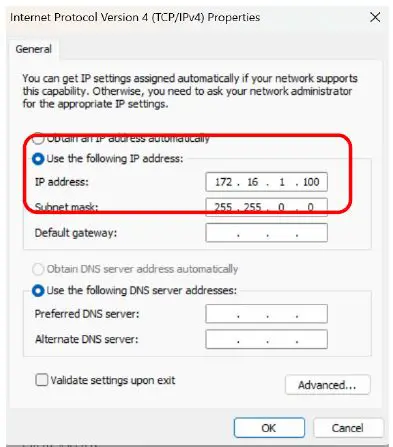
- In the Internet Protocol Version 4 (TCP/IPv4) properties window, click the “Use the following IP address” circle and type in “172.16.1.100” in the IP address row. Next, click on the Subnet Mask row and it should automatically change it to “255.255.0.0”.
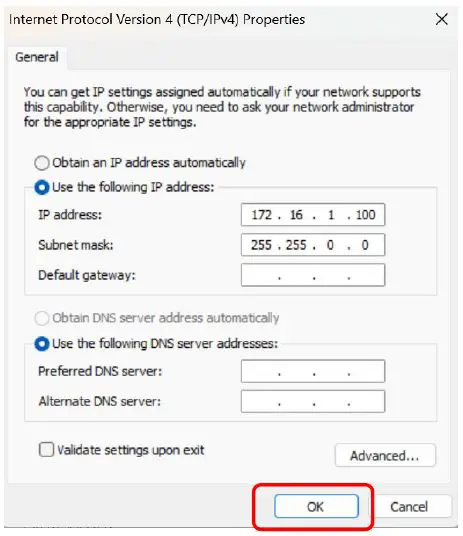
- Lastly, click Ok on the bottom right and the network setup is complete.
INSTALLATION GUIDE
NETWORK SETUP
IMPORTANT: Read Before Using.
Tech Requirements
It is important before you start the network setup process, that you have the sensor bar powered on and connected to your PC with the LAN cable provided to you in the shipping box.
Make sure the LAN cable is DIRECTLY connected to your PC in the back Ethernet port. Do NOT have it connected to the USB Adapter or a hub.
Sensor
LAN Cable (Ethernet)
PC
Setup
- Type “Control Panel” in the search bar on the bottom let of your tool bar and click on the app.

- In the Control Panel window, find and click on the “Network and Internet” icon, then click on the “Network and Sharing Center” icon.

- In the Network and Sharing Center window, find and click the “Change Adapter Settngs” option. (Located in the left side column).

- After clicking “Change Adapter Settings” you will see the “Network Connections” window. In this window right click the “Ethernet” icon and click the “Properties” option.

- In the “Ethernet Properties” window, scroll down and click on “Internet Protocol Version 4 (TCP/IPv4)” once to highlight. Then click the “Properties.”

- In the “Internet Protocol Version 4 (TCP/IPv4)” properties window click the “Use the following IP address” circle and type in 172.16.1.100 in the IP address row. Next click on the “Subnet Mask” Row and it should automatically change it to 255.255.0.0

- Lastly, click “Ok” on the bottom right and the network set up is complete.


MASTER YOUR PASSION
Uneekor, Inc.
15770 Laguna Canyon Rd Suite 100 Irvine, Ca 92618
Tel: 1-949-328-7790
[email protected]
[email protected]
Uneekor © 2023 All Rights Reserved


