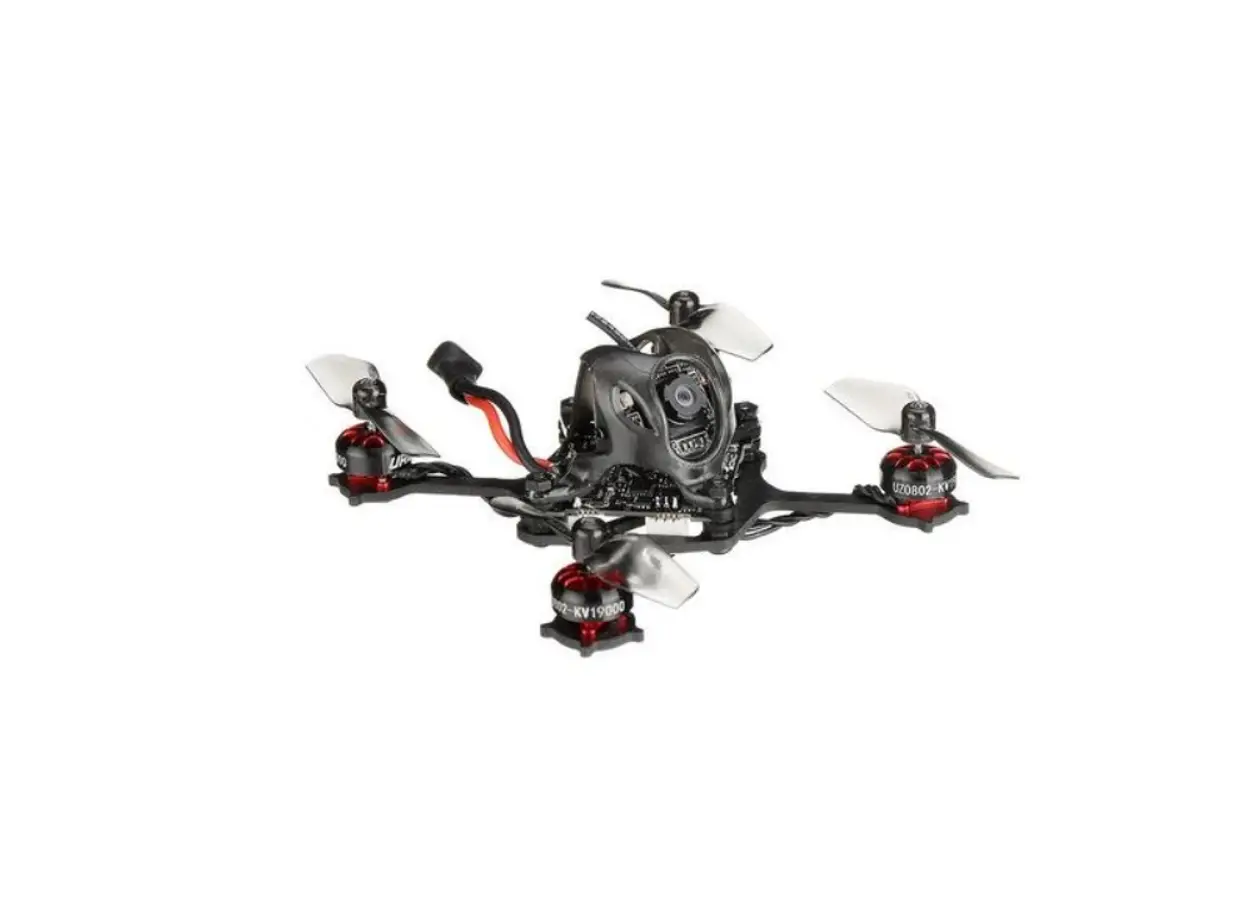
URUAV UZ80 Kit Micro Toothpick Style FPV Drone Installation Guide

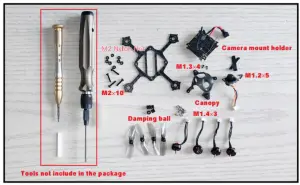
Tools needed and spare parts list
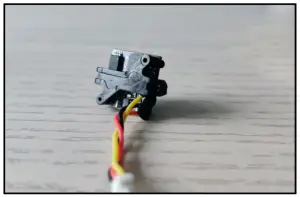
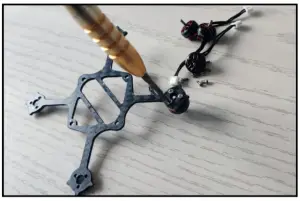
- Install the camera to the mount holder with M1.2×5, you can put some hot melt glue to fixed the camera

- Install the camera and mount holder to the canopy with M1.3×4 screws
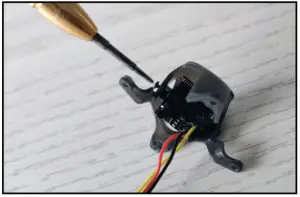
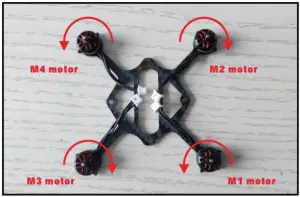
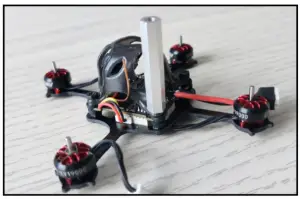
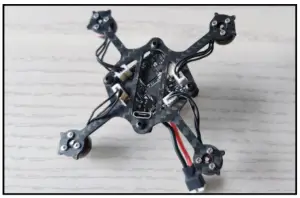
- Install the motors to the frame with M1.4×3 screws

- Motor directioan
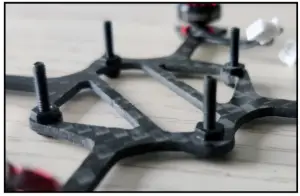
- Make M2x10 screws through the frame, and then use M2 nylon nuts to fix

- Put the rubber damping ball on the M2x10 screw to install the flight controller
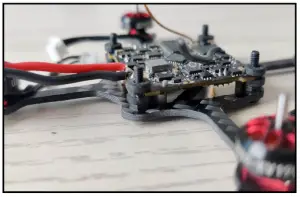
- Insert the wire plug of the camera to the socket of the flight controller and then use M2 Nylon nut to fixed the canopy

- Insert the wire plug of the motor to the flight controller

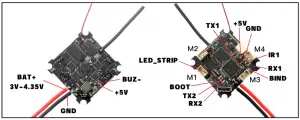
Flight controller connect ion diagram
Bind procedure
UZ80 Frsky version bind procedure: (Receiver mode “Frsky_D” and choose “Frsky D8” for your radio transmitter)
Plug USB and then press the bind button for 1 second ,the Red LED on the top of the flight controller will getting to be solid , this indicate the receiver is
in bind mode. Or Plug USB and then connect betaflight configurator. Go to CLI command then enter “frsky_bind”, the receiver would get into bind mode too. Make your Frsky transmitter get into bind mode . If bind is successful the red
LED will starting to blink. The red LED wouldn’t blinking when binding with some new ACCESS firmware frsky radio , but the bind is actual successful , need to go to CLI command and enter “save”to finish the binding .
UZ80 Flysky version bind procedure: (Receiver mode “A7105_FLYSKY_2A” and choose “AFHDS2A” for your radio transmitter Press and hold the bind button for 1 second ,then plug USB, the Red LED at the bottom of the flight controller will blinking fast , this indicate the receiver is in bind mode.
Make your Flysky transmitter get into bind mode . If bind is successful the red led will getting to be solid.


