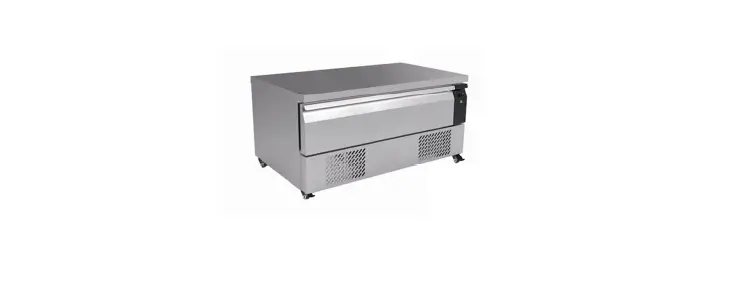
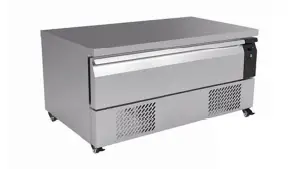
ggm gastro Flexdrawer Counter Freezer Drawer Cabinet
Caution Risk of Fire
- Do not store explosive substances such as aerosol cans with a flammable propellant in this appliance.
- Warning: Keep all ventilation openings clear of obstruction. Unit should not be boxed in without adequate ventilation.
- Warning: Do not use mechanical devices or other means to accelerate the defrosting process, other than those recommended by the manufacturer.
- Warning: Do not damage the refrigerant circuit.
- Warning: Do not use electrical appliances inside the food storage compartments of the appliance, unless they are the type recommended by the manufacturer.
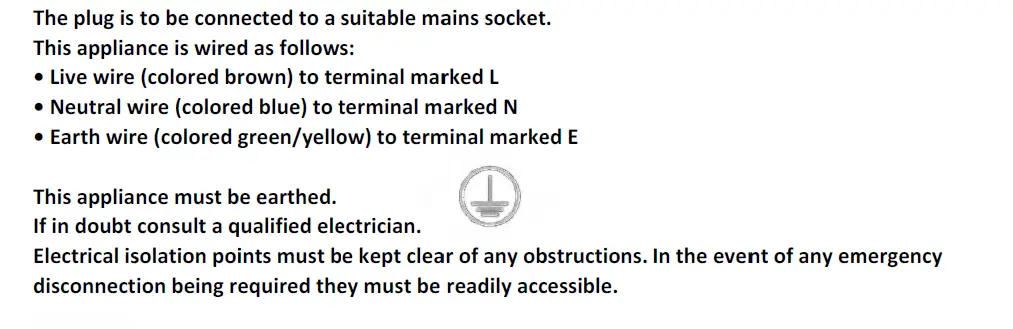
Installation
Note: If the unit has not been stored or moved in an upright position, let it stand upright for approximately 12 hours before operation. If in doubt allow to stand.
- Remove the appliance from the packaging. Make sure that all protective plastic film and coatings are thoroughly removed from all surfaces.
- Maintain a distance of 20cm (7 inches) between the unit and walls or other objects for ventilation.
- Set the brakes on the castors to keep the appliance in position
Safety TIPS
Operation
Storing Food To get the best results from your appliance, follow these instructions:
- Only store foodstuffs in the appliance when it has reached the correct operating temperature.
- Do not place uncovered hot food or liquid inside the appliance.
- Wrap or cover food where possible.
- Do not obstruct the fans inside the appliance.
- Avoid opening the doors for prolonged periods of time.
Turn On
- Ensure the power switch is set to [0] and turn on at the socket.
- Switch on the Power [I]. The current temperature within the appliance is displayed.
Control PANEL
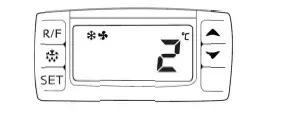
Set the OPperatinng Tempeerature
- Press the SET button n for 3-sec oonds. The dd display will flash.
- Press the or button ns to display y the req required temperature.
- Press the SET button n to store tt the temperature.
Manual Defrost
- The appliance will automatically run a defrost cycle every six hours.
- To manually defrost the appliance: Press and hold the defrost button for 2 seconds to begin a maa neural defrost t. The def most light illuminates.
Select the chiller/freezer mode
Press the mode selectting button(R/F) to select the desired model
Cleaning, Care & Maintenance
Defrost appliance at least every 3 months, more often if required. Switch off and disconnect from the power supply before cleaning.
- Clean the interior of the appliance as often as possible.
- Do not use abrasive cleaning agents. These can leave harmful residues.
- Clean the door seal with warm soapy water.
- Always wipe dry after cleaning.
- Do not allow water used in cleaning to run through the drain hole into the evaporation pan.
- Take care when cleaning the rear of the appliance. Sharp edges can cut.
- A agent or qualified technician must carry out repairs if required.
Stainless Steel Care
To maintain the stainless steel exterior of your item, please consider the following information: Never:
- Use abrasive Scourers or scrubbing pads, etc.
- Use Chlorinated or acidic detergents
- Allow anything e.g. food, dirt, cleaning chemicals to remain on the surface for longer than necessary, clean them off right away.
- Allow the surface to remain wet.
Do
- Clean often.
- Use soft Cloths or plastic Scourers.
- Rub with the grain of the metal, rather than across it.
- Use detergents and polish designed for cleaning Stainless Steel.
- Ensure that the cleaning products are washed off fully and that the steel is left dry.
Routine Maintenance
- The condenser is part of the refrigeration system. The condenser requires monthly cleaning..
- These models have removable filters which can be cleaned with a vacuum cleaner.
- Failure to clean the condenser will reduce the performance and life of your unit and invalidate your warranty


Troubleshooting
If your equipment appliance develops a fault, please check the following table before making a call to the Helpline.
| Fault | Probable Cause | Solution |
|
The appliance is not working | The unit is not turned on | Check if the unit is correctly plugged and turned on |
| Plug and lead are damaged | Call a qualified Technician | |
| Fuse in the plug is broken | Replace the fuse | |
| Power Supply | Check power supply | |
| Internal wiring fault | Call a qualified Technician | |
|
The appliance turns on but the temperature is too high/low | Too much ice on the evaporator | Defrost the appliance |
| Condenser is blocked with dust | Clean the condenser’s filter | |
| Doors are not properly shut | Check the doors if are shut and if the seals are not damaged | |
| Appliance is located near a heat source or the air flow to the condenser is being interrupted | Move the product to a more suitable location | |
| Ambient temperature is too high | Increase the ventilation or move the appliance to a cooler location | |
| Unsuitable foods are inside the appliance | Remove any foods that are too hot or that maybe obstruct the fan | |
| Appliance is overloaded | Reduce the amount of stored food in the appliance | |
|
The appliace is leaking water | The appliance is not properly levelled | Adjust the feet’s screw to level the appliance (if applicable) |
| The discharge outlet is blocked | Clear the discharge outlet | |
| The moving of water to the drain is obstructed | Clear the floor of the appliance (if applicable) | |
| The water container is damaged | Call a qualified Technician | |
| The drip tray is overflowing | Empty the drain tray (if applicable) | |
| The appliace is unusually loud | Loose nut/screw | Check and tighten the nuts and screws |
| The appliance has not been installed in a level or in a stable position | Check the installation position and change it if necessary |