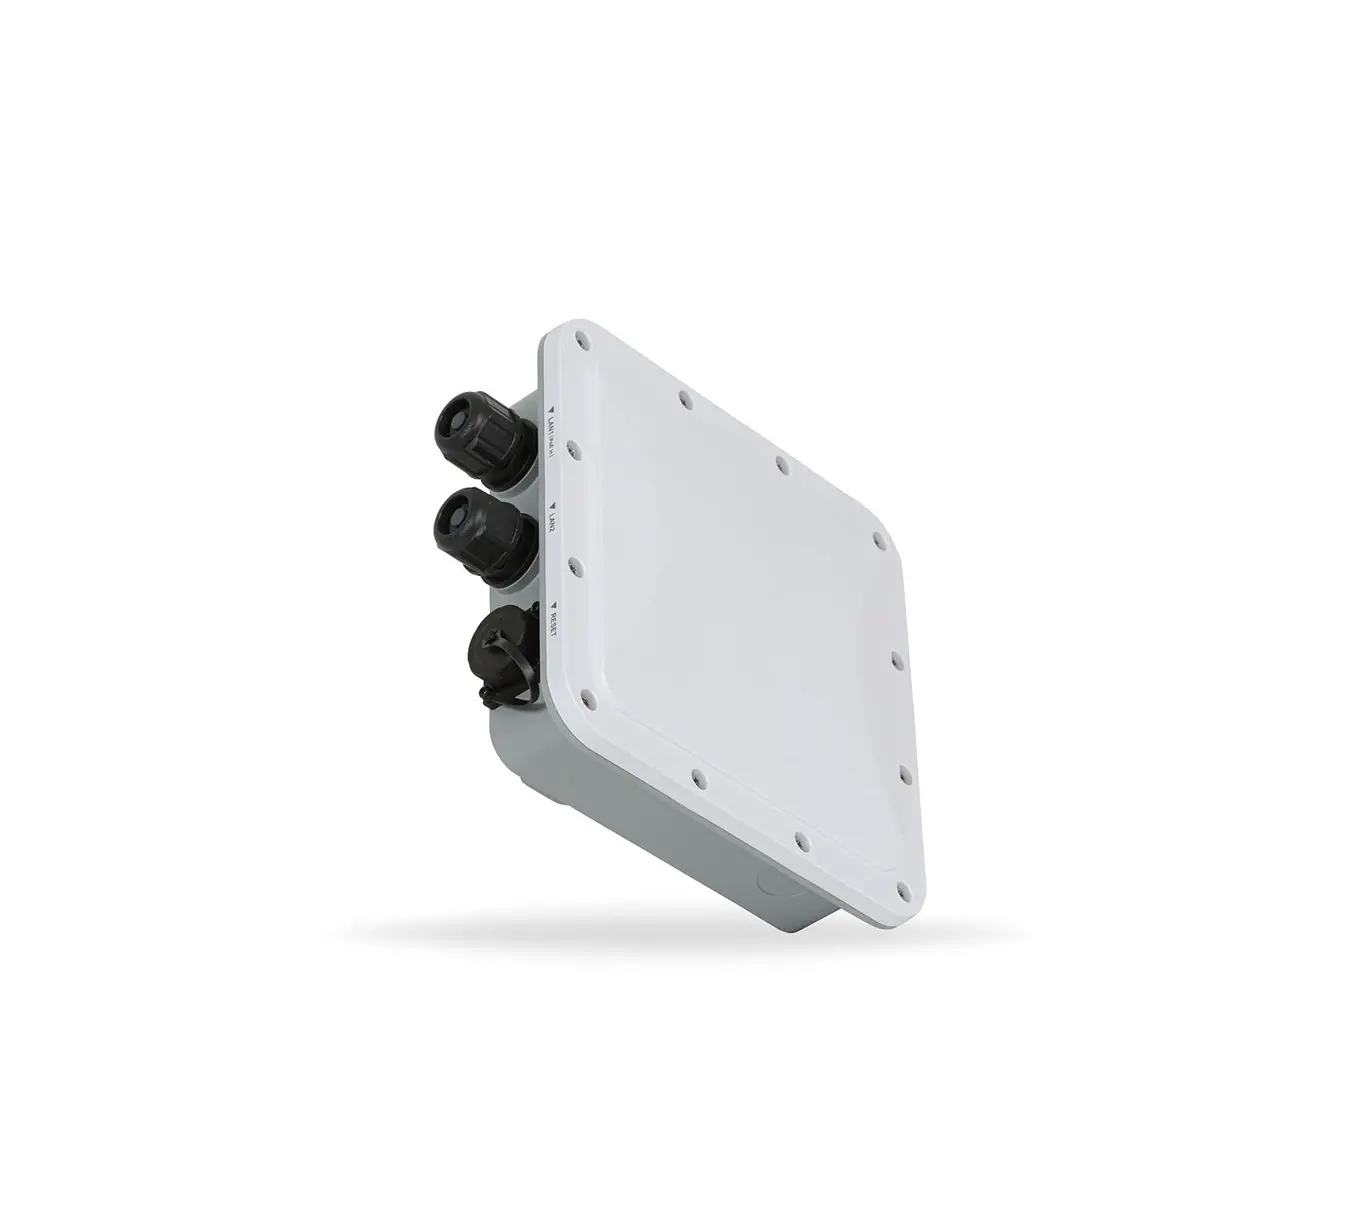
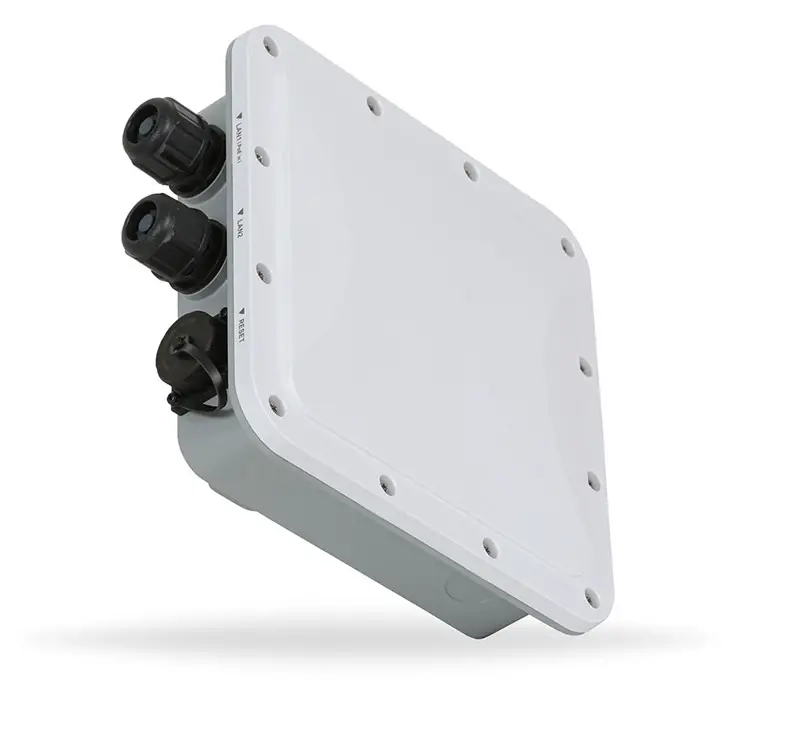
PoEWit WAP-2O Outdoor Wi-Fi 6 Wireless Access Point
INSTALLATION AND SETUP
1) After mounting the WAP-2O, connect an Ethernet cable (Cat5/6) from the LAN1 port to the Router.
- Note: A blue LAN1 LED indicates a link of 2.5Gbps. An amber LED indicates a link of 100/1000Mbps.


- Note: The WAP-2O and the mobile device running the PoEWit .. App must be on the same external IP address and the same …. local subnet.


3) Once powered On, the WAP-2O will automatically connect to the internet, and the Power LED will appear blue when the device is ready for operation.
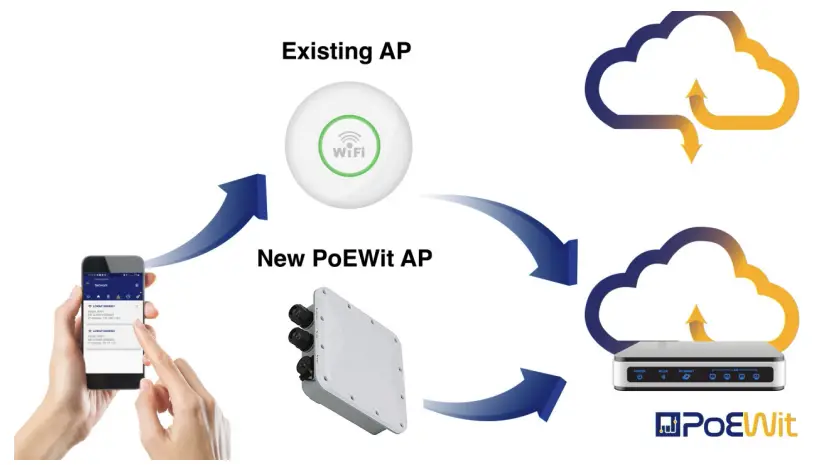
4) There are two installation scenarios depending on whether or not there is a wireless network already installed.
4a) With an Existing AP on the Network:
- Connect to the existing AP using your mobile device.
- Open the PoEWit App to discover and configure the new WAP-2O.
First Scenario
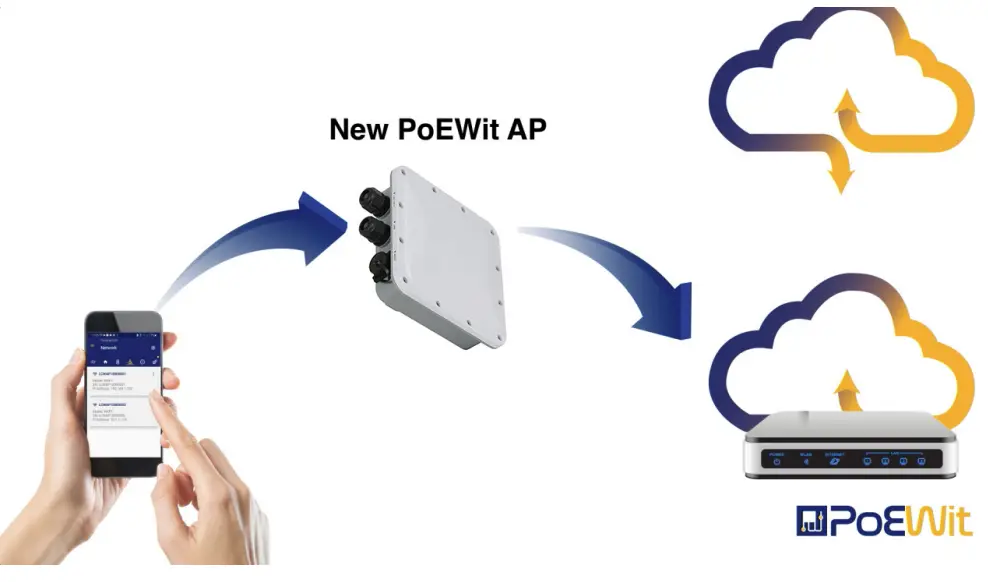
4b) With No Existing AP on the Network:
- Connect to the newly-installed WAP-2O using the default SSID and Passcode.
Default SSID and Passcode:
- Connect to the newly-installed WAP-2O using the default SSID and Passcode.
Default SSID and Passcode:SSID Passcode poewit_2.4G_1 3301Andrews poewit_5.0G_1 3301Andrews poewitguest_2.4G WelcomeGuest poewitguest_5.0G WelcomeGuest - Open the PoEWit App to discover and configure the new WAP-2O.
- Once the settings are saved, the WAP-2O will reboot and lose connection to the mobile device. Allow 30 to 60 seconds for the WAP-2O to reestablish power.
- Once power is restored, connect to the new SSID you setup.
Second Scenario


 Dual-radio Outdoor Poe Access Point User Guide")


 Dual-radio Poe Access Point User Guide")


