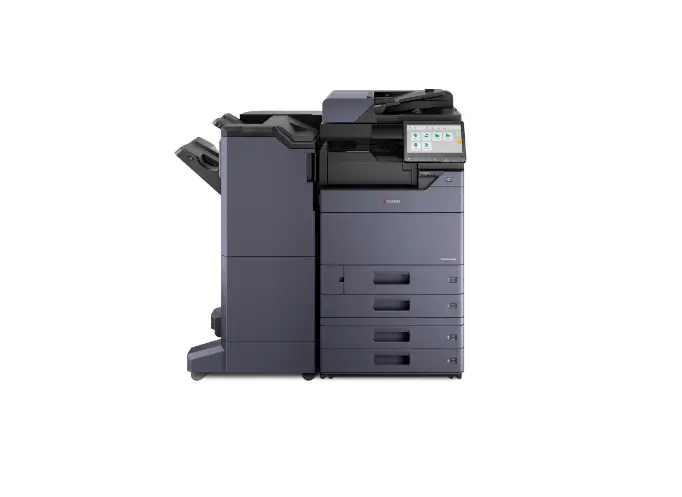
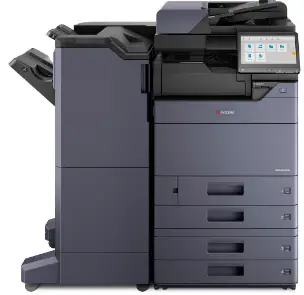
KYOCERA 7054ci Multifunction Printer
Login
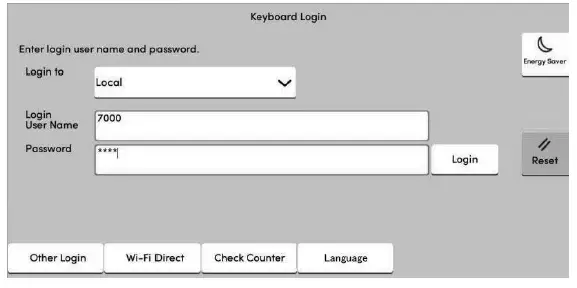
If this screen is displayed during operations, enter following login user name and password.
Login User Name:
- 7054ci – 7000
- 6054ci – 6000
- 5054ci – 5000
- 4054ci – 4000
- 3554ci – 3500
- 2554ci – 2500
Login Password:
- 7054ci – 7000
- 6054ci – 6000
- 5054ci – 5000
- 4054ci – 4000
- 3554ci – 3500
- 2554ci – 2500
Preface
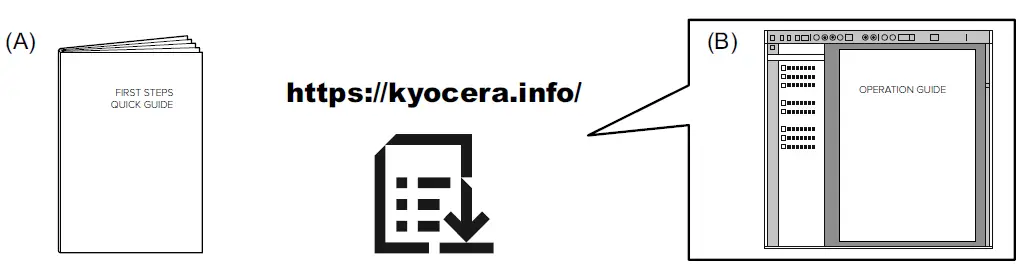
This guide (A) only explains the basic operations of the machine. Refer to the operation guide (B) downloaded from our Web site for the other information.
Install Drivers and Utilities
After accessing the above URL, install it based on the instruction of the screen.
Canceling
Copy/Scan
Print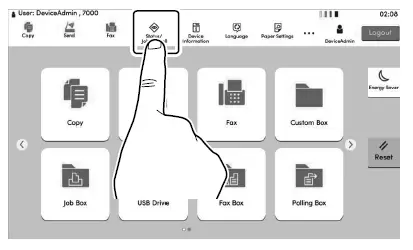
Select the job you wish to cancel > [Cancel] > [Yes]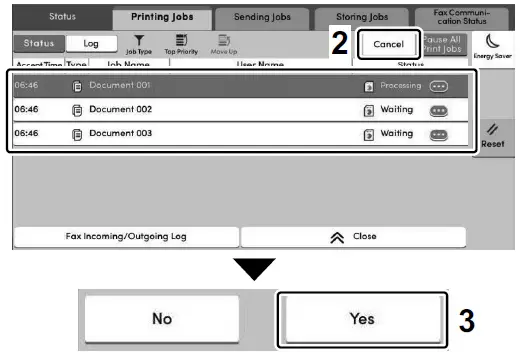
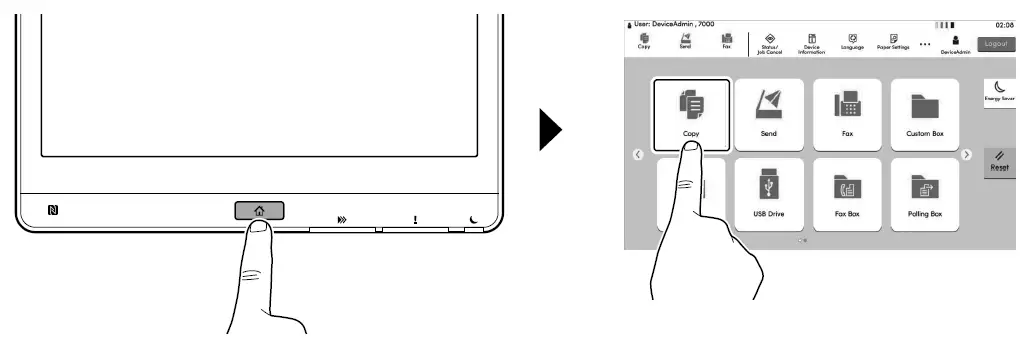
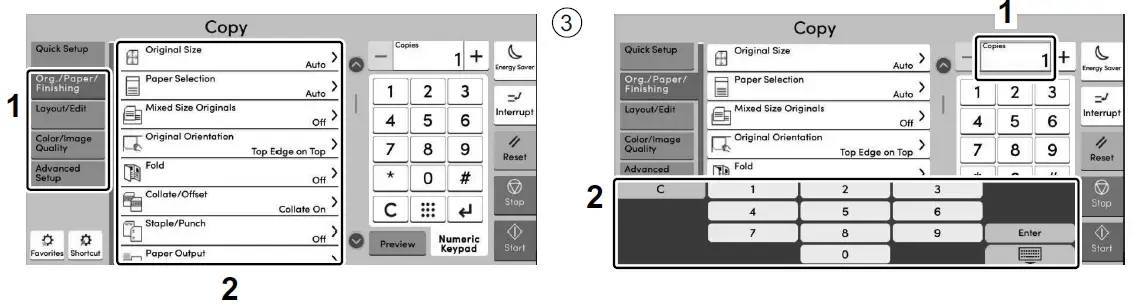
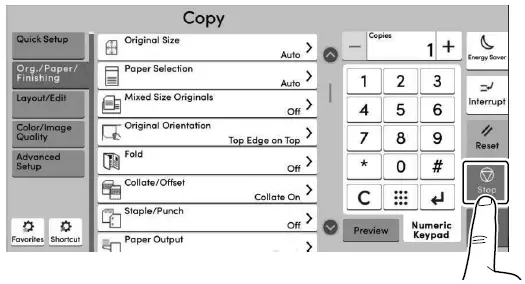
Select the functions.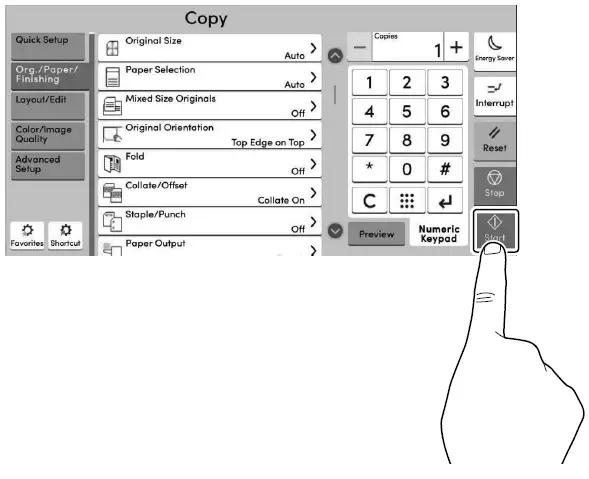
Press the [Start] key.
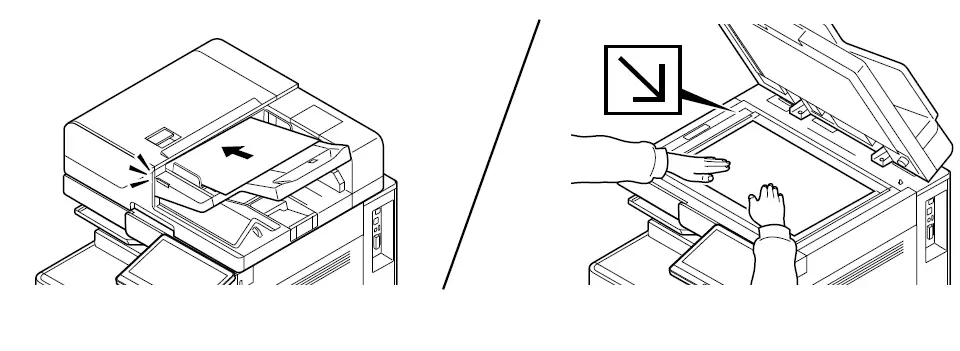
Scan (E-mail)
Setup
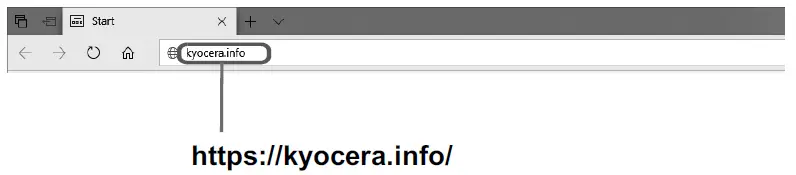
Launch your Web browser.
In the Address or Location bar, enter the machine’s IP address or Printer Host Name.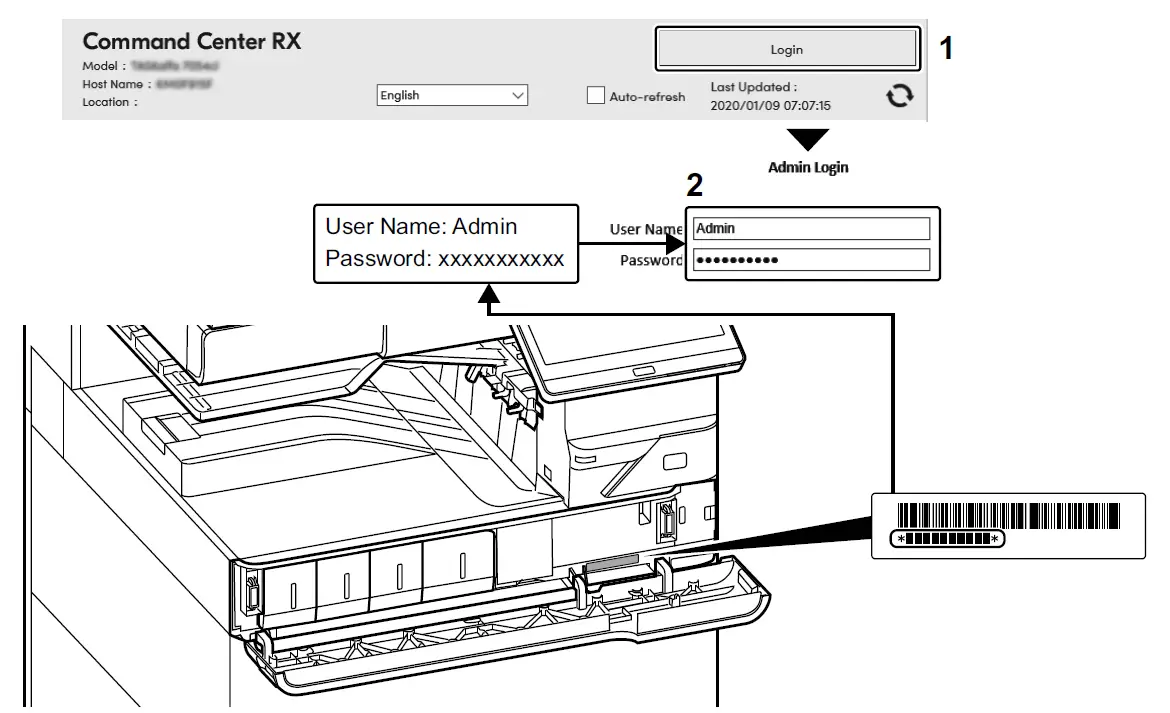
Enter “Admin” and “xxxxxxxxxx”, and log in to Command Center RX with administrator authority. From the [Function Settings] menu, click [E-mail]. Set SMTP Protocol [On], and then enter the following items.
- SMTP Server Name
- E-mail Size Limit
- Sender Address
Send
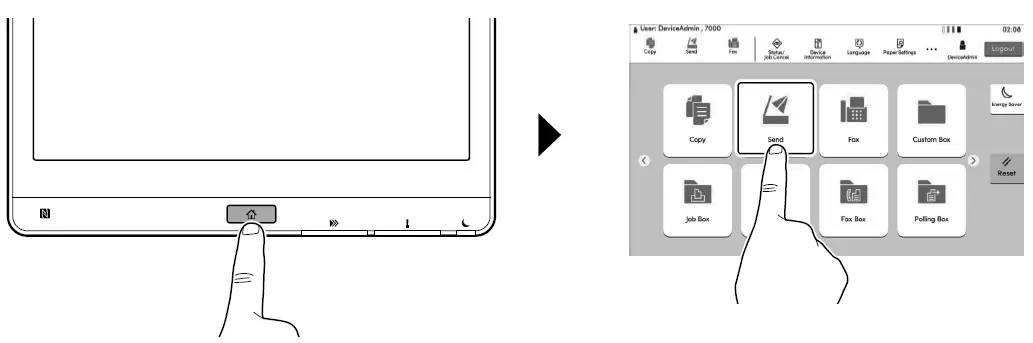
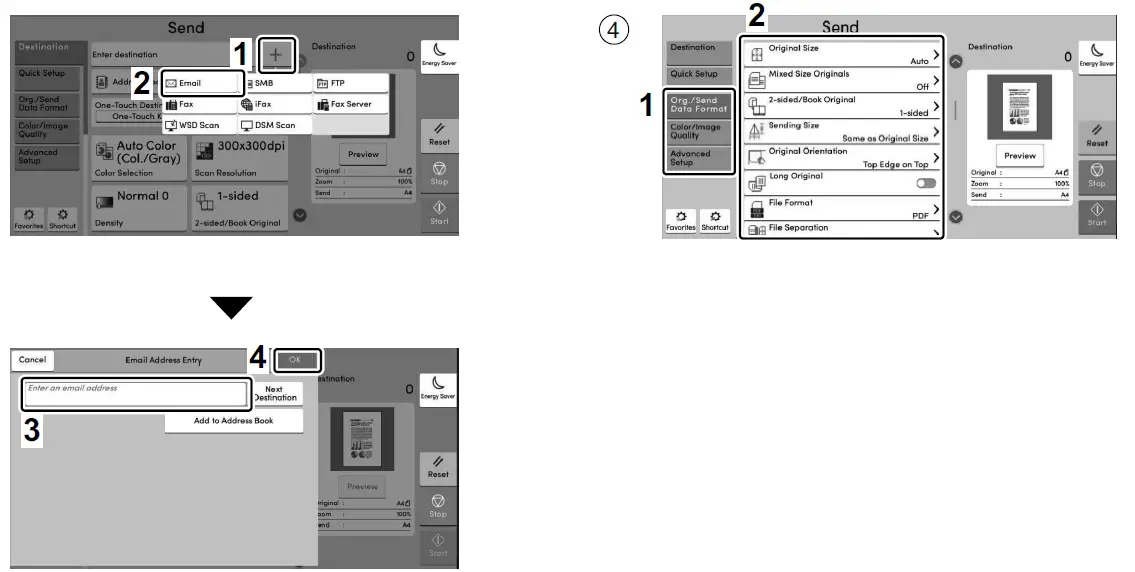
Enter destination E-mail address > [OK]
Press the [Start] key.
FAX (Option)
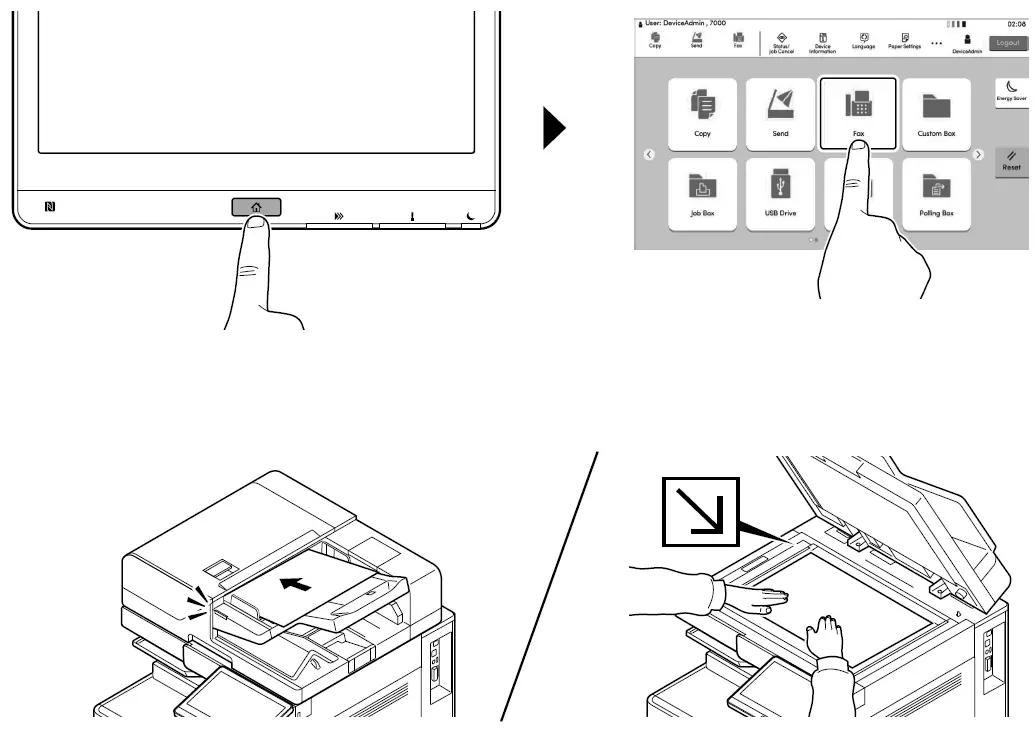
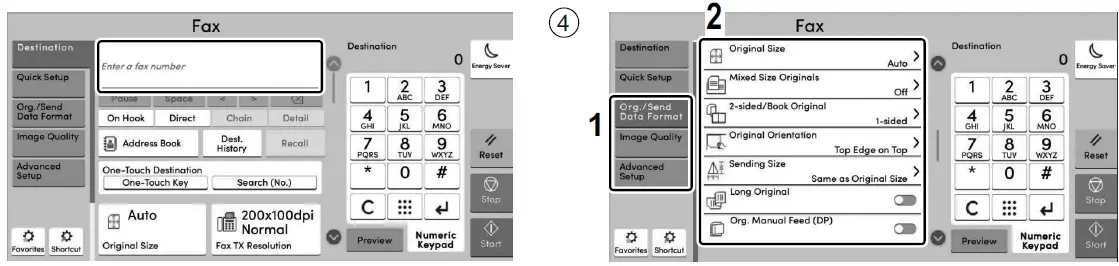
Specify destination.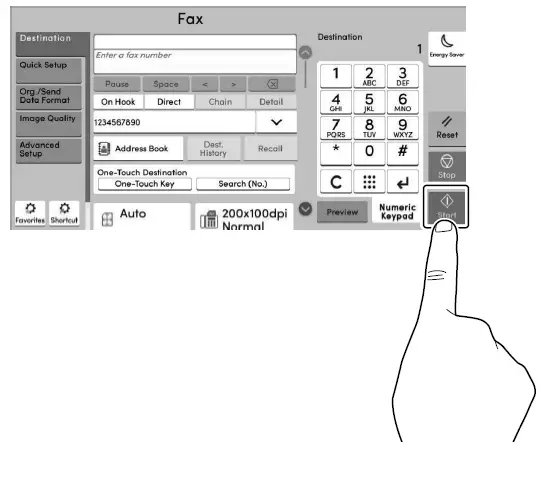
Press the [Start] key.
Private printing
From a PC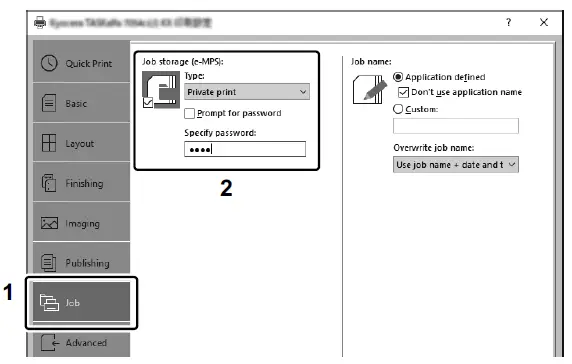
To activate the private printing from the PC, set the items No. 1 and 2 in the screen.
From the Operation Panel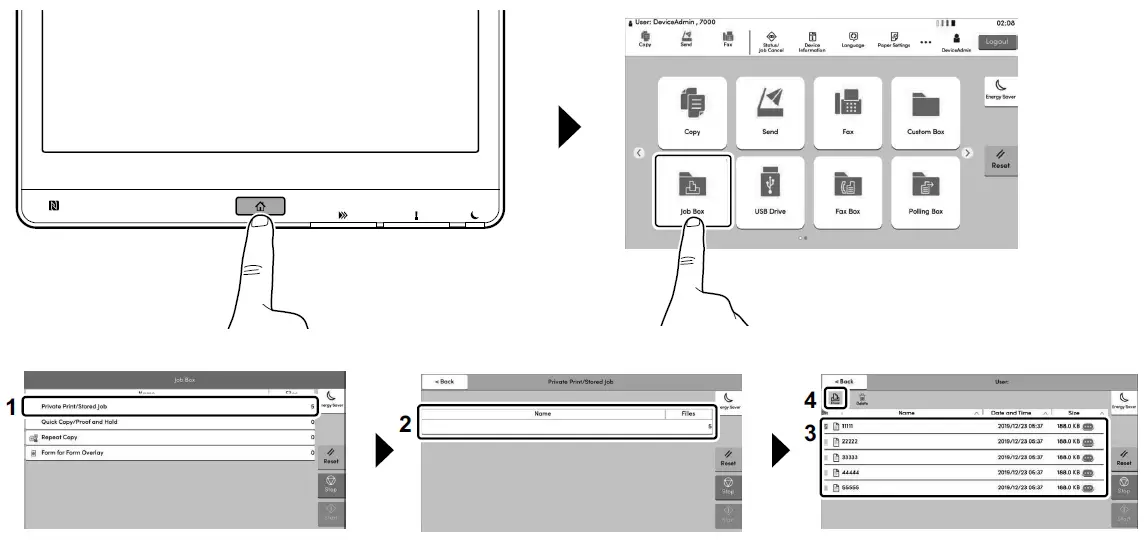
[Job Box] > Select the document to print > [Print]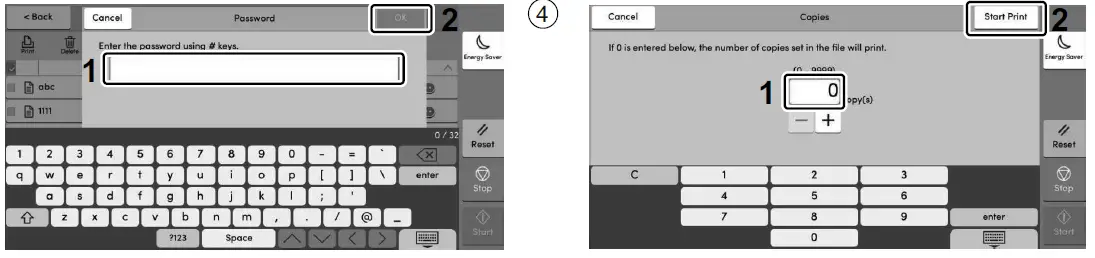
Enter the password > [OK]
Troubleshooting
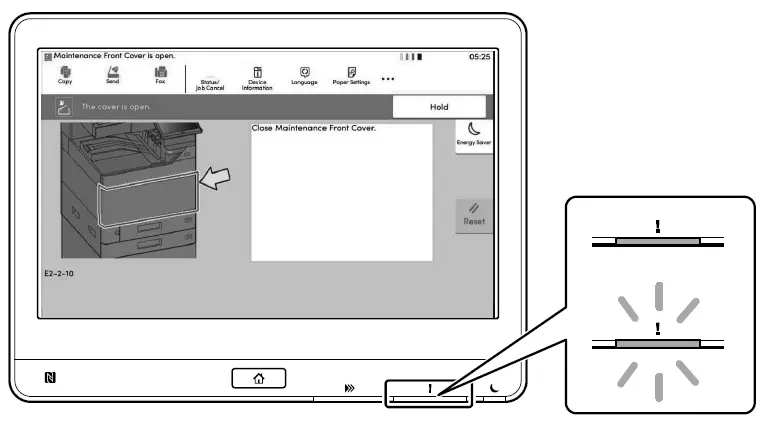
If an error occurs on the machine, the error message appears on the screen. Also the Attention indicator on the operation panel will light up or flash. Follow the instructions on the screen to clear the error. For details, refer to the Operation Guide.
Clear Paper Jam
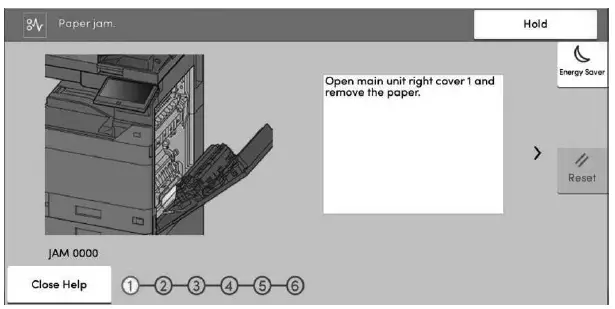
If paper jam occurs, follow the guidance on the operation panel to remove paper.


