Contents hide
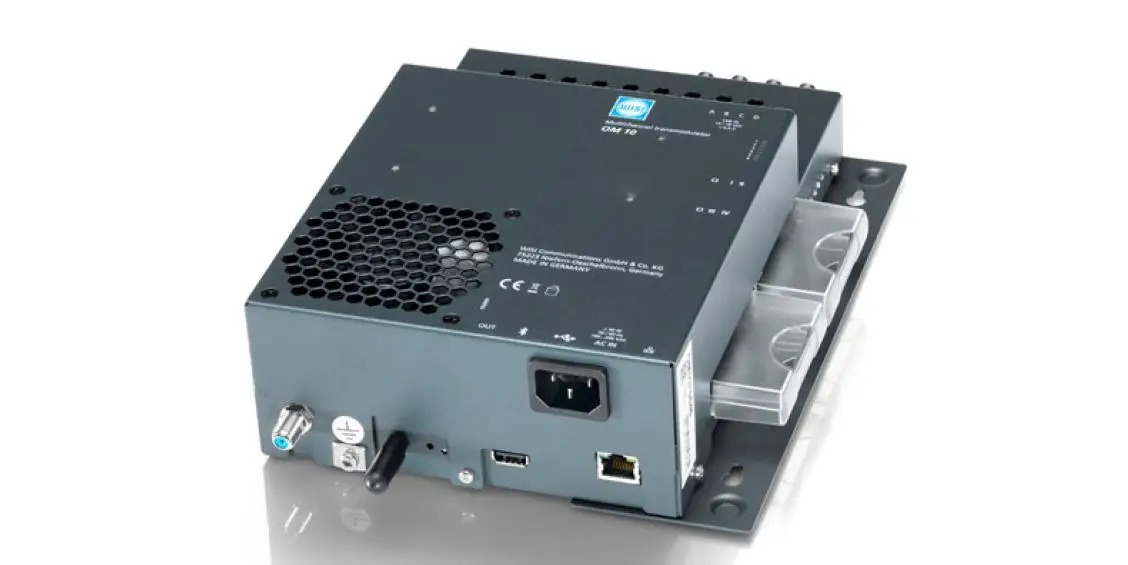
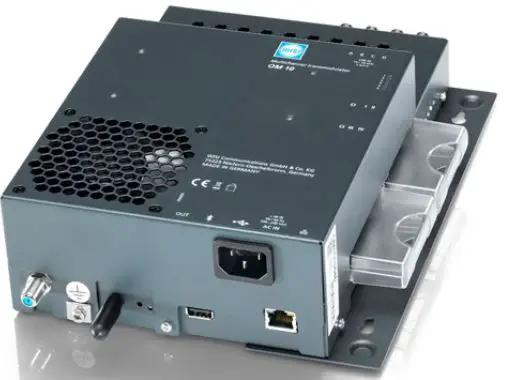
WISI OM 10 064x Micro Headend
Danger and installation instructions For special attention

Danger
Grounding
Connection cable
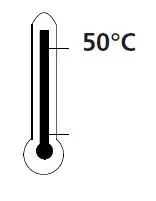
Select location

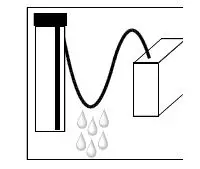
Humidity
Service work

Batteries

All of our packaging material cardboard boxes, inserts, plastic films and bags is fully recyclable.
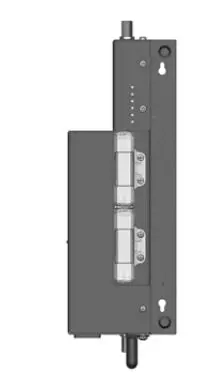
Wall mounting/borehole spacing

WEB
- An Ethernet connection is required between the OM 10 and the PC/laptop.
- Connect OM 10 to the power supply. 3. If the connected PC is set to Obtain an IP address automatically, it will be assigned an IP address (192.168.0.21).
- A manually assigned IP address must be in the range of 192.168.0.xxx, but must not be identical to an address that is already in use.
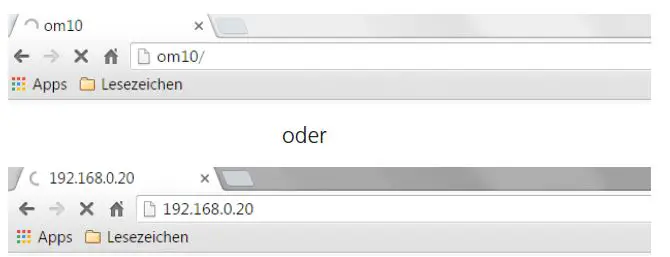
- Default IP address OM 10: 192.168.0.20 4.
- Enter http://OM10 or the IP address of the OM 10 in the address field of the Internet browser.
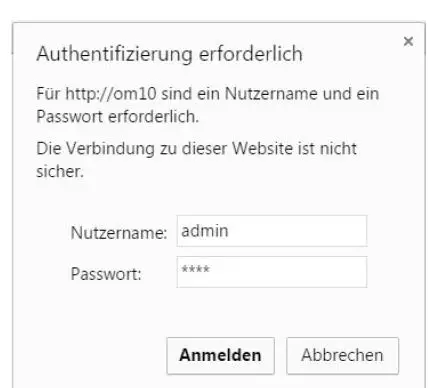
Login username
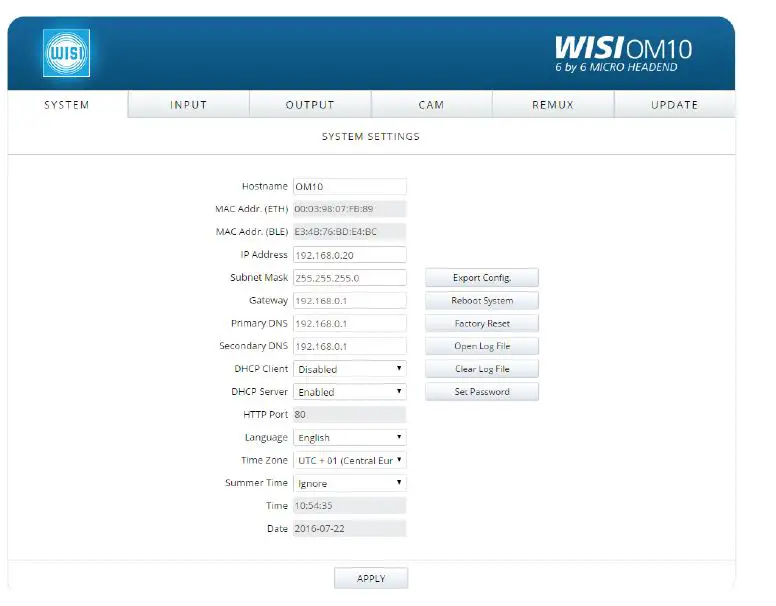
System Settings
Quick Setup
Start quick settings
Export Config
save the settings on the connected PC.
Reboot System
Perform a system restart.
Factory Reset
Set the OM 10 to the delivery status.
Open Log File
File about special occurrences.
Clear Log File
Delete log file history
Apply
Changes are saved
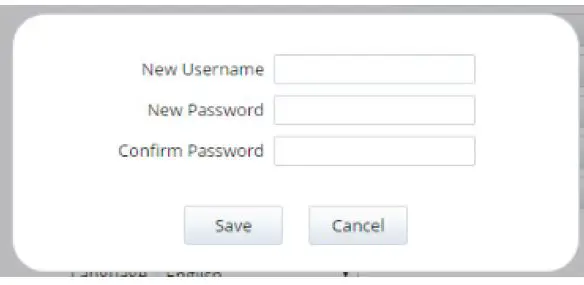
Set Password
A new username and access password can be set
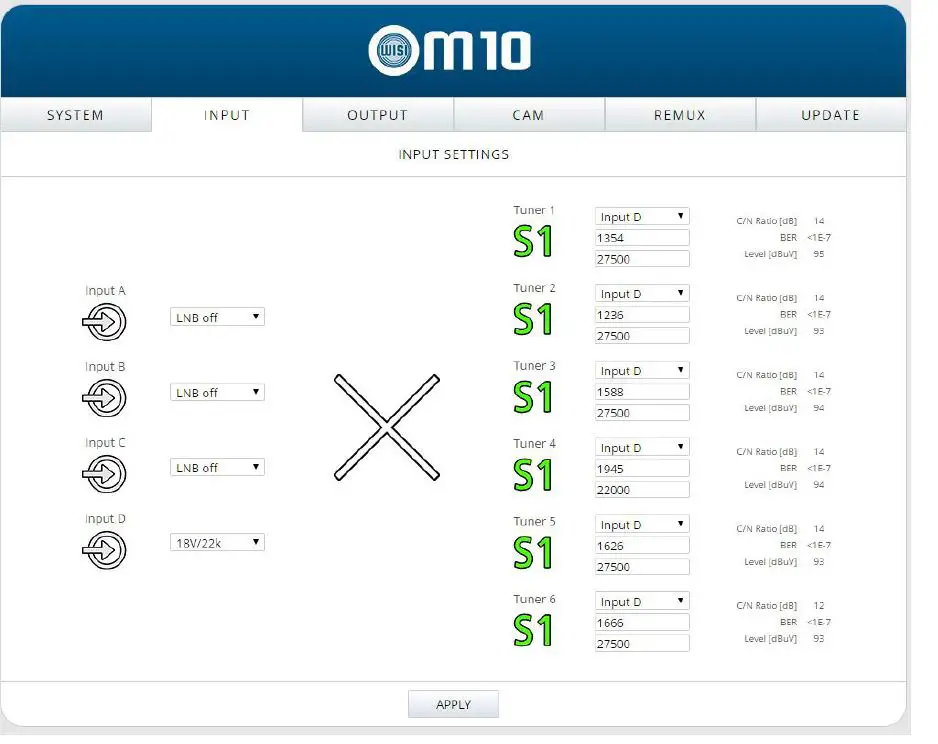
Input settings
Output settings

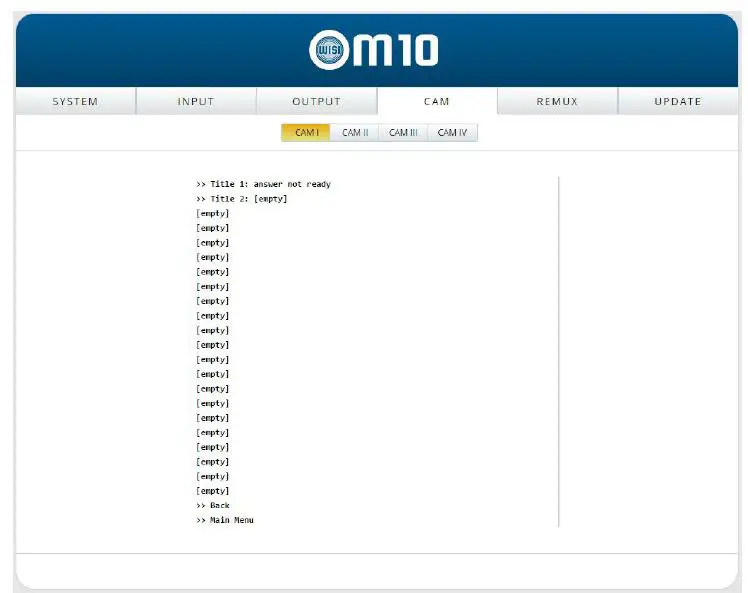
CAM
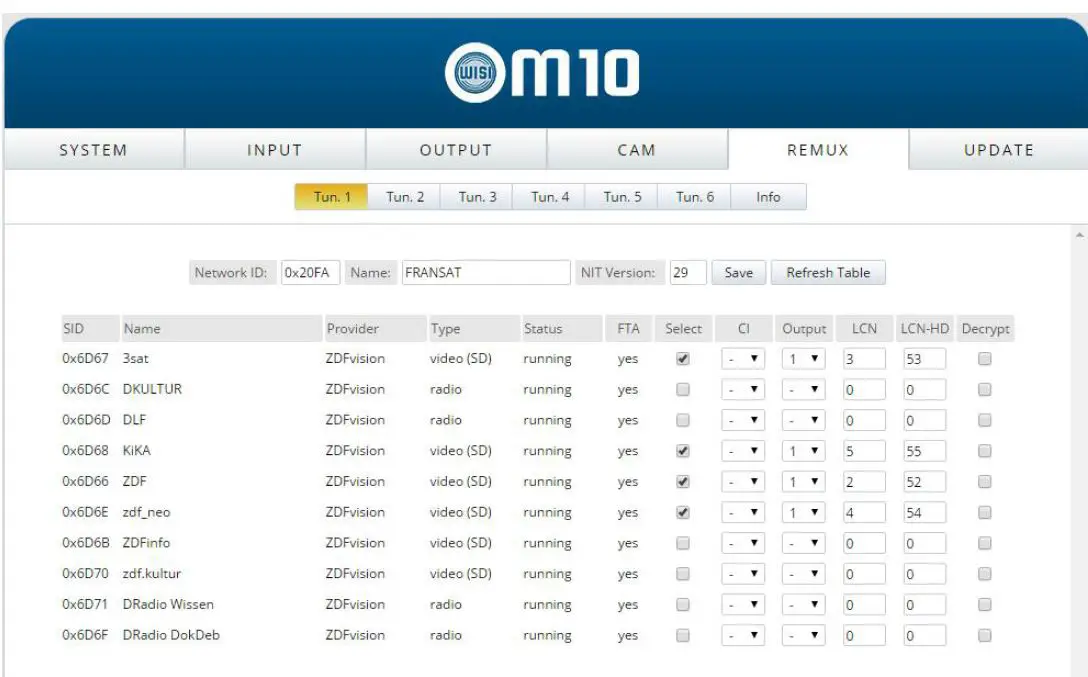
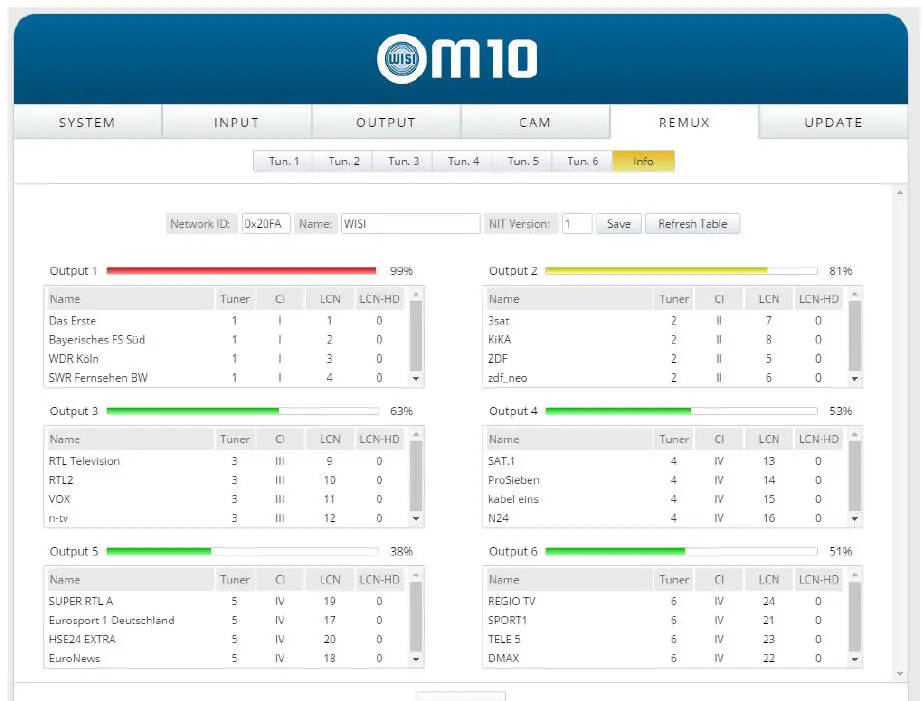
Remux
Remux info
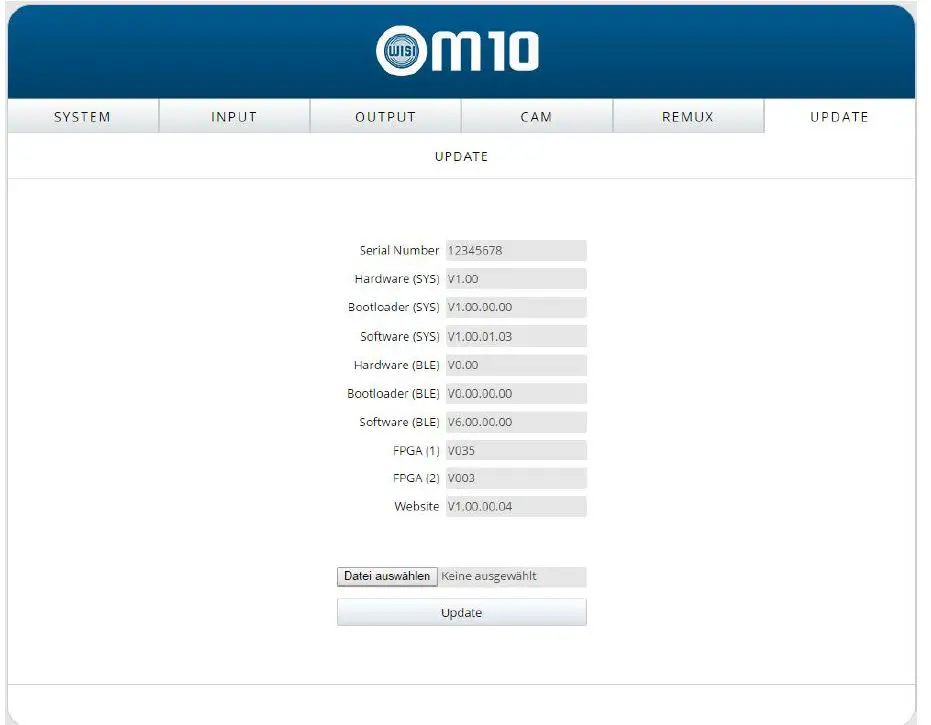
Update
Technical Specifications
| Input frequency range | 950…2150 MHz |
| Input frequency steps | 1 MHz |
| Return loss IN | >8 dB |
| Isolation internal multiswitch | >30 dB |
| Input level range | 47…90 dBµV |
| AFC / AFC | ±10 MHz |
| Modulation | QPSK / 8PSK |
| Symbol rate DVB-S | 1..53 MSps |
| Symbol rate DVB-S2 | 1..53 MSps (QPSK) 1..45 MSps (8PSK) 1..35 MSps (16APSK) 1..28 MSps (32APSK) |


