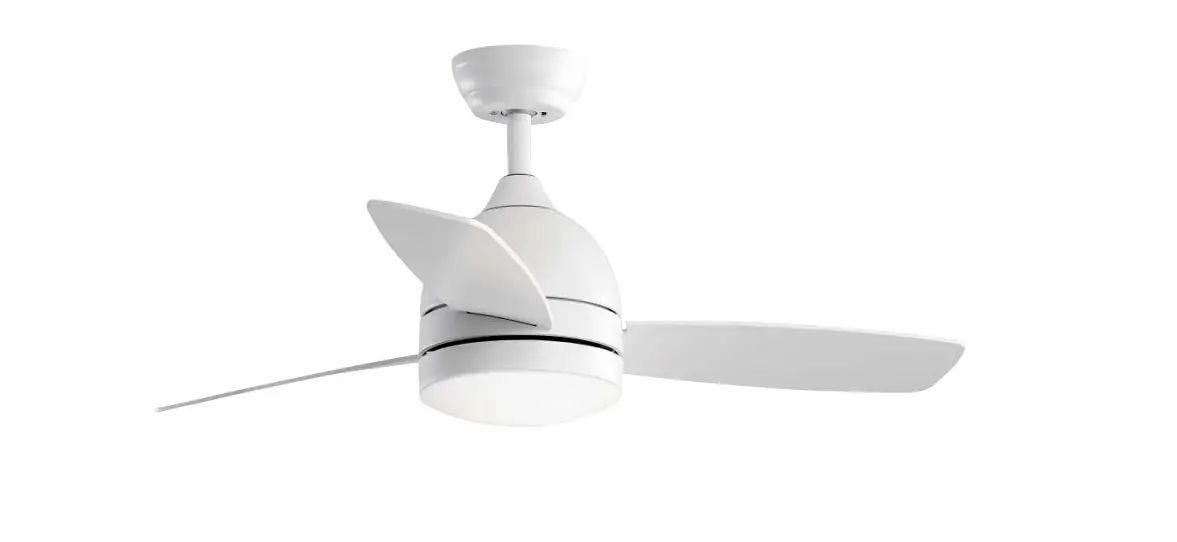
warmiplanet WICF01 Ceiling Fan Installation Guide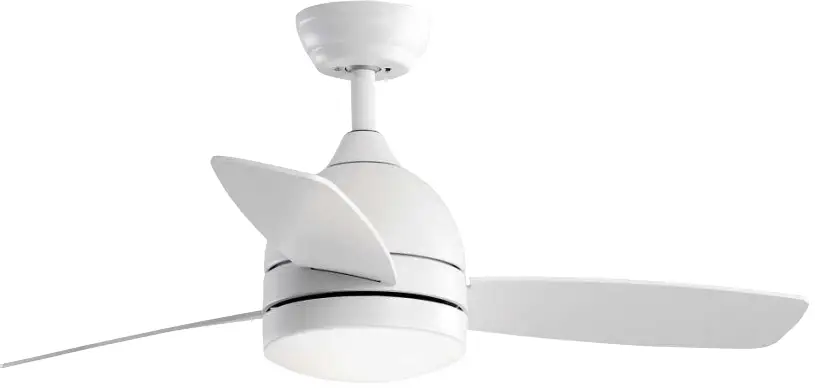
PACKAGE CONTENTS
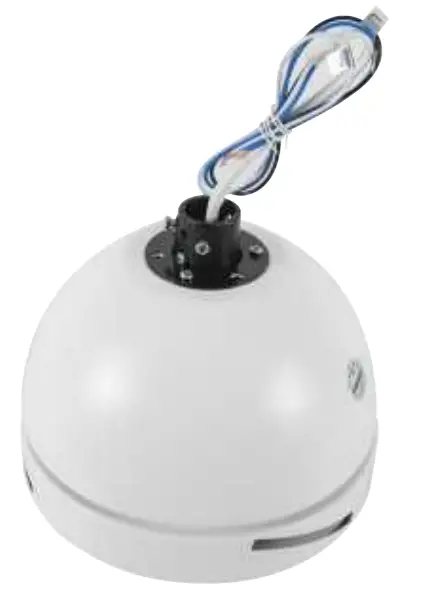
- Motor

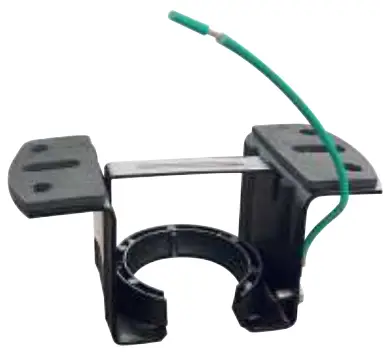
- Hanging Bracket

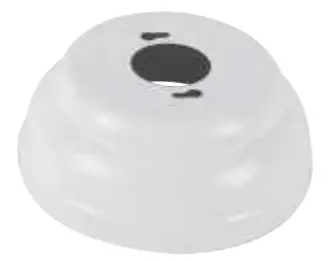
- Up Canopy

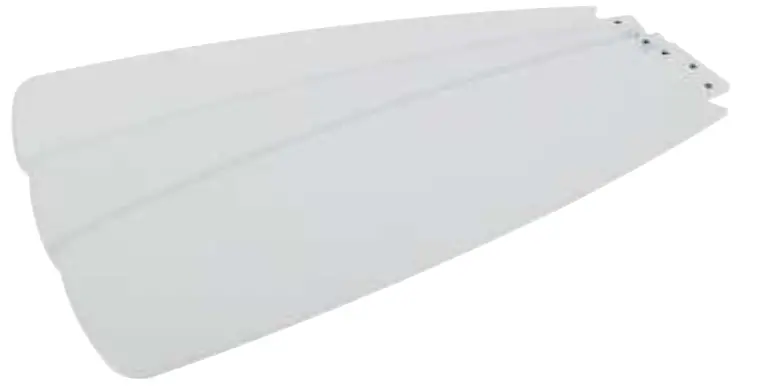
- Blades

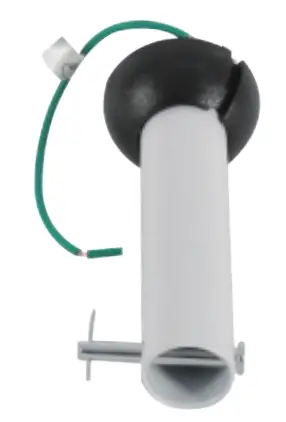
- Down Rod

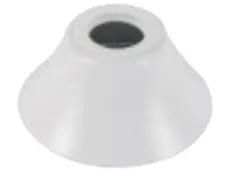
- Down Canopy

INSTALLATION INSTRUCTION
Step 1 For concrete ceiling,install the mounting plate to octagon box with two machine screws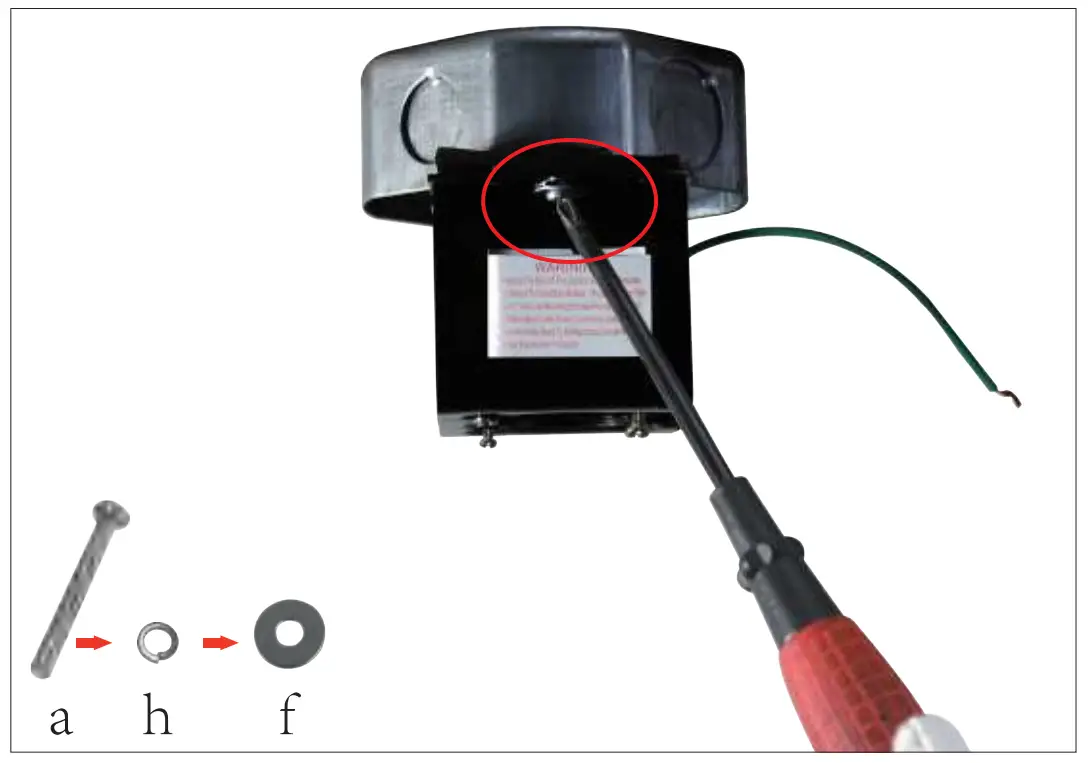
Step 1 For wooden ceiling,install the mounting plate to wooden ceiling with two wood screws.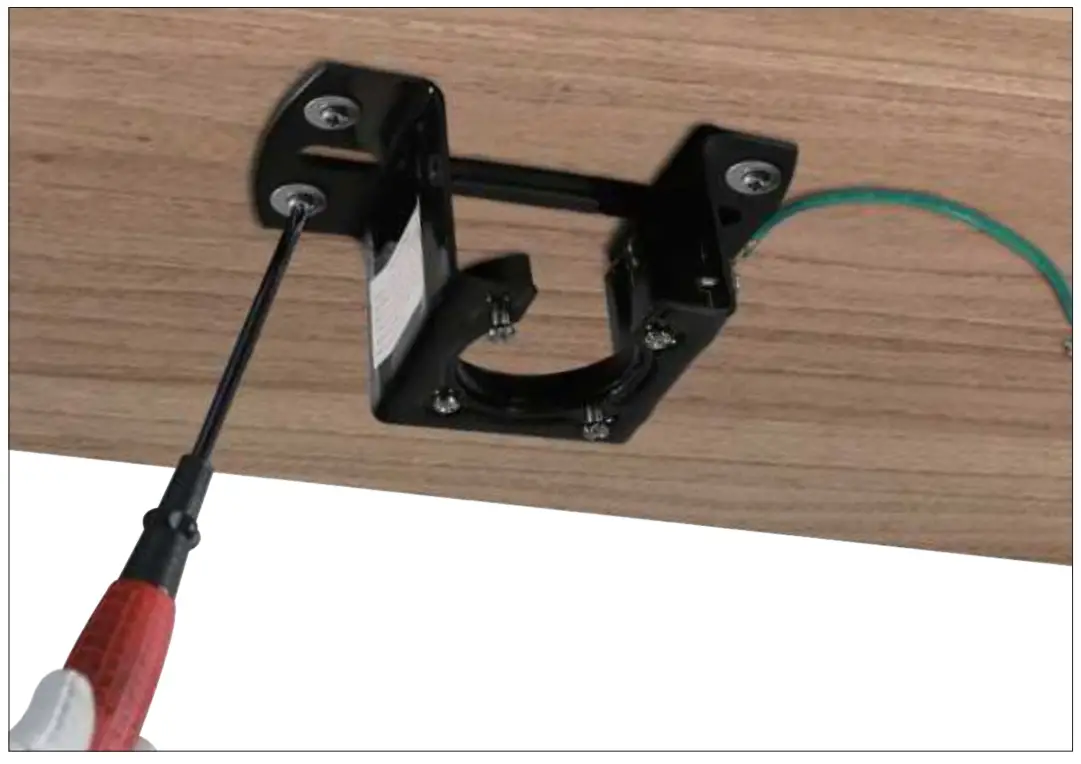
Step 2 Remove the 3 fixing screws for the light kit.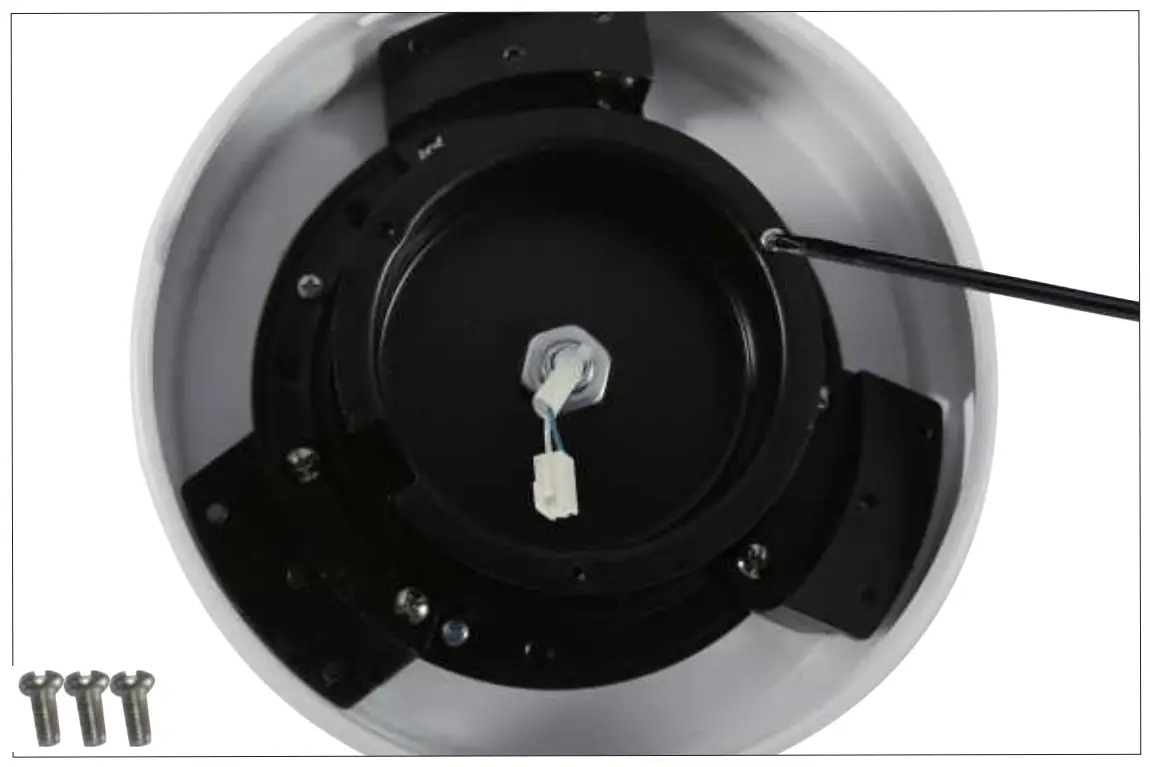
Step 3 Loosen the 2 screws of the coupler.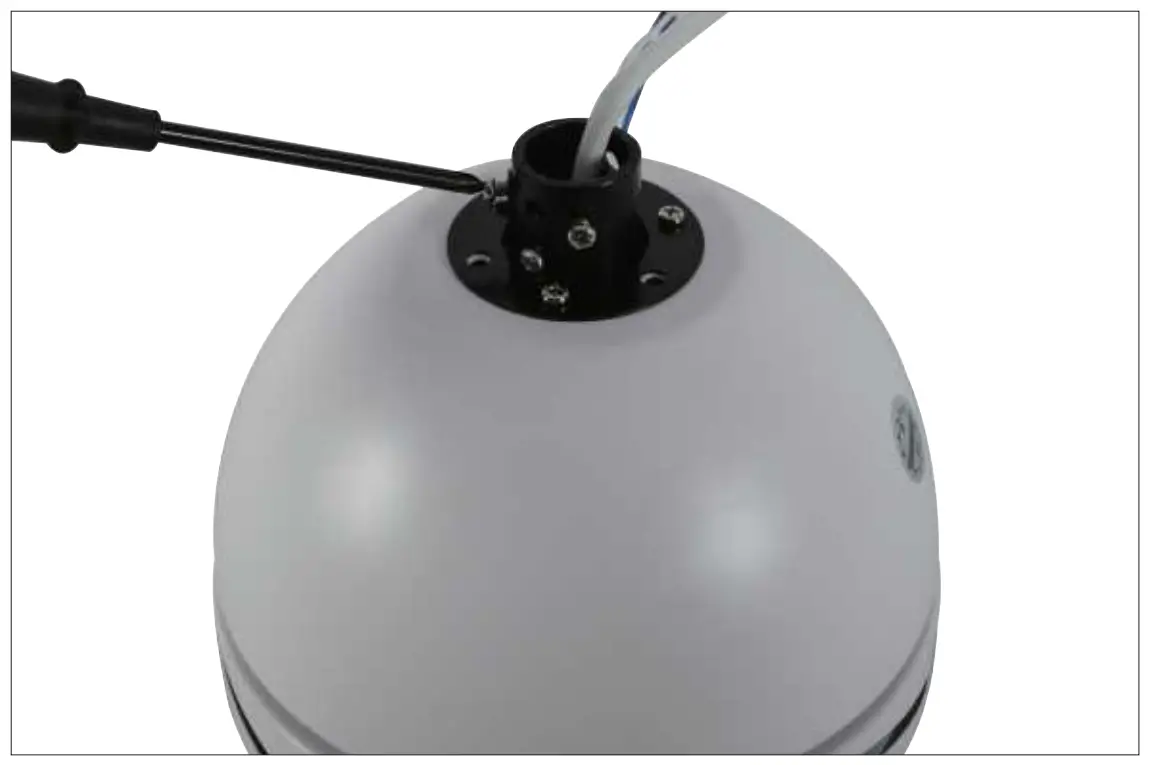
Step 4 Pull out the R-pin from the rod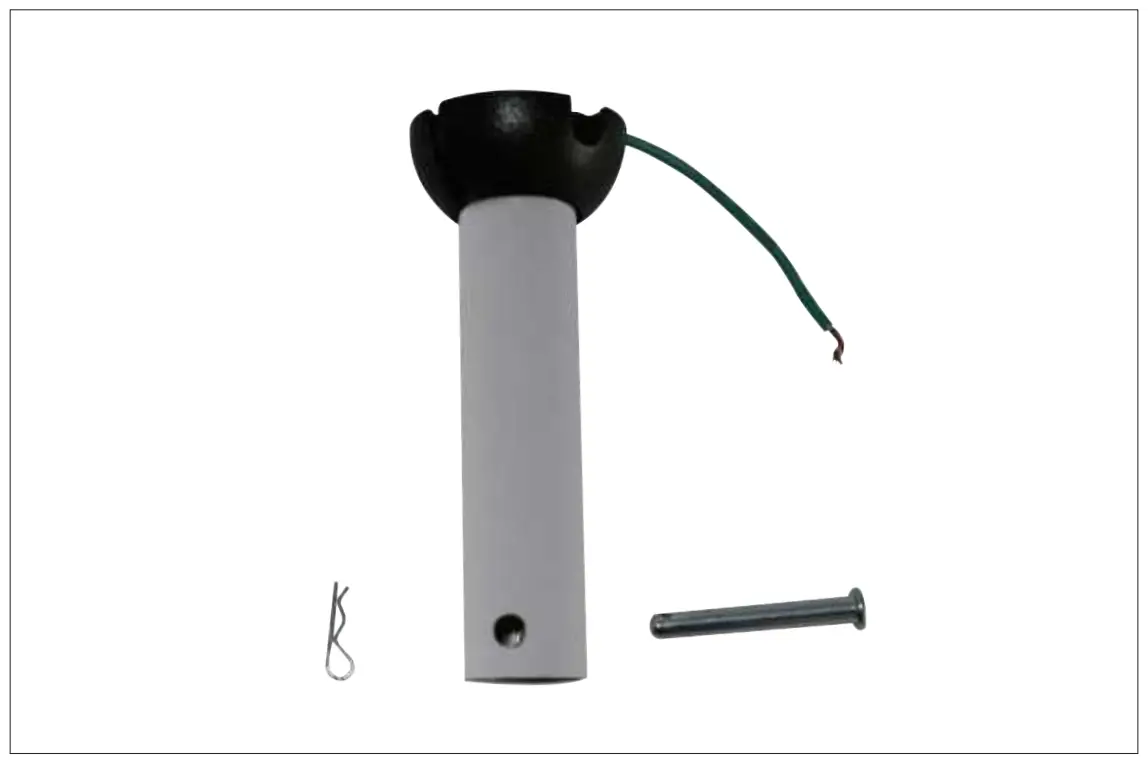
Step 5 Put the wires and the two canopies through the downrod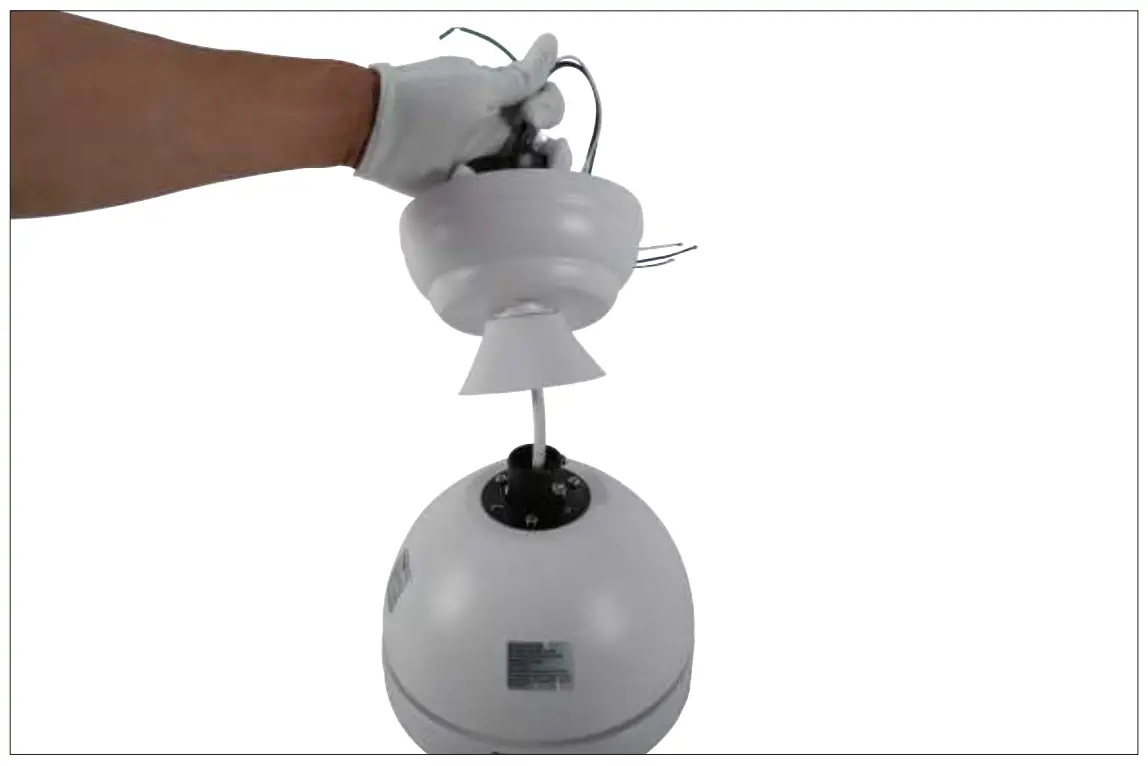
Step 6 Tighten the 2 screws of the coupler.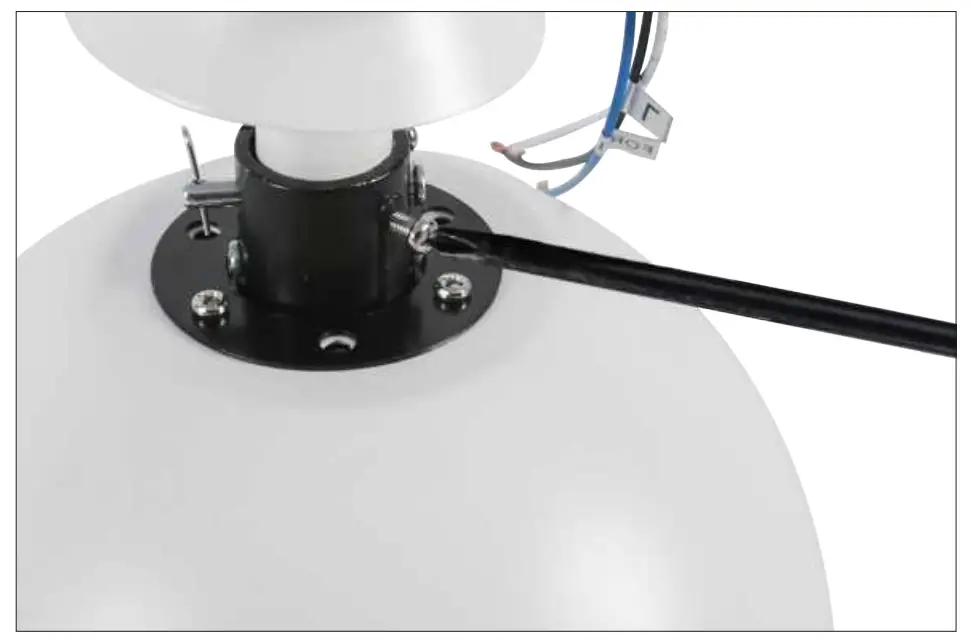
Step 7 Cover the coupler with down canopy.
Step 8 Loosen the two opposite screws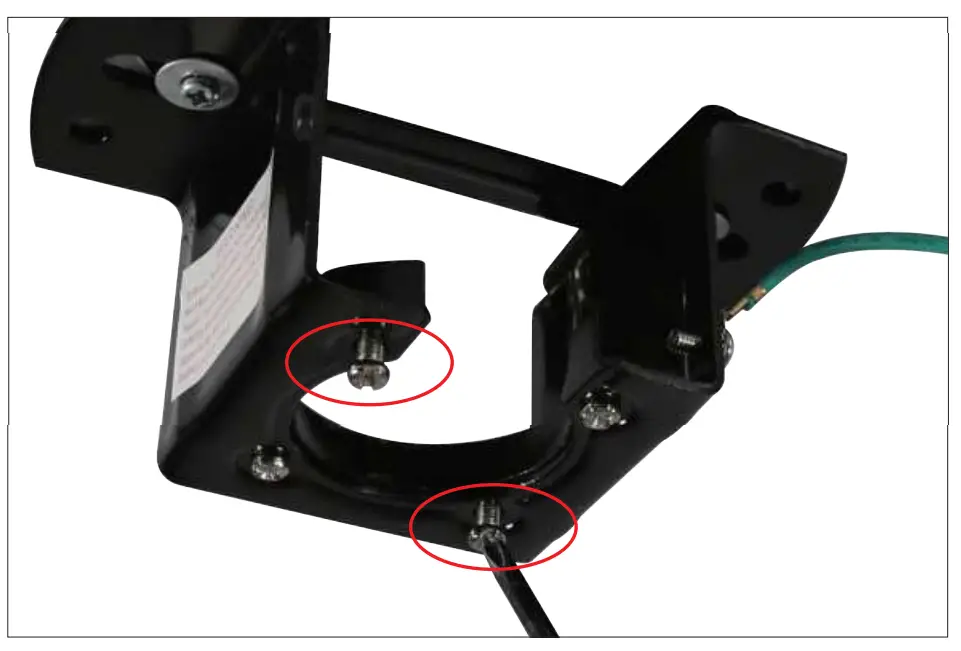
Step 9 Hang the fan on the hanging bracket and align the slot on the downrod with the bulge on the hanging bracket.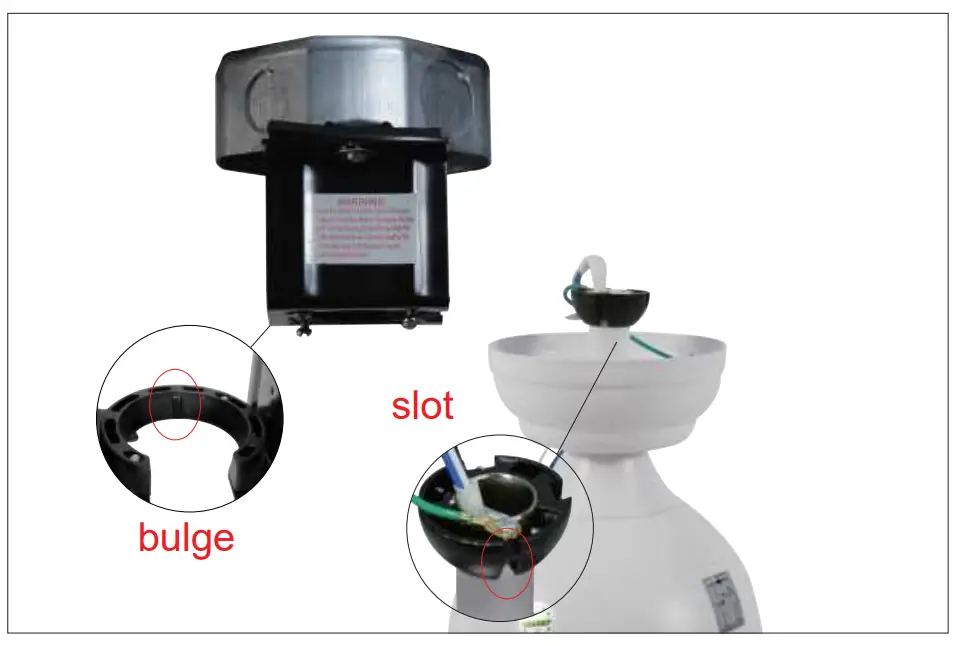
Step 10 Connect the same color wires of the fan and receiver.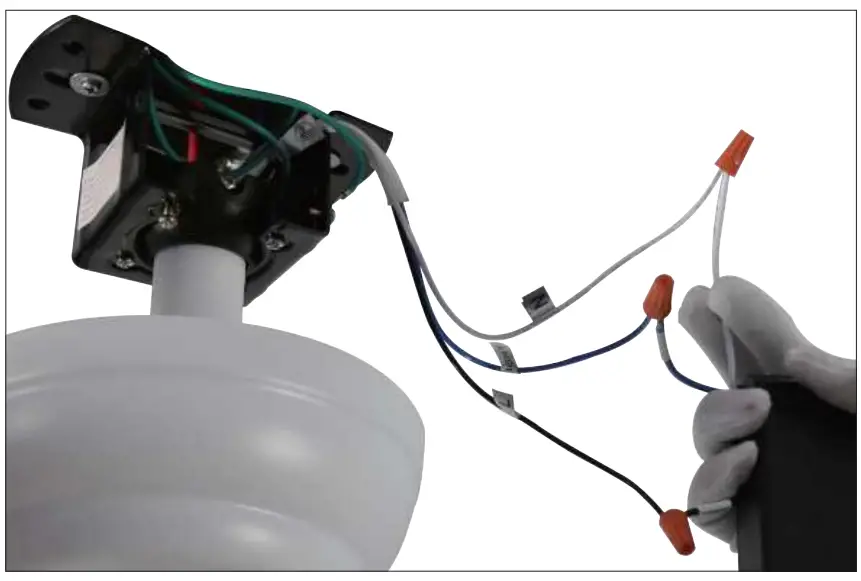
Step 11 Connect the receiver to home wires Black for Live wire, White for neutral wire, Green for ground wire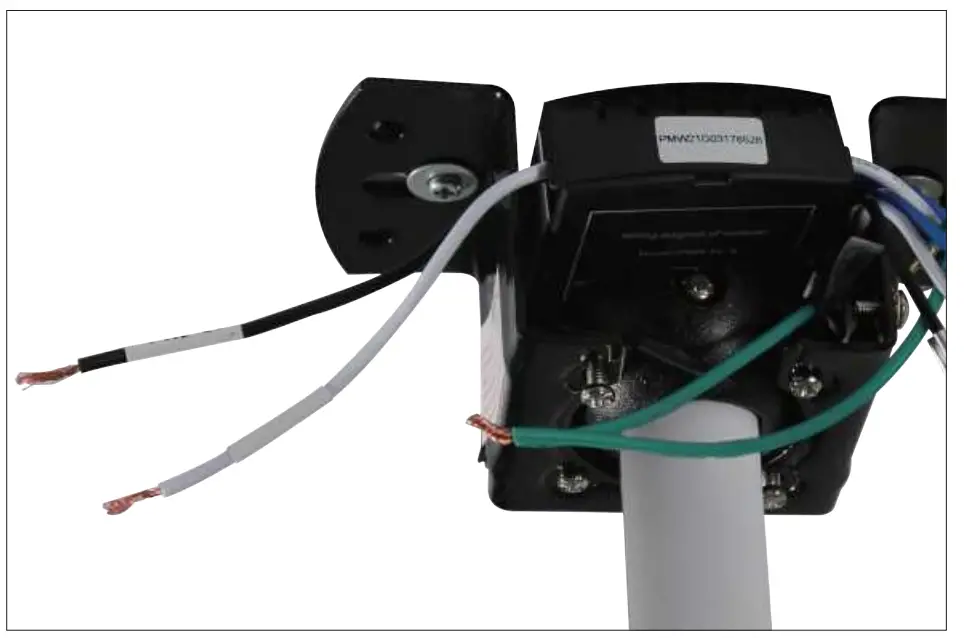
Step 12 Rotate the up canopy and tighten the screws.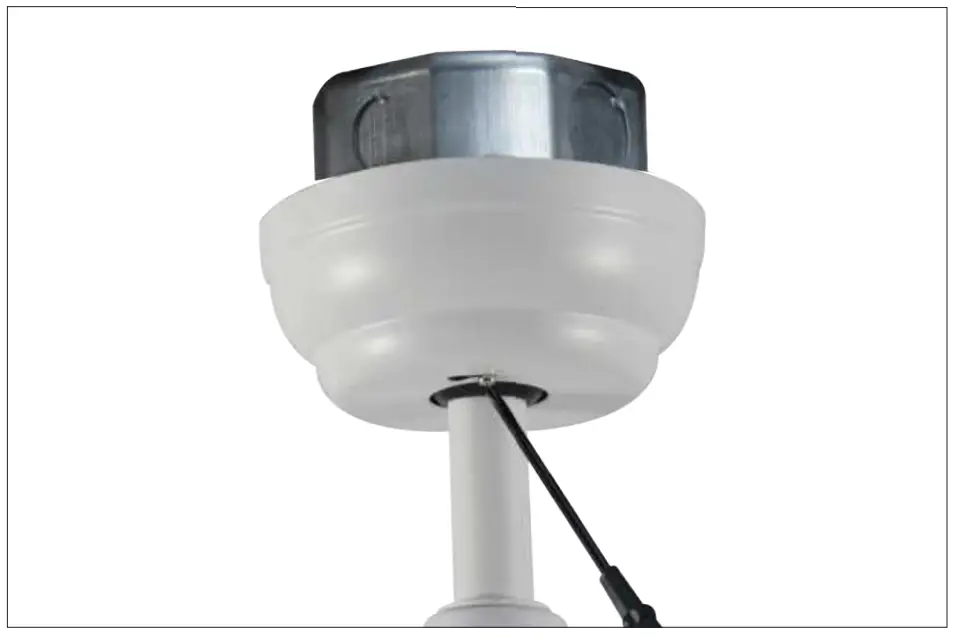
Step 13 Install the blades,tighten the screws.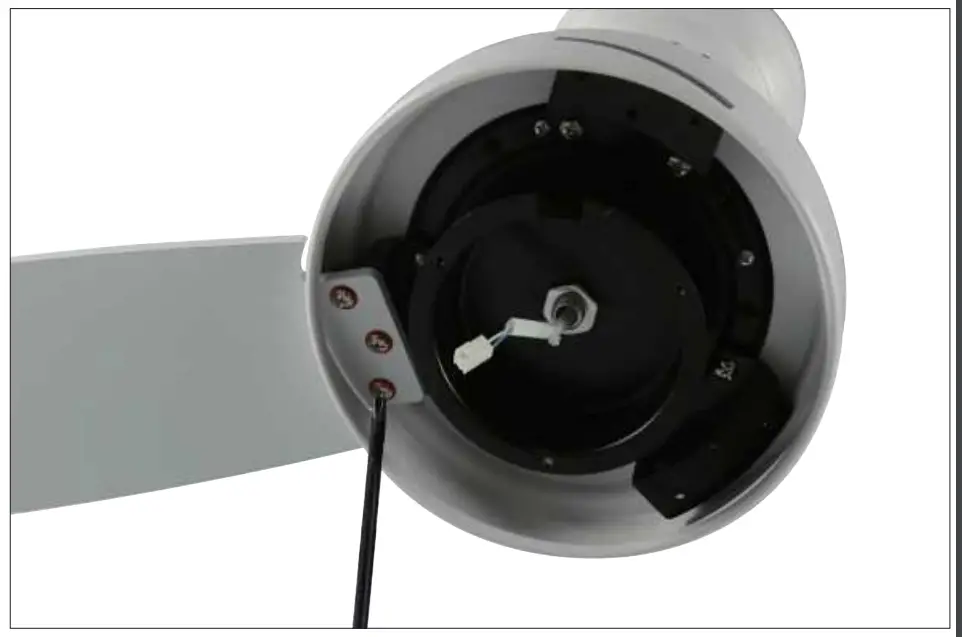
Step 14 Fix the light kit with the screws.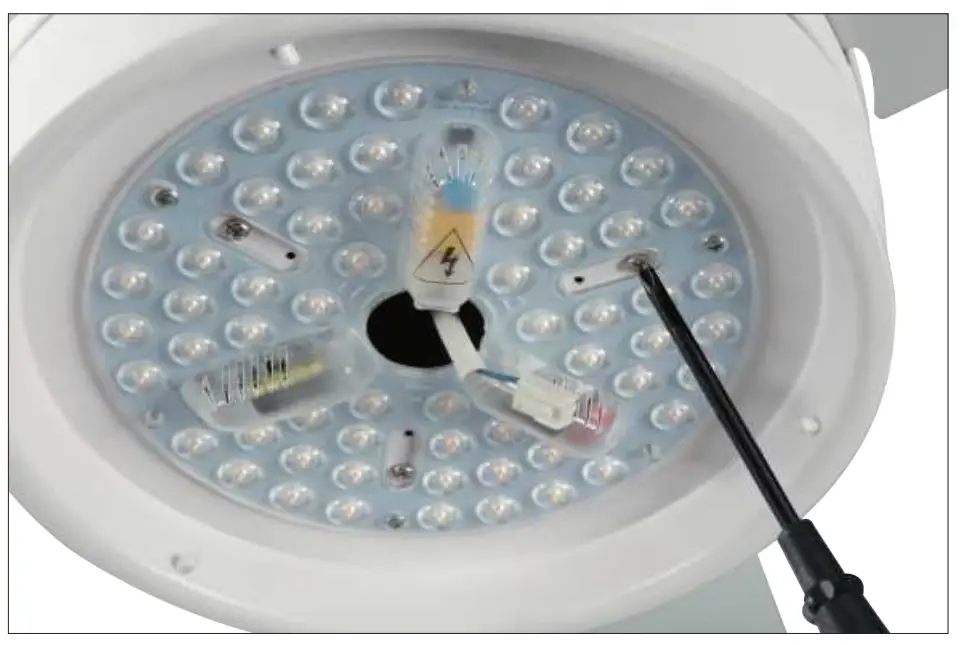
Step 15 Connect the light kit power cord to the light kit receiver.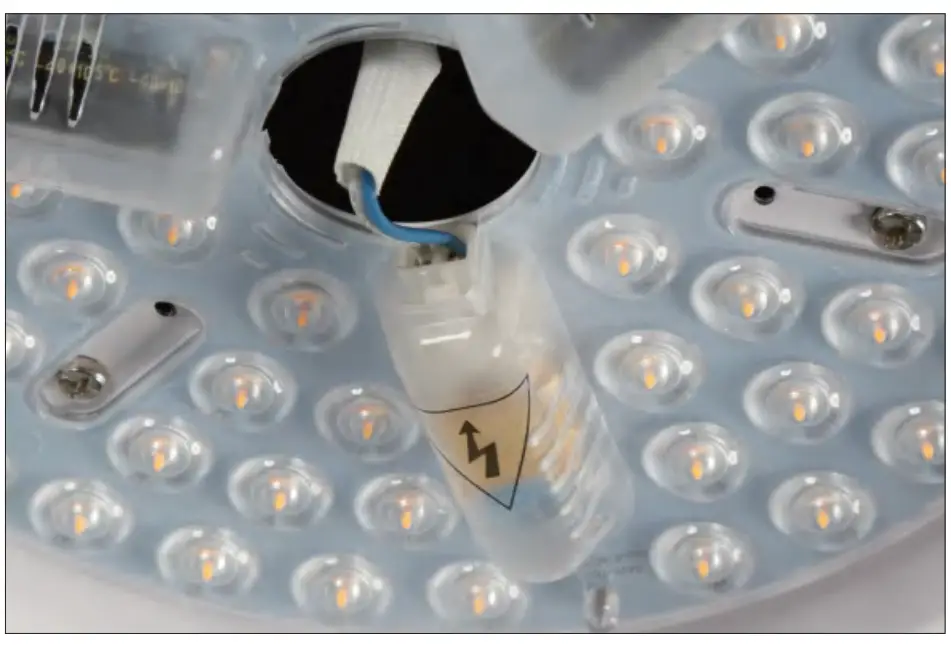
Step 16 Rotate the light cover until fixed.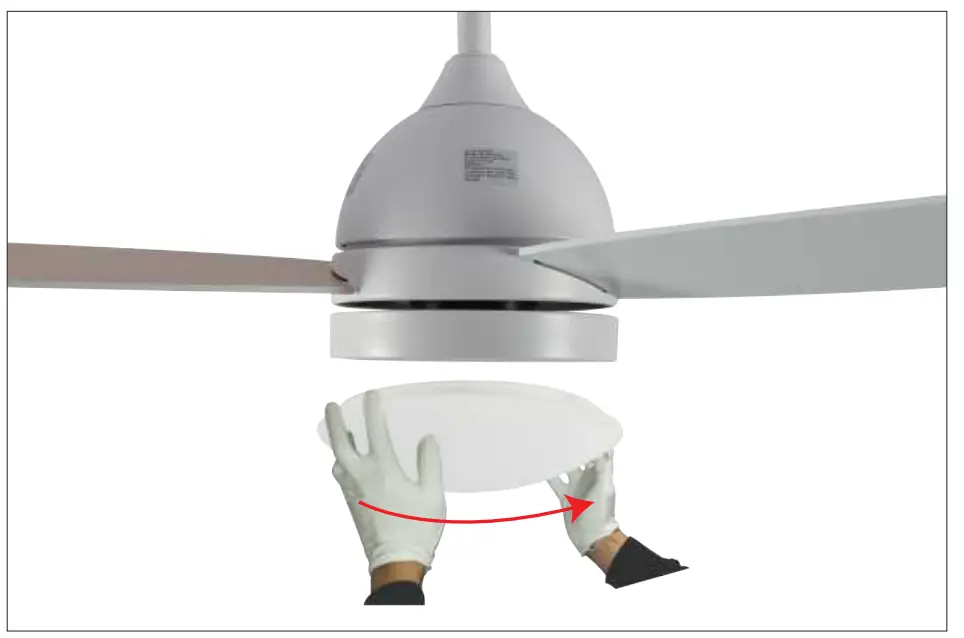
REMOTE CONTROL
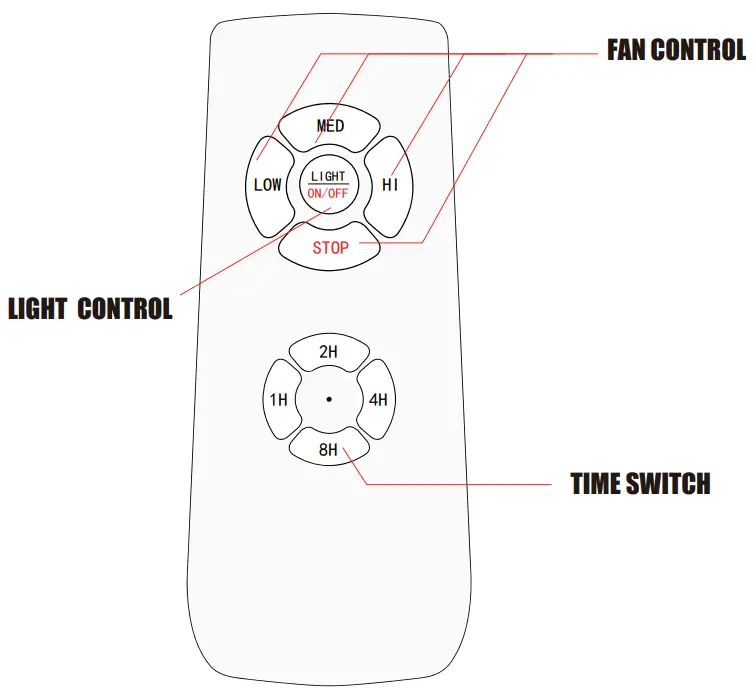
NOTE
- PRESS THE ON/OFF BUTTON CONTINUOUSLY TO CHANGE THE COLOR TEMPERATURE TURN BACK ON THE LIGHT MORE THAN 7 SECONDS AFTER TURN OFF THE LIGHT , THE COLOR TEMPERATURE WILL BE THE SAME AS LAST TIME
- IF THE REMOTE CONTROL CANNOT BE USED NORMALLY, PLEASE PRESSAND HOLD THE MIDDLE AND LOW BUTTONS AT THE SAME TIME WITHIN 5 SECONDS AFTER THE PRODUCT IS POWERED ON, UNTIL YOU HEAR TWO BEEPS TO SUCCEED.IF IT DOESNT WORK. PLEASE TRY AGAIN.


