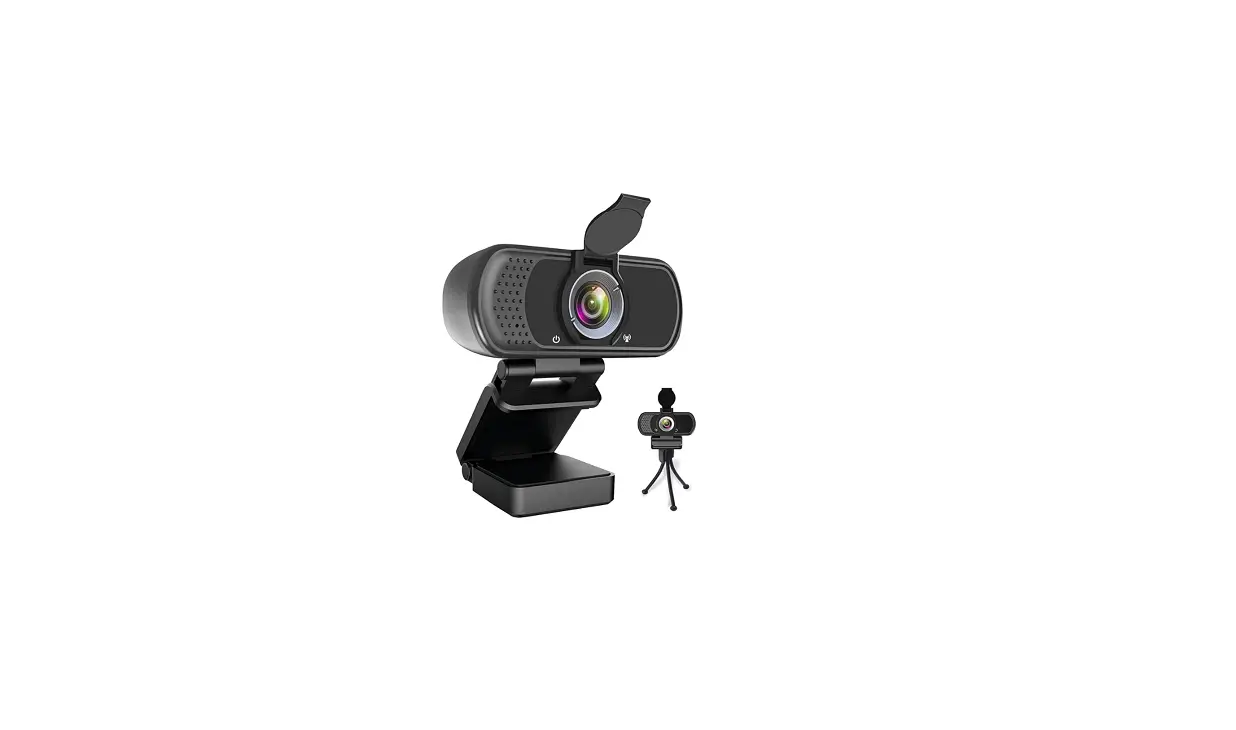
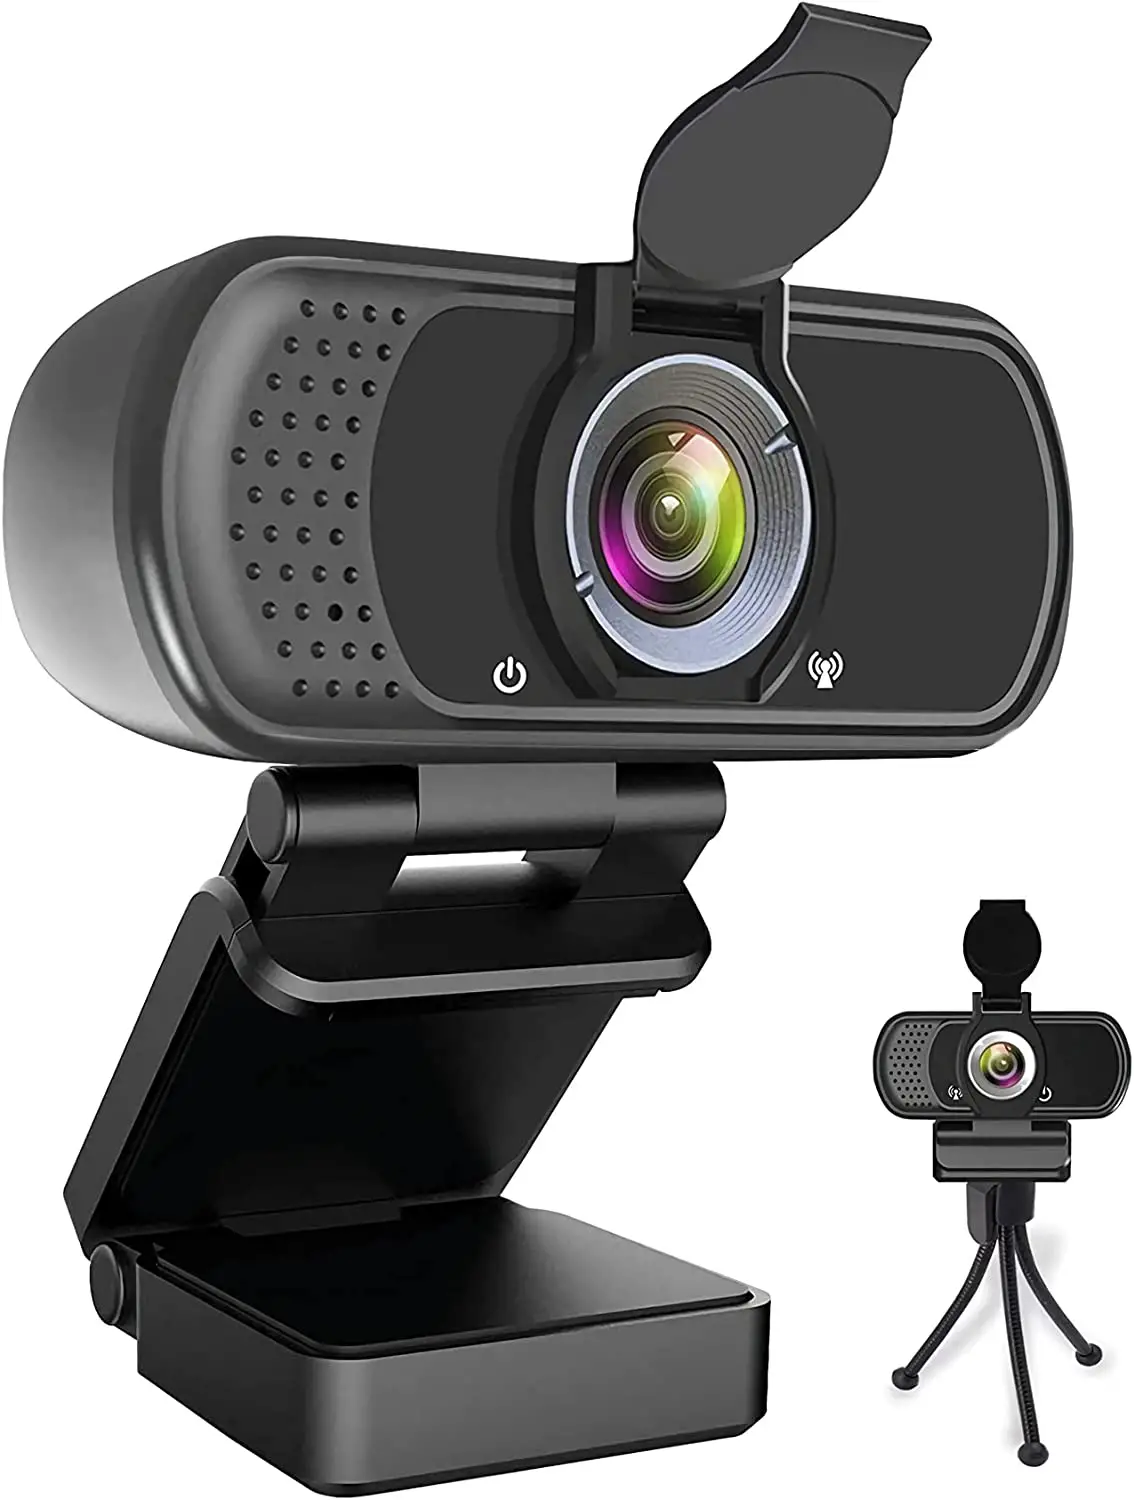
HZQDLN 40215420 HD 1080P Webcam with Microphone
Features

Setting up your webcam
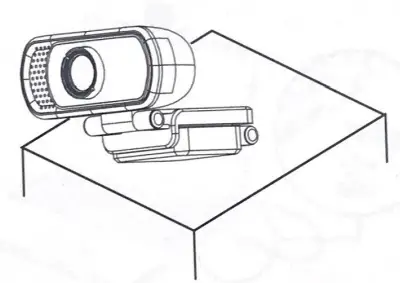
Place your webcam
Designed for the way you like to make a video call, place the webcam where you want it on the monitor or the desktop.
For Placement On a Monitor
Grasp the webcam as shown and open the clip base with your other hand. Mount the webcam, making sure the foot on the clip base is flush with the back of your monitor.
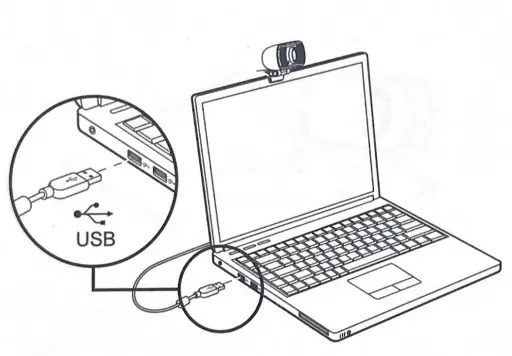
Connect Your Webcam
Plug your webcam into the USB interface of the PC or TV STB. Wait about 1 minute, the webcam will install automatically.
Getting Started with Video Calling
To take advantage of video calling, both you and the person you call must install a video-calling application computer with a speaker (or a headset) and a microphone (your
webcam has a built-in microphone);
- A computer with a speaker (or a headset) and a microphone (your webcam has a built-in microphone)
- A broadband Internet connection (e.g, DSL, T1, or cable)
- Please check your preferred video-calling application requirements. (Requirements may vary between different applications but usually, a minimum of 2Mbps upload speed is required) such as Skype, Yahoo! @Messenger, Windows Live@ Messenger, or Gmail As well as a USB camera and video calling application, both callers need;
FAQs
Yes, it is.
The other camera has a built-in microphone, but this one does not.
No, it doesn’t. You can connect an external microphone to it.
Please refer to the user manual.
Please refer to the user manual.
Yes, you can. This camera is compatible with Windows XP/Vista/7/8/8.1/10 and Mac OS X 10.4 or a later version.
Connect the camera in any USB 2.0/3.0 port. Once the camera is connected, it takes a few more moments before the camera is recognized. To ensure the camera has been installed correctly, check the following: UnderControl Panel> System and Security> System> Device Manager.
All video applications have an option setting to review the audio and video device. Using the video application review the following
· The Audio selection to ensure the USB2.0 camera Microphone is selected.
· If not change the selection to the USB2.0 camera.
· The Video selection to ensure the USB2.0 camera is selected.
· If not change the selection to the USB2.0 camera.
When you connect an external camera or microphone to your computer, your operating system will instantly identify it and provide an input menu on the recording screen. Just select one of the preset microphone and camera settings by clicking the drop-down arrow next to them.
The majority of webcams have a microphone built-in, however, any microphone that can connect to your computer should function. As an alternative, you can dial into the conference’s audio using a phone. You should also utilize the menu option to disconnect from the audio when using the phone.
A microphone is necessary for both video chat and broadcasting. Happily, the majority of webcams include an embedded microphone that enables you to be heard as soon as you turn on the camera. Most webcams, but not all, have a built-in microphone. It’s crucial to double-check before making a purchase to prevent disappointment.
Thanks to a built-in microphone, a camera with a microphone enables you to conduct video conferences and talk online. You may upload the photos you shot to the Internet via your computer’s network card, if necessary.
You may record video from your webcam and save it as a video file using the Webcam Recorder, an online video recorder program. Of course, you may also record your voice or background noise if you have a microphone. There is no additional software needed for this straightforward and free cam recorder.
An external microphone can be used for multimedia applications, voice recordings, and conversations with friends and coworkers at the office. Even though your computer or camera includes a built-in microphone, a standalone microphone often produces higher-quality audio.
Product Overview
Download The PDF Link; HZQDLN HD 1080P Webcam with Microphone pdf


