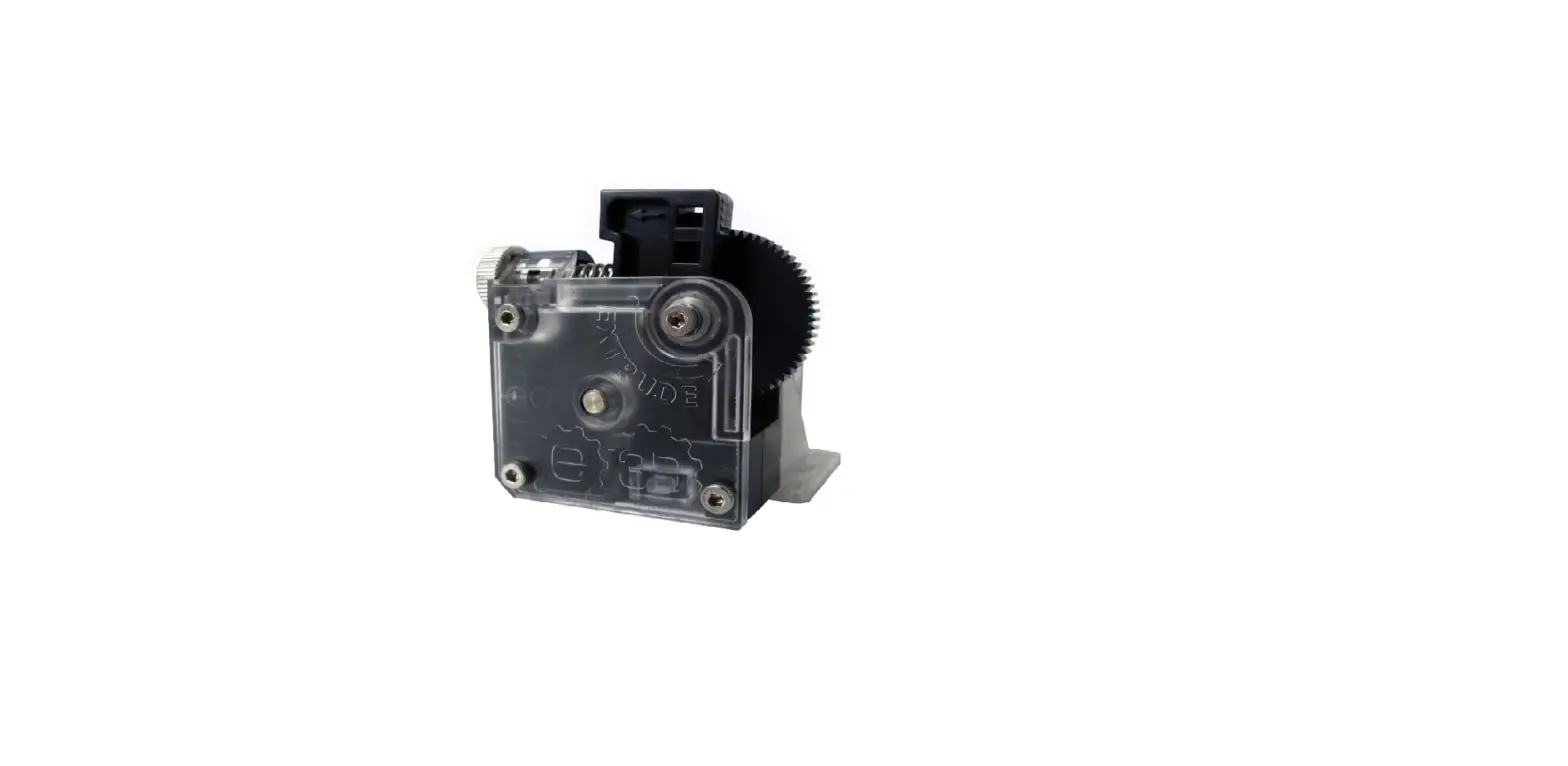
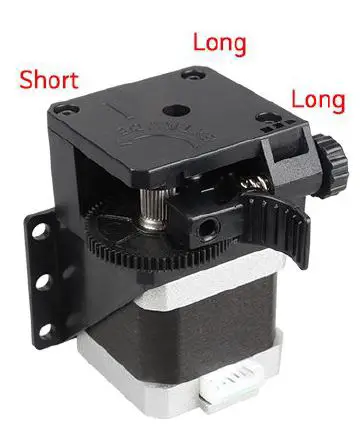
Titan Extruder Installation Steps
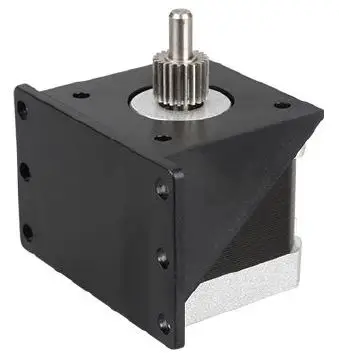
- Use an Allen key to lock the extrusion wheel on the motor shaft. The motor shaft D section is in the same direction as the extrusion wheel locking hole.
- Insert the L-shaped motor to fix the plastic pans. The four holes of the plastic parts are aligned with the four holes on the motor.

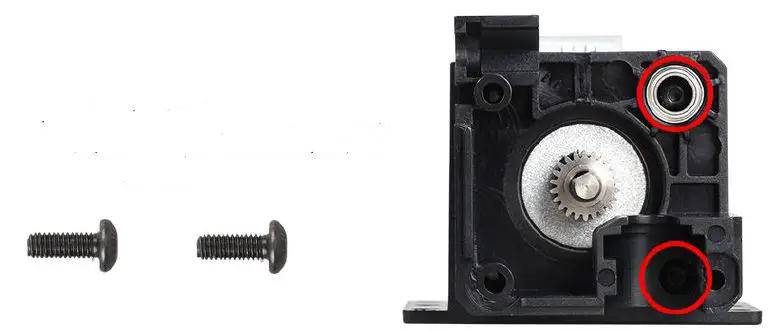
- Put on the main frame of the Titan extruder and fix it on the two fixing holes shown by the red circle with two short screws.

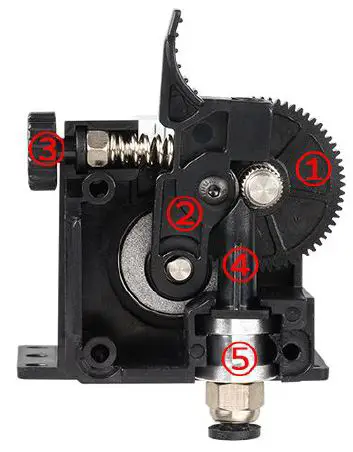
- Install the components in order of numbers in the figure.

- Close the extruder cover and tighten the retaining nut.
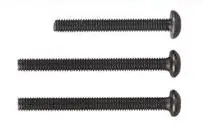
(Note: The three screws are two long and one short, please install as shown in the figure)

Titan Extruder Installation Guide – Download [optimized]
Titan Extruder Installation Guide – Download


