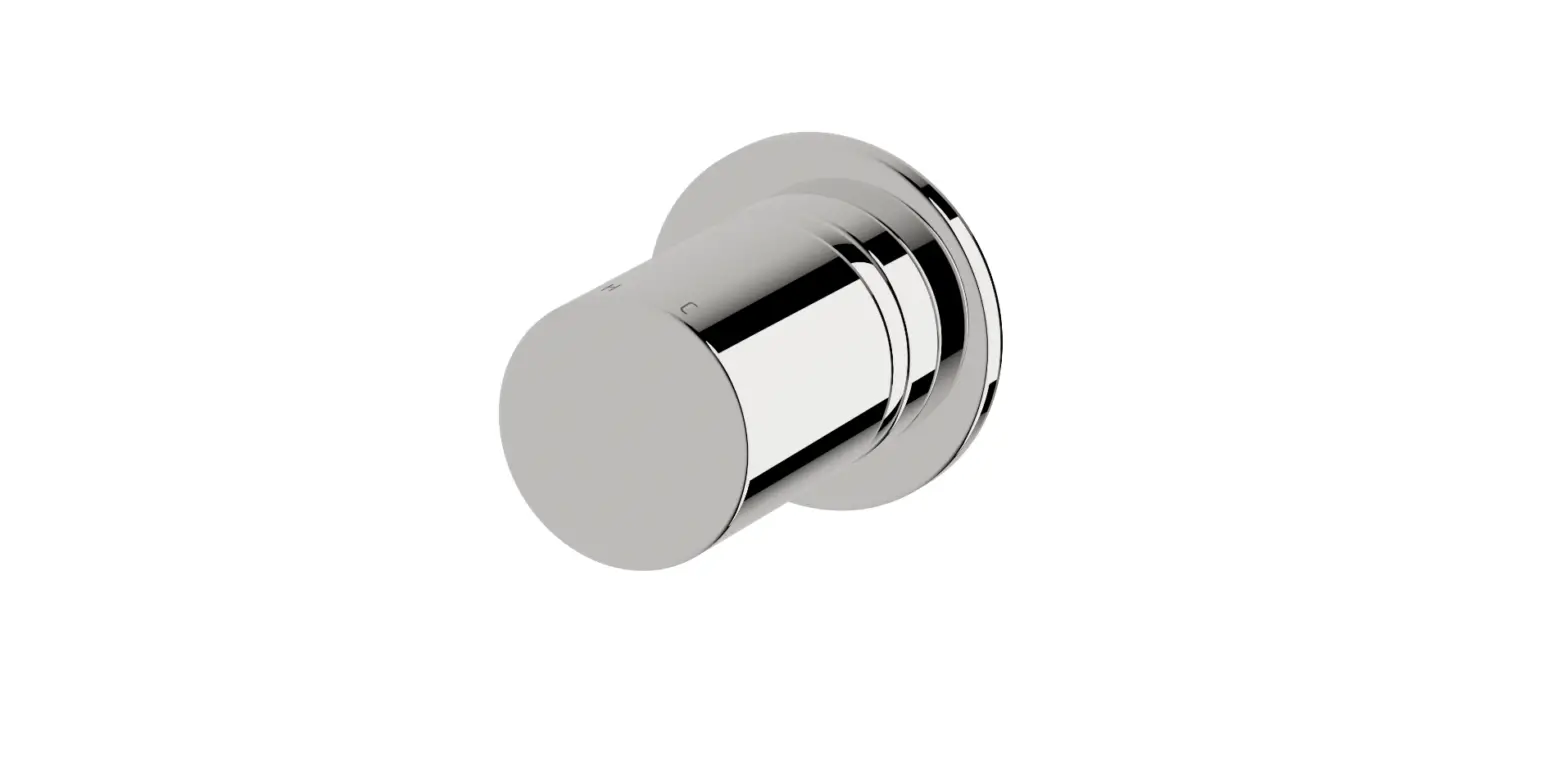
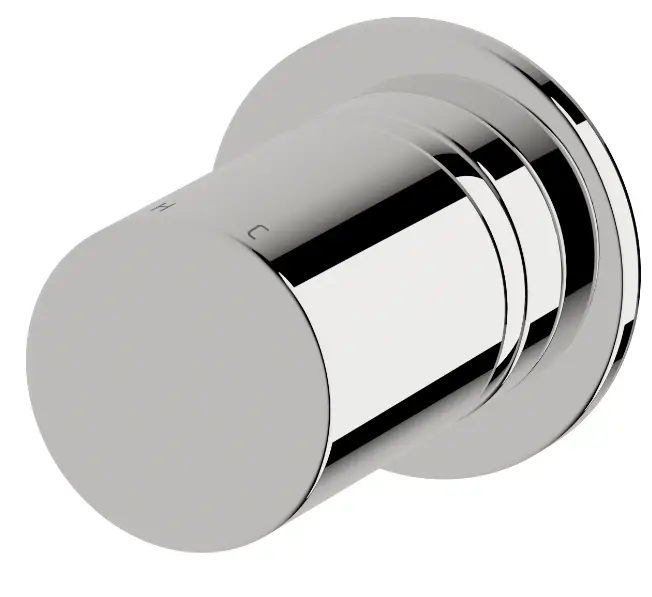
SUSSEX RWM Circa Wall Mixer
Dimension
- Combined wall thickness not to exceed 30mm.
- Wall thickness greater than 30mm, contact manufacturer prior to completing rough-in.
Plumber note
- On-site testing using higher water pressures must be conducted with the Mixer in the closed position.
(STATIC TEST)
- Under no circumstances is the Mixer to be opened when exceeding the maximum stated water pressure.
- At the completion of testing, do not relieve any high water pressure by operating the Mixer.
- Exposing the internals of the Mixer Cartridge to higher than specified water pressures will void the manufacturer’s warranty.
Product code
- RWM Wall mixer
- RWM-V Wall mixer- Vertex
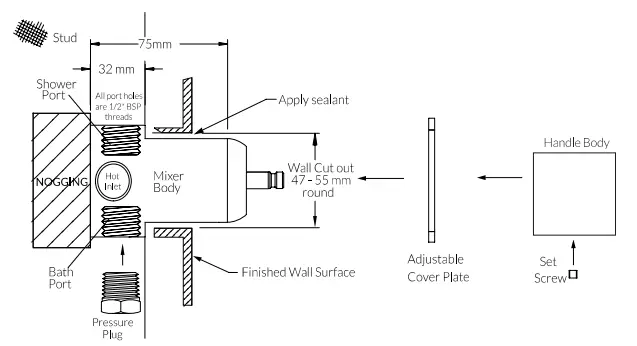
Rough-in plumbing
- Prior to installing, calculate the finished wall thickness to ensure the Cover Plate and Handle will fit at the final assembly.
- The Mixer Body is supplied with a plastic cover to protect Mixer Body during Plastering and Tiling.
- To aid in Plumbing, 2 Outlet Ports have been provided in the Mixer Body (Shower and Bath), but only 1 Outlet Port can be used.
- Apply thread sealant to the supplied Pressure Plug and seal either the Shower or Bath Outlet Por t not being used.
- Using the screws provided, fix the Mixer Body to a prepared
- Nogging or purpose-built frame.
The Hot/Cold Ports are marked on the shoulder of the Mixer body to indicate the correct mounting position. - Fix the Nogging between the Wall Studs ensuring the Mixer Body is positioned in the wall as far forward as possible.
- For best results set the Nogging so the shoulder of the Mixer body is flush with the Stud (as drawn).
- Ensure the Mixer body is aligned square after fixing the Nogging between the Studs.
- Flush all water feed lines. Allines must be free from any dirt and debris before connecting to the Mixer.
- Once all water connections are made, check the Hot/Cold water flow by operating the Mixer Cartridge.
- Leave the Mixer in the closed position and replace the protective cover, Store the remaining parts in a safe place until wall coverings have been completed and final fit-off is required (Dress finishing).
- 2.5mm Allen Key provided. (Tighten well)
Dress finishing and handle adjustment
- Apply Silicone and seal the Wall around the Mixer Body to ensure the installation is water-tight.
- Fit the Cover Plate onto the Mixer Body until it reaches the Wall covering.
- Fit the Handle Body onto the Mixer
- Car triage lever and ensure full engagement.
- Tighten the Set screw of the Handle Body using the 2.5mm Allen Key provided. (Tighten well)
- Tapware is to be installed by a Licensed Plumber in accordance with AS/NZS 3500:2003
- Recommended working water pressure 300-500 kph. The maximum water temperature is 65 deg.c
- Copyright © Sussex Taps,
- sussextaps.com.au


