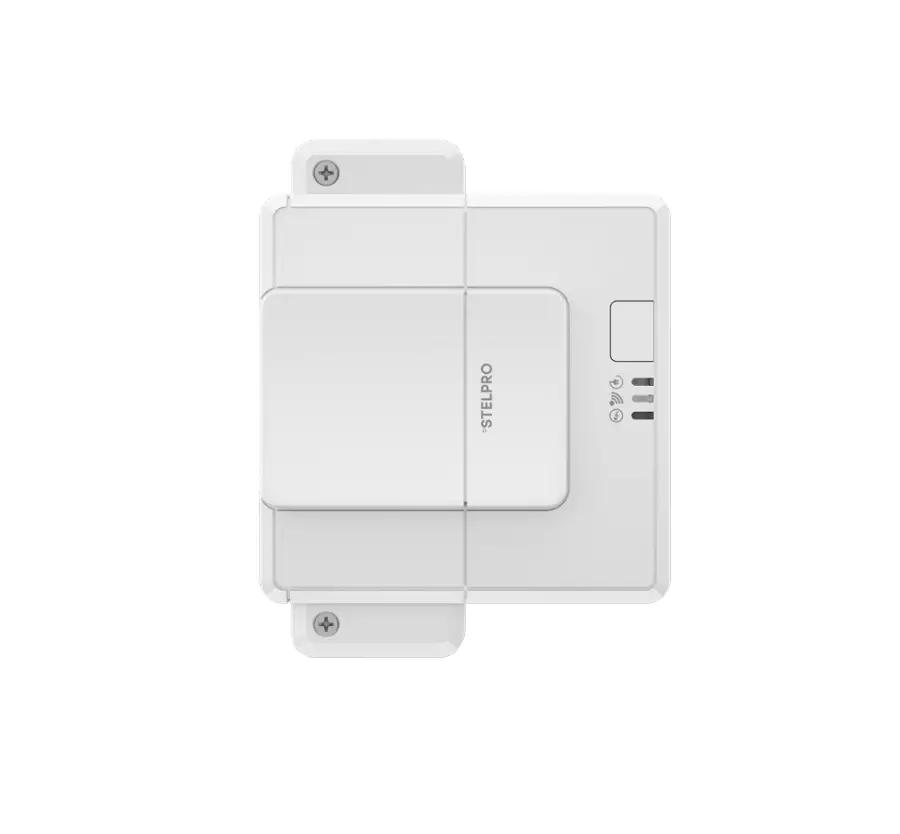
STELPRO SALC0503ZB Smart Resistive Load Controller
Before getting started
Choosing the location of your devices wisely will optimize Allia’s mesh network and promote efficient communication between the devices.
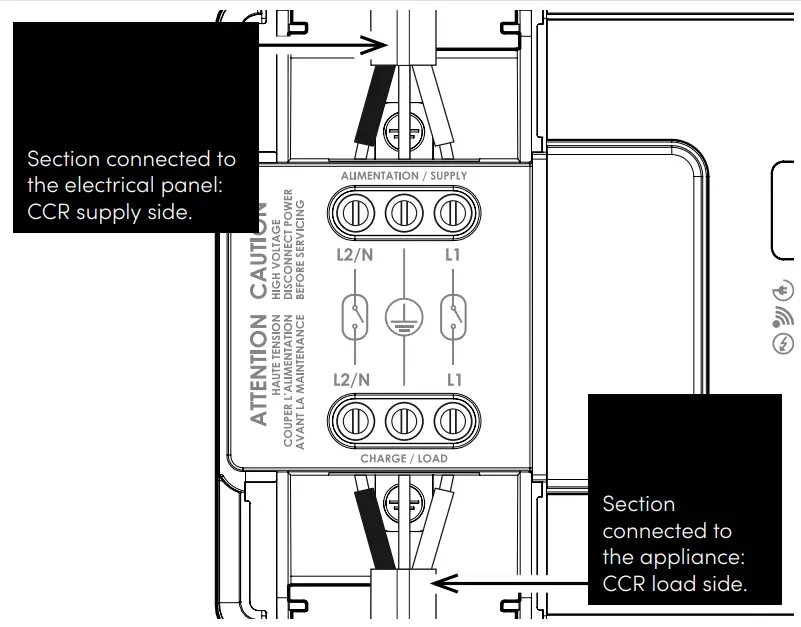
Consider the location of the power cable and the device. You should be able to easily connect the power cable from the electrical panel to the power side of the load controller (CCR) and the load side of the CCR to the device.
For more information, visit www.stelpro.com/allia
Warning
To reduce the risk of fire, electric shock or electrocution, CUT OFF THE POWER AT THE ELECTRICAL PANEL and make sure the circuit is switched off.
Always follow the electrical code in effect in your region. The load controller must be installed by a CERTIFIED ELECTRICIAN.
Connect the load controller ONLY to a 120 VAC to 347 VAC power source and observe the load limits.
| Tension (VCA) Rated voltage (VCA) | 120 | 240 | 277 | 347 |
| – Resistive | 50 A | 20 A | ||
| Incandescent – Incandescent | 20 A | S.O. | ||
| Ballast – Magnetic ballast | 20 A | 15 A | ||
| Ballast – Electronic ballast | 15 A | S.O. | ||
| – Motors | 1.5 HP | 3 HP | S.O. | |
Attaching the load controller (CCR)
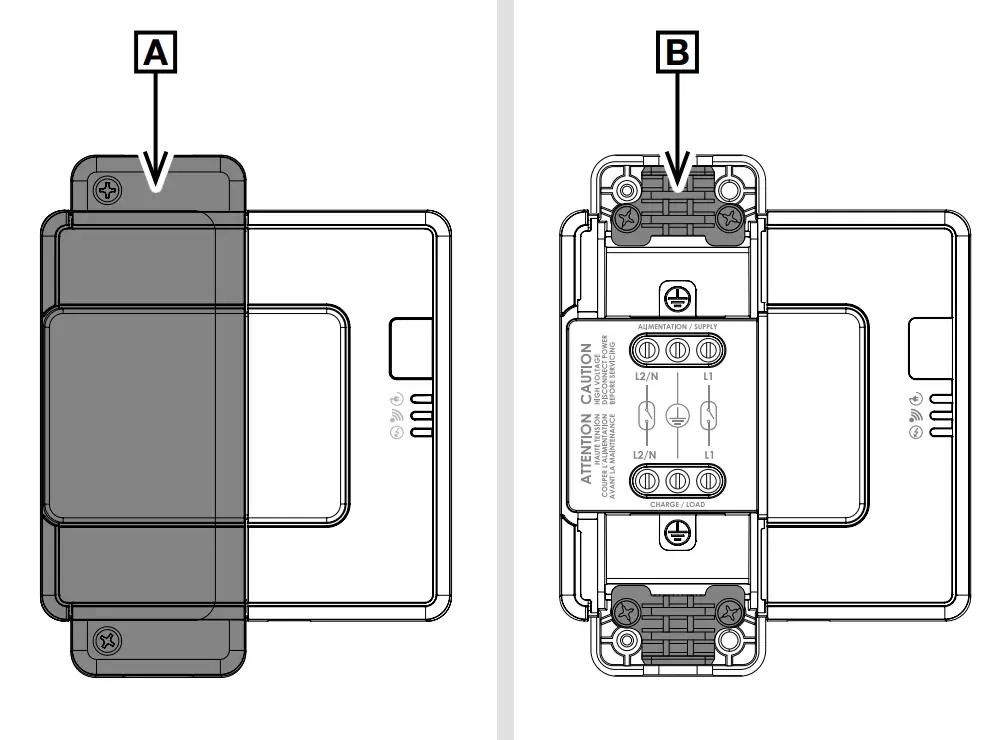
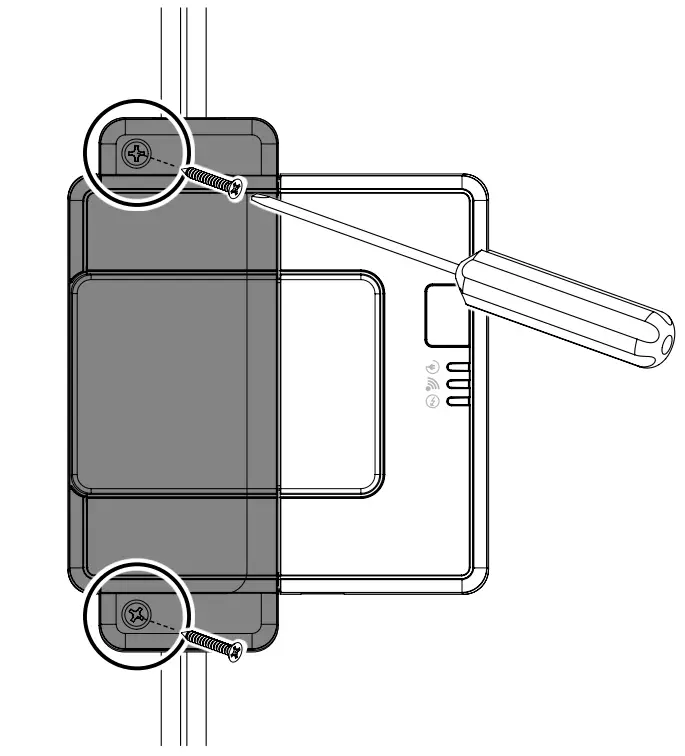
- Remove the cover [A], screws and pull-stops [B] and set them aside.

- Place the CCR in the chosen location and mark the position of the holes.

- Secure the CCR in place with the mounting screws provided.


Installing the CCR on the unit’s power cable
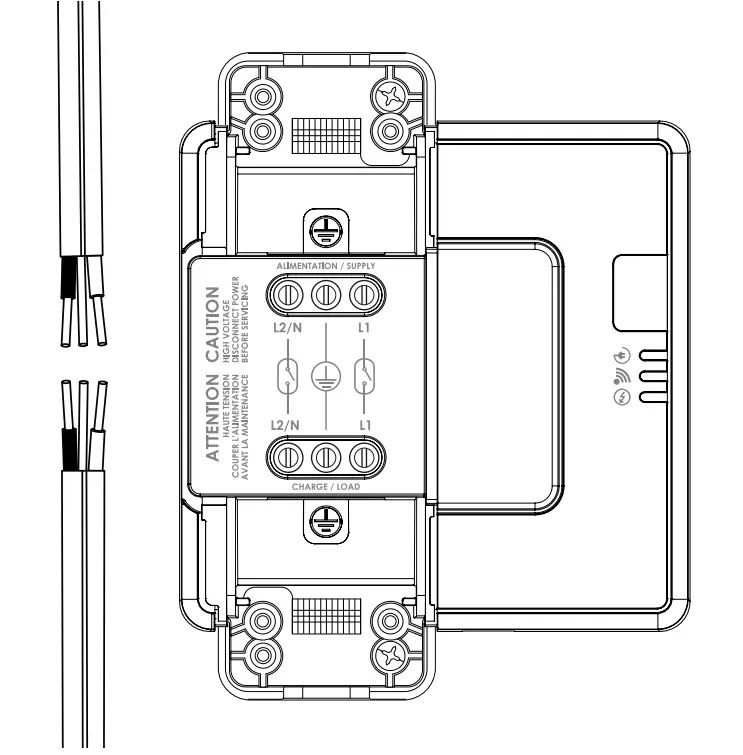
- Cut your unit’s power cable and strip about 2 cm (¾ in) from the end of each section of cable.

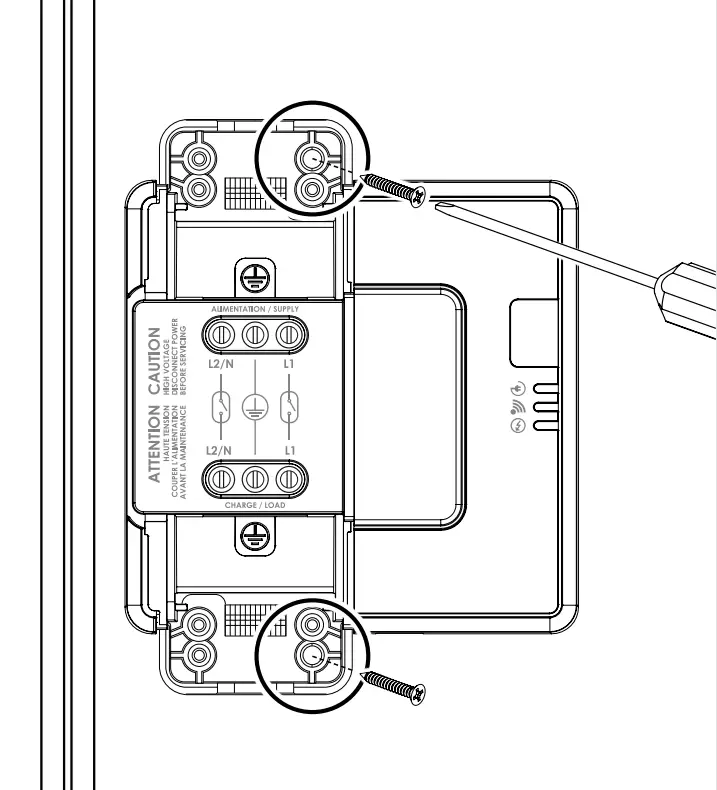
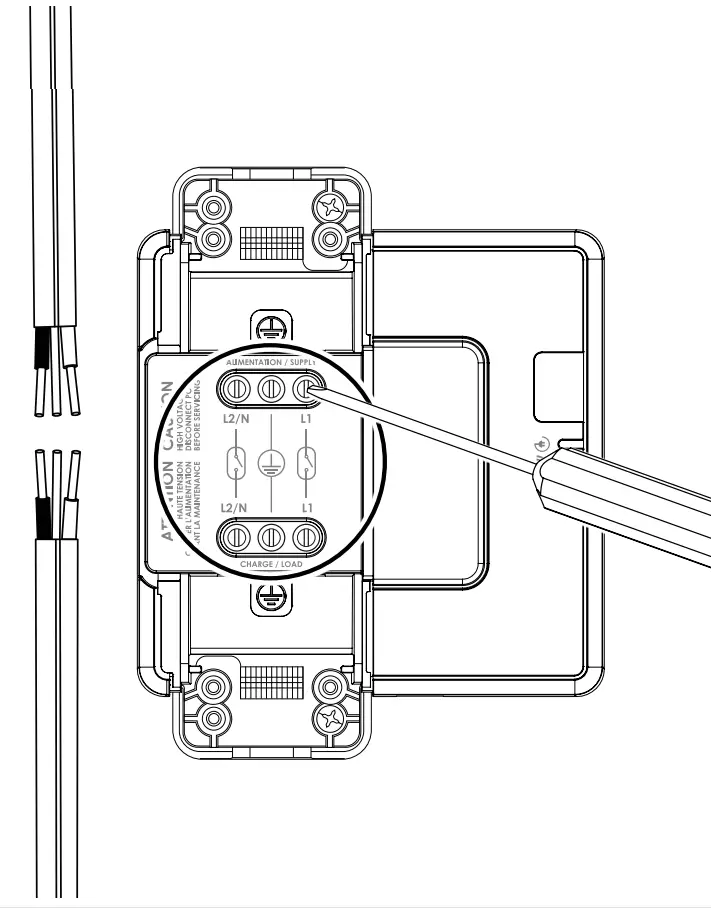
- Open the CCR’S 6 terminals with a flat screwdriver.

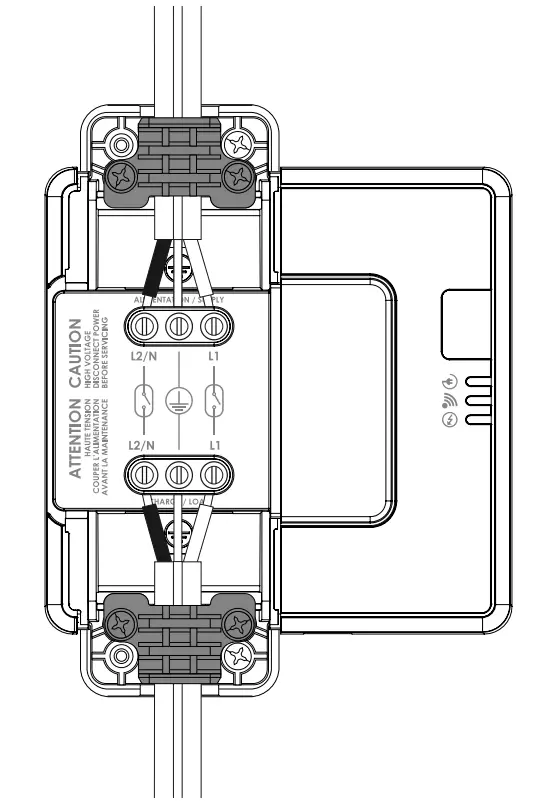
- Insert each section of the cable fully into the terminal blocks, making sure that the wires of the same colour face each other:

Warning: Be sure to install the grounding wires in the central terminals. - Install the pull-stops in place with their screws (2 for each pull-stop) applying a maximum torque of 0.20 Nm.

- Replace the cover on the CCR and secure it with the cover screws.
- Restore power to the unit’s power cable.

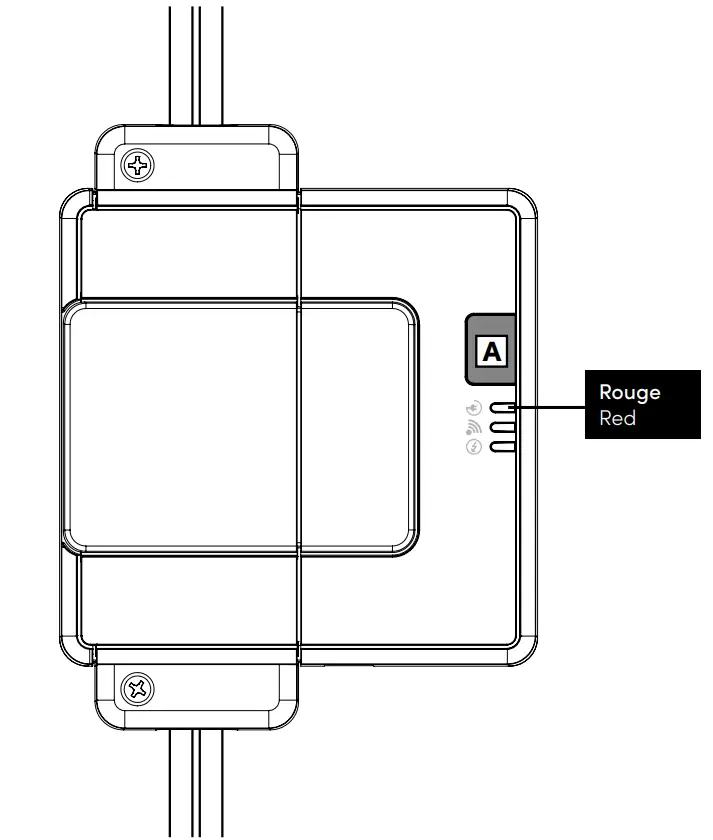
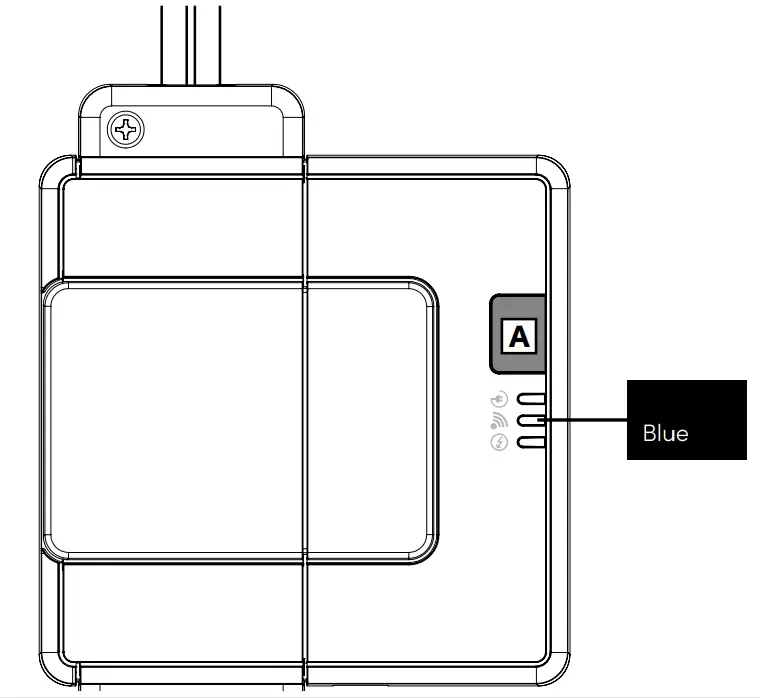
- Press button [A] on the CCR to turn it on. The charging indicator light should come on.

Pair the load controller to the Allia ecosystem
- Install and configure the Allia app.

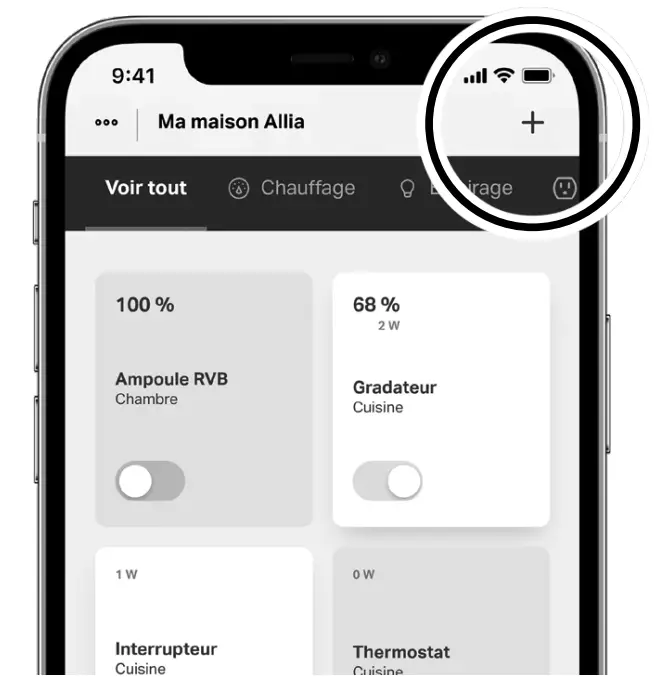
- In the Allia application, click on [+] in the device tab.

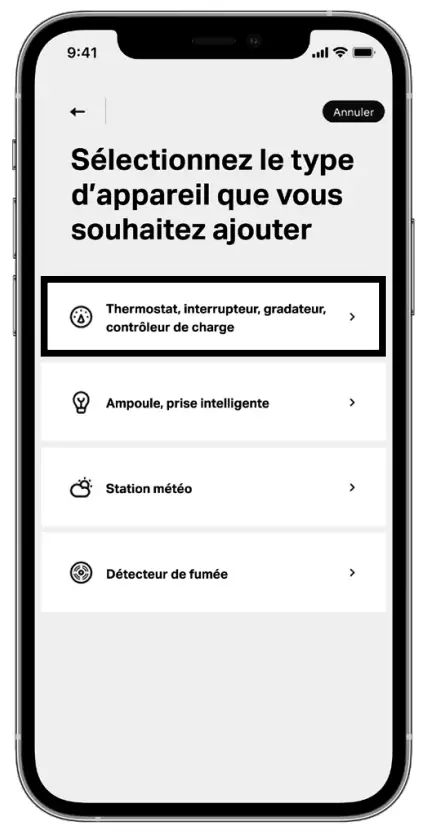
- Select [Add a device].
- Select “Load controller” as the device type.

The screen can change over time to improve the user experience. - Press the Charge controller button [A] for about 3 seconds until the network indicator light changes from yellow to flashing blue.
A message will appear in the app to indicate that the device has been added.


Customer Support
Visit our website to get more information, learn everything there is to know about Allia or view the complete user guide.
www.stelpro.com/allia


