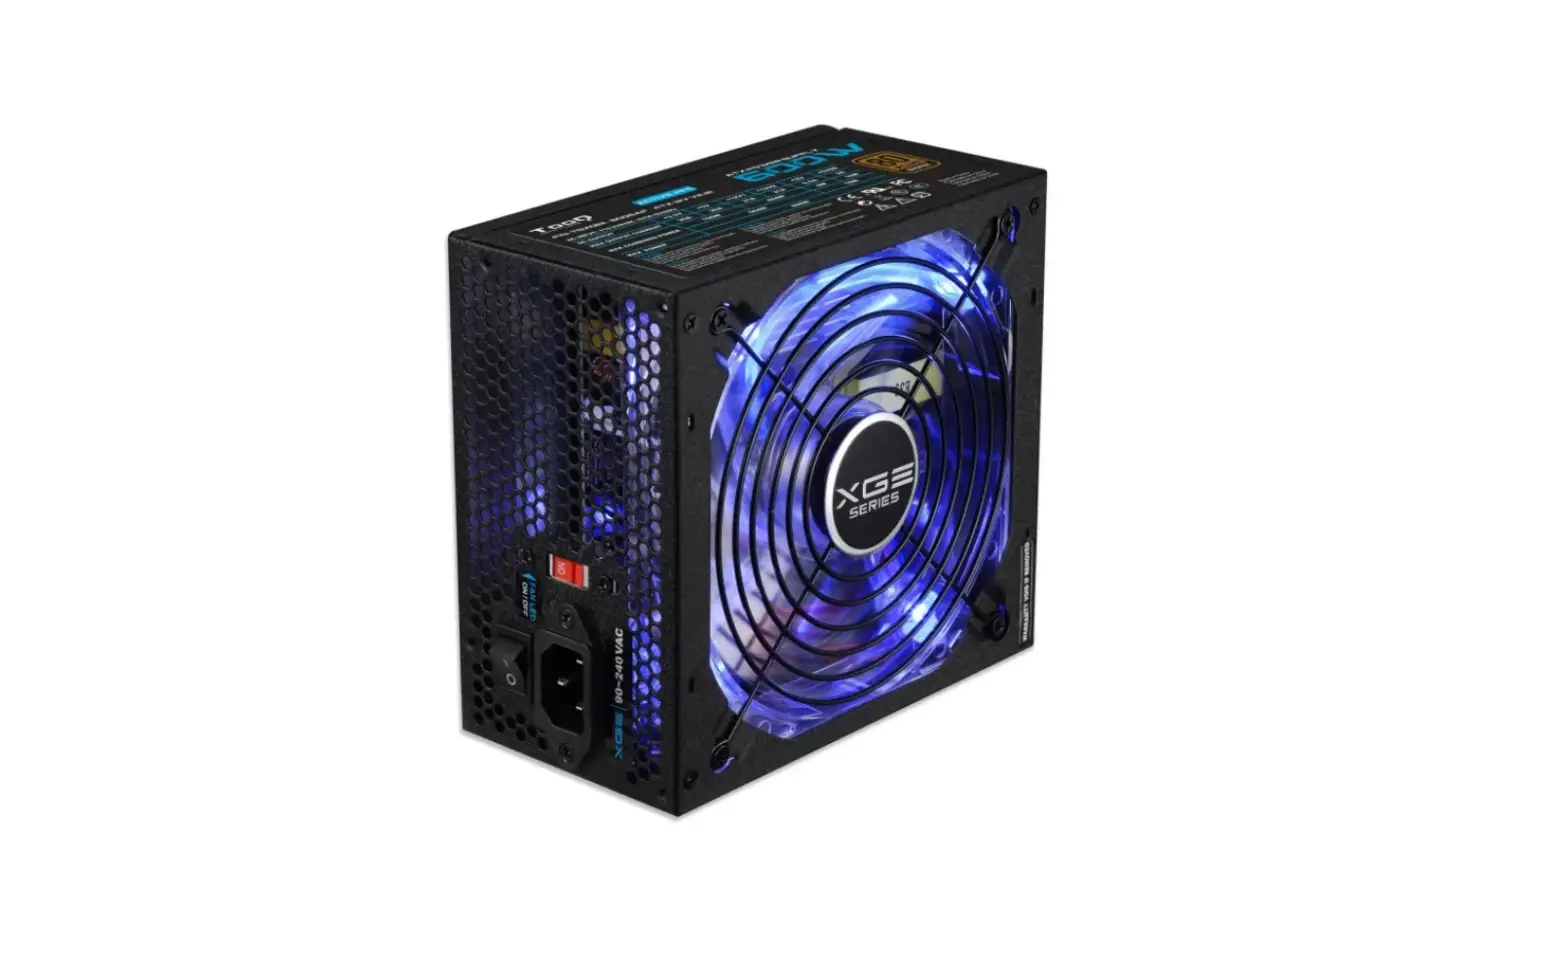
TooQ TQXGEII-600SAP Power Supply Unit User Manual
TooQ Xtreme Gaming Energy power supplies are designed to deliver the highest performing gaming experience. Choose the one that best suits you, from 600W to 800W.
Specifications
- Type: Intel ATX 12V V2.31 / EPS 12V V2.92.
- Input voltage: 115 ~ 230 V.
- Input frequency range: 50Hz ~ 60Hz.
- Super quiet 140mm fan (noise <17dBa) due to its double ball bearing. It incorporates automatic speed control.
- Blue LED with ON/OFF switch.
- Automatic temperature control.
- Power Good signal: 100 ~ 500 ms.
- Retention time: > 17 ms.
- Efficiency: > 82% (load 100%).
- PFC active.
- MTBF: > 100,000 hours.
- Dimensions: 160 x 150 x 85 mm.
- Operating temperature: 0 ~ 40º.
- Meshed wires.
- Rails of +12V: 2X + 12V.
- Supports Crossfire (AMD) / SLI (NVIDIA).
- Compatible with latest generation multicore processors.
- ON/OFF switch.
- Protection:
- OVP (Overvoltage protection).
- UVP (Low voltage protection
- OPP (Overload protection).
- OTP (High temperature protection).
- SCP (Short circuit protection).
Package content
- 1 x Power supply.
- 1 x User manual.
- 2 x Flanges.
- 5 x Screws.
- 1 x Power cord.
Power
| AC Input | TQXGEII-600SAP | TQXGEII-700SAP | TQXGEII-800SAP | |||||||||||||||
| 110-230VAC 10/5A 50/60Hz | 110-230VAC 10/5A 50/60Hz | 110-230VAC 12/6A 50/60Hz | ||||||||||||||||
| DCOutput | +3.3V | +5V | +12V1 | +12V2 | -12V | +5VSb | +3.3V | +5V | +12V1 | +12V2 | -12V | +5VSb | +3.3V | +5V | +12V1 | +12V2 | -12V | +5VSb |
| Max output current | 20A | 20A | 21A | 21A | 0.5A | 2A | 20A | 20A | 25A | 25A | 0.5A | 2A | 22A | 22A | 30A | 30A | 0.5A | 2A |
| Max combined power | 100W | 484W | 6W | 10W | 110W | 574W | 6W | 10W | 120W | 664W | 6W | 10W | ||||||
| 584W | 16W | 684W | 16W | 784W | 16W | |||||||||||||
| Max Power | 600W | 700W | 800W | |||||||||||||||
Connectors
| TQXGEII-600SAP | TQXGEII-700SAP | TQXGEII-800SAP | |
| ATX(20 + 4 pins) | 1 | 1 | 1 |
| PCI-E(6 + 2 pins) | 2 | 2 | 2 |
| CPU(4 + 4 pins) | 1 | 1 | 1 |
| MOLEX | 2 | 2 | 3 |
| FDD | 1 | 1 | 1 |
| SATA | 5 | 6 | 6 |
Description of connectors
Connector ATX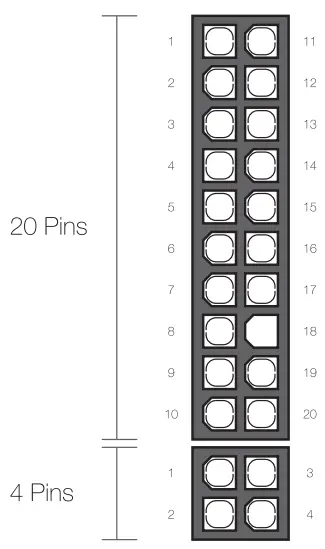
| Pin | Description | Color | Pin | Description | Color |
| 1 | +3.3V | Orange | 11 | +3.3V | Orange |
| +3.3V | Brown | ||||
| 2 | +3.3V | Orange | 12 | -12.0V | Blue |
| 3 | COM | Black | 13 | COM | Black |
| 4 | +5.0V | Red | 14 | PS-ON | Green |
| 5 | COM | Black | 15 | COM | Negro |
| 6 | +5.0V | Red | 16 | COM | Black |
| 7 | COM | Black | 17 | COM | Black |
| 8 | P.G. | Grey | 18 | —— | —— |
| 9 | +5.0VSb | Purple | 19 | +5.0V | Red |
| 10 | +12.0V | Yellow | 20 | +5.0V | Red |
| 1 | +12.0V | Yellow | 3 | +5.0V | Red |
| 2 | +3.3V | Orange | 4 | COM | Black |
Connector EPS/ATX 12V
| Pin | Description | Color | Pin | Description | Color |
| 1 | COM | Black | 3 | +12.0V | Yellow |
| 2 | COM | Black | 4 | +12.0V | Yellow |
| 1 | COM | Black | 3 | +12.0V | Yellow |
| 2 | COM | Black | 4 | +12.0V | Yellow |
Connector PCI-e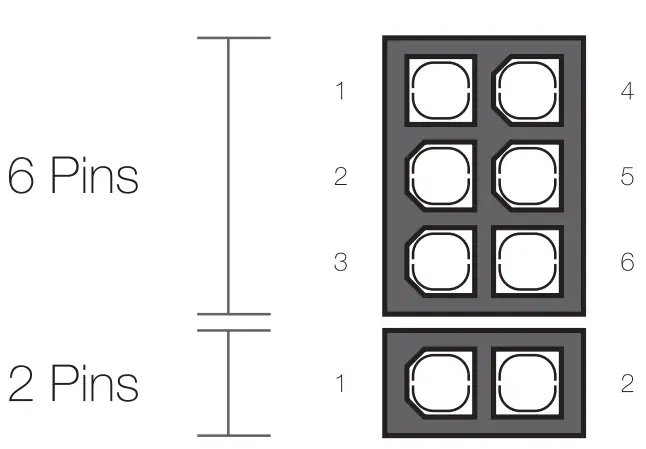
| Pin | Description | Color | Pin | Description | Color |
| 1 | +12.0V | Yellow | 4 | COM | Black |
| 2 | +12.0V | Yellow | 5 | COM | Black |
| 3 | +12.0V | Yellow | 6 | COM | Black |
| 1 | COM | Black | 2 | COM | Black |
Connector SATA
| Pin | Description | Color |
| 1 | +3.3V | Orange |
| 2 | COM | Black |
| 3 | +5.0V | Red |
| 4 | COM | Black |
| 5 | +12.0V | Yellow |
Connector MOLEX
| Pin | Description | Color |
| 1 | +12.0V | Yellow |
| 2 | COM | Black |
| 3 | COM | Black |
| 4 | +5.0V | Red |
Connector FDD
| Pin | Description | Color |
| 1 | +12.0V | Yellow |
| 2 | COM | Black |
| 3 | COM | Black |
| 4 | +5.0V | Red |
![]() Power supplies are intended to be installed by professional staff or technical service.
Power supplies are intended to be installed by professional staff or technical service.
Basic guidelines for installation and started:
- Open the PC box following its instruction manual and remove the previous power supply. To do this, disconnect all connections and remove the screws that secure it. Place the new power supply in the same place.
- Locate and connect the ATX, 20 or 20+4 pin main connector on the motherboard. If the motherboard has only 20pins, separate the additional 4 pins.
- Perform the same process with the secondary cable that supplies an additional 12V. This cable usually has 8 pins (4 + 4), but only four may be required depending on the type of motherboard.
- Connect each of the hard drives and optical drives using the SATA, MOLEX or FDD connectors provided for them. Keep in mind that each device requires its power and data cable to be connected.
- Finally, if you have a graphics card that requires additional power, locate and connect the PCI-e connector (6 + 2) pins on your graphics card, allowing the separation of these additional 2 pinsdepending on the power you need.
- Once the installation is complete, connect the power cord to the power and set the switch to “I” position, then turn on the computer.
Warranty:
TooQ offers a 24 months warranty from the time of purchase, so it is necessary to have the ticket or invoice where the date appears. The distributor or seller where you purchased this product will respond to your claim and offer your technical service while the warranty is in effect.
Out of warranty:
The warranty does not cover damage or defects caused to the power supply due to:
- Do not follow the user manual.
- Modifications or alterations of any kind.
- High and low temperatures, humidity or contact with liquids.
- Supplying an incorrect voltage.
- Using a device other than a computer.
The warranty does not cover damage or defects caused by your minuse. If you are not familiar with your installation, we recommend that you ask a professional for help.
Certifications and notices:
- AII specifications are subject to change without notice.
- Products may not be available in all markets.
- Product color and bundled software versions are subject to change without
- notice.
- Brand and product names mentioned are trademarks of their respective companies.
- For morer information, consult our website www.tooq.com.


