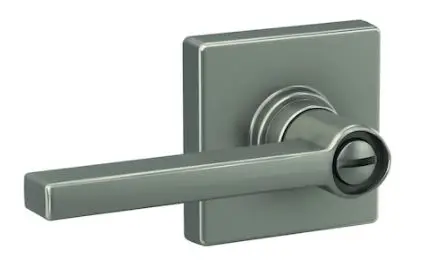
SCHLAGE Crosbie lever
Safety Information
- Read the precautions and instructions in this manual before installing and using this lock. Save this manual for future reference.
- To ensure a long lasting finish, remove the locks, or do not install the locks, prior to painting your door. Periodically clean the locks with mild soap and a soft cloth. Do not use abrasives or
harsh chemicals, and avoid sharp or scratching objects. - Before beginning the installation, please read and understand the entire manual.
- If the door needs to be drilled, be familiar with how to use your drill safely, and understand all the door preparation steps before proceeding.
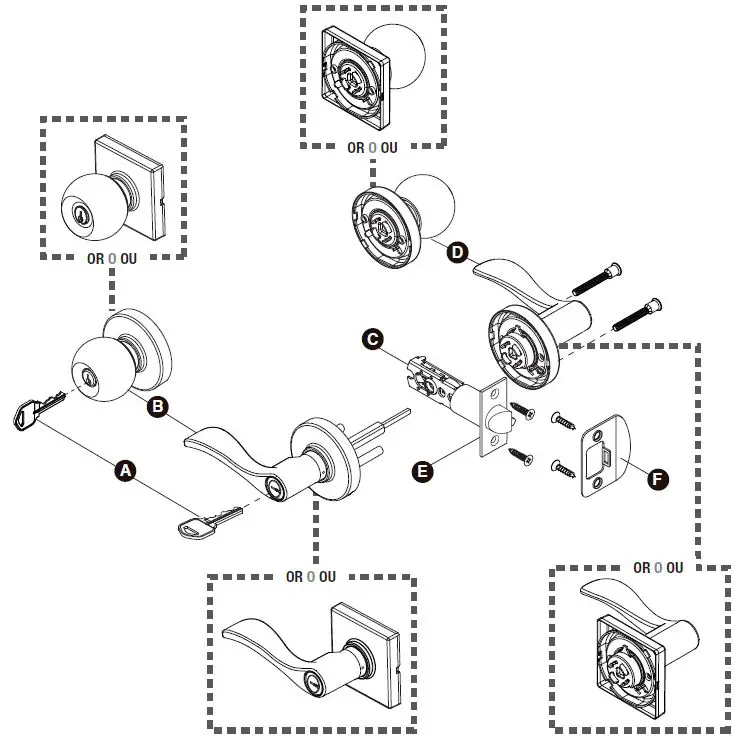
Description
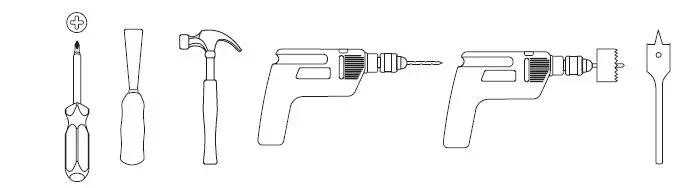
Tools Required
Pre-Installation
NOTE: If your door already has holes, skip to Installation
Tools Required
- Using the template, mark the door and drill the holes, and chisel out a mortise.
- Prepare the door jamb – using the strike plate as a pattern, drill the latch and screw holes, and chisel out a mortise until the strike plate fits flush.
NOTE: To assure proper lockset function, the holes in the door jamb must be drilled 1/2 in. (13 mm) deep.
Installation
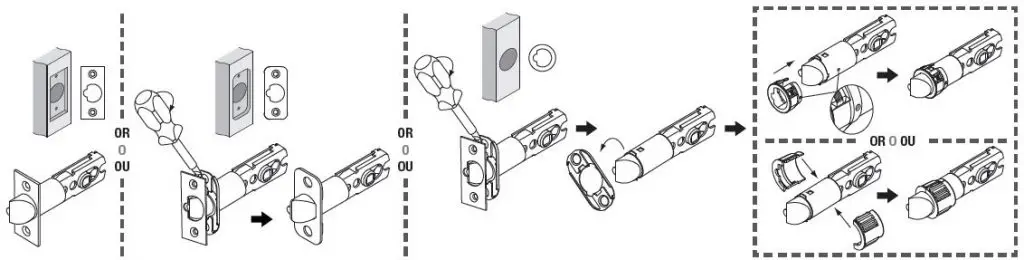
INSTALLING THE LATCH
- Attach the correct faceplate

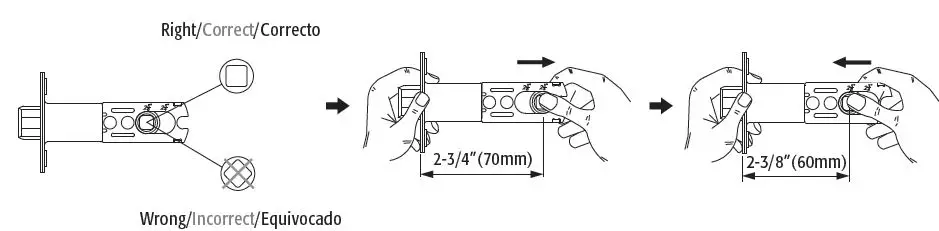
- Set the latch backset

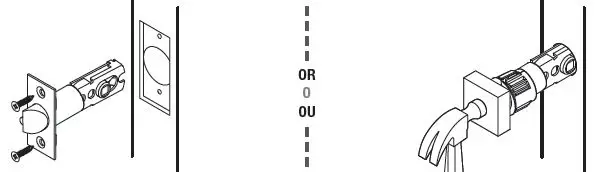
- Install the latch

INSTALLING THE LEVER/KNOB
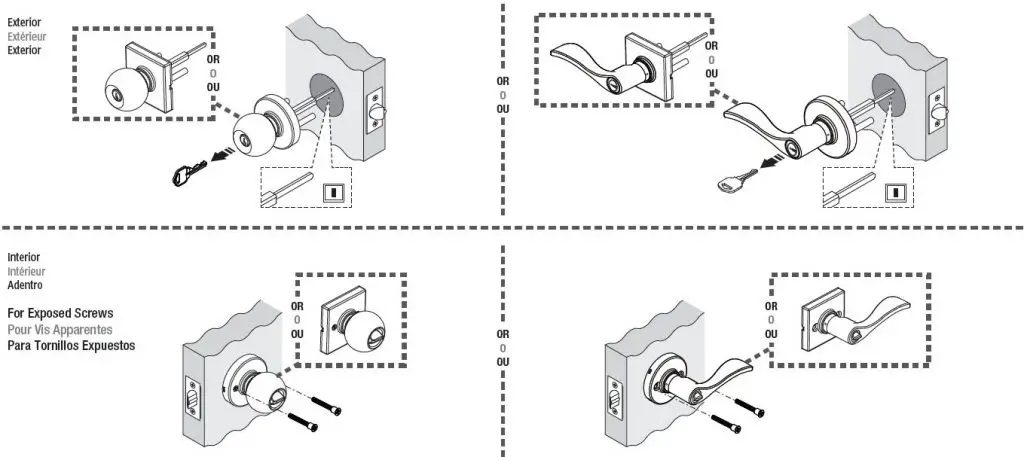
NOTE: Levers installed in reverse will not affect the product’s performance.
SWITCHING THE HANDLES (IF DESIRED)
INSTALLING THE STRIKE PLATE
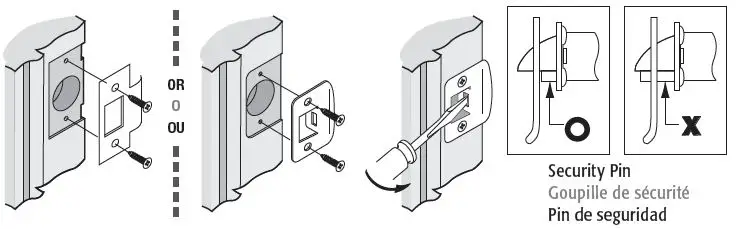
NOTE: If required, bend the adjustable tang on the strike to eliminate a loose fit between the door and the door stop.
NOTE: Ensure the lip faces away from the door.


![Schlage Keyless Touchscreen Lever [fe695] Instructions Manual](https://static-data1.manualsee.com/1/img/162/20272/2020/12/Schlage-Keyless-Touchscreen-Lever.png "Schlage Keyless Touchscreen Lever [fe695] Instructions Manual")


