
EAF-Quattro EAF Starizona Mounting Bracket
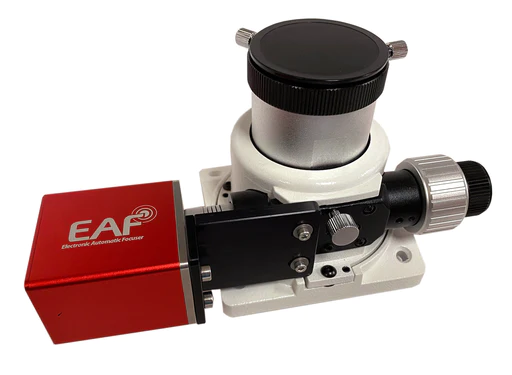
for ZWO EAF and Skywatcher Quattro
There are two versions of the Quattro focuser depending on the telescope model. This mounting bracket works with both and includes two sets of mounting screws, one for each type of focuser. The installation instructions are basically the same for both versions.
Remove Focus Knob
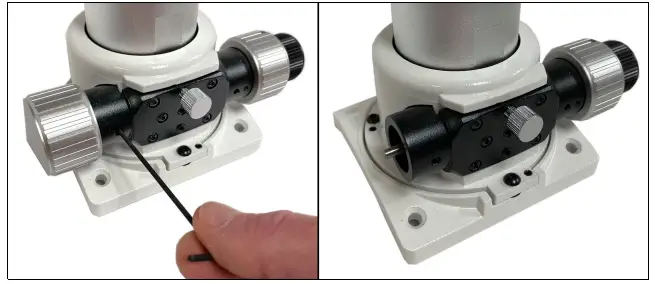
Begin by removing the left side knob from the focuser. There is a single set screw that is accessed through a hole in the black pinion block of the focuser. Loosen this screw and the knob will slide off the focus shaft.
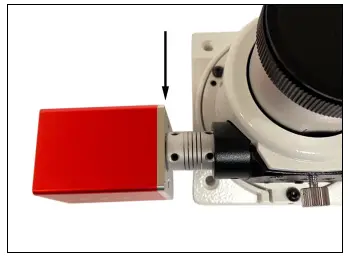
Remove Mounting Screws
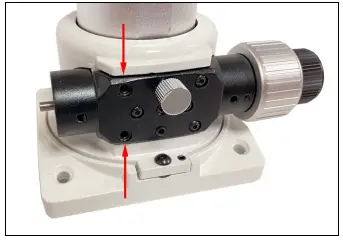
Remove the left two mounting screws from the black pinion block of the focuser. These will be replaced by the longer screws included with the mounting bracket.
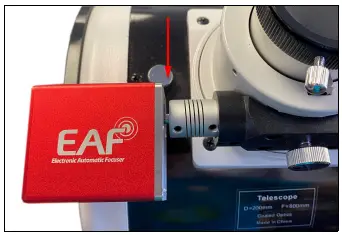
Install the EAF Shaft Coupler
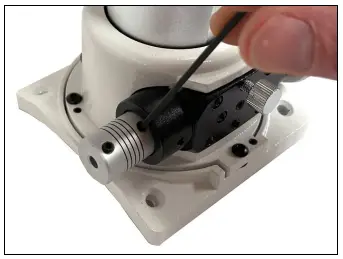
The ZWO EAF includes several different shaft couplers, and for the Quattro you will use the one with a 4mm hole on one side. Note that the coupler should slide on until you can tighten the lock screw just outside the focuser pinion block. Do not slide the coupler all the way into the hole that the focus knob came out of.
Install EAF Motor
This step differs slightly depending on the focuser version. One version has a tapered white section above the top side of the black pinion block while the other does not. More of the top (eyepiece side) of the black pinion block is visible on the latter type.
For the first version, install the EAF motor so the motor end of the shaft coupler is flush with the face of the EAF. The EAF has a recessed cutout here, so the coupler is still about 1mm from touching that recessed surface. But the coupler should be even with the flat face of the EAF motor.
For the second type, leave about 2mm between the motor end of the shaft coupler and the face of the EAF. This allows the screw holes in the mounting plate of the bracket to line up and also allows the bracket to clear the larger tension knob on this style of focuser.
Attach Bracket to EAF Motor
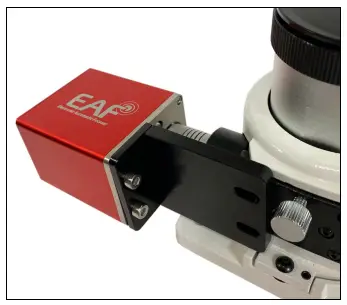
Use the M4 hex screws that come with the EAF to attach the motor to the bracket. The bracket can still wiggle a bit at thise point before it is secured to the focuser, so you may not want to completely tighten these screws down until after the next step to make sure the motor and bracket end up square.
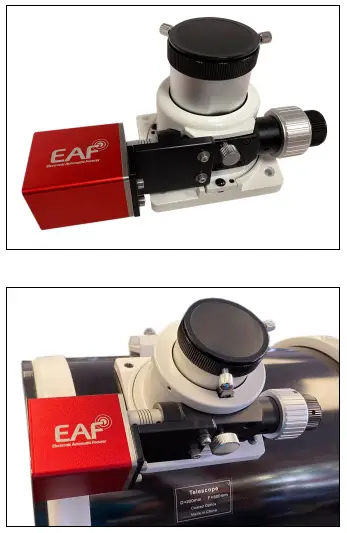
Attach Bracket to Focuser
The last step is to attach the bracket to the focuser using the mounting screws included with the bracket. The smaller M3 screws and washers are used for the first style focuser described above (first picture below) and the larger M4 screws and washers are for the second type (second picture below).
After installing the focuser mounting screws, adjust the motor mounting if needed to keep everything squared up. You are ready to use the EAF on your Quattro. Time to go outside and wait for the clouds to go away!


 Mount Bracket User Manual")


