
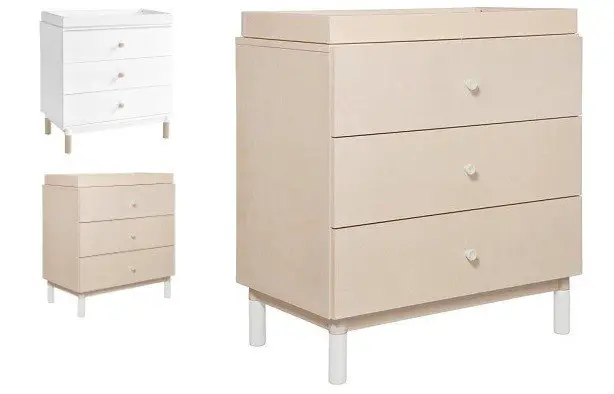
Babyletto M12923 Gelato 3-Drawer Changer Dresser with Removable Changing Tray
hey there
It’s time to bring that dream nursery to life with babyletto.
We are here to help with all the tools and resources you need to design a space that feels like you.
Our babyletto community is important to us so we’re always sharing styling tips, ideas to try, and unique inspiration.
Share your style with us at #babyletto
Welcome to the babyletto family
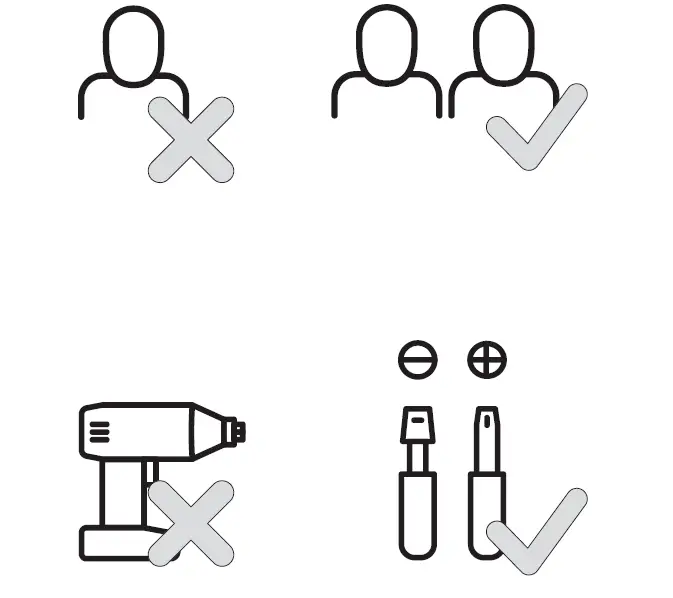
getting started
If you need help or have questions, please let us know!
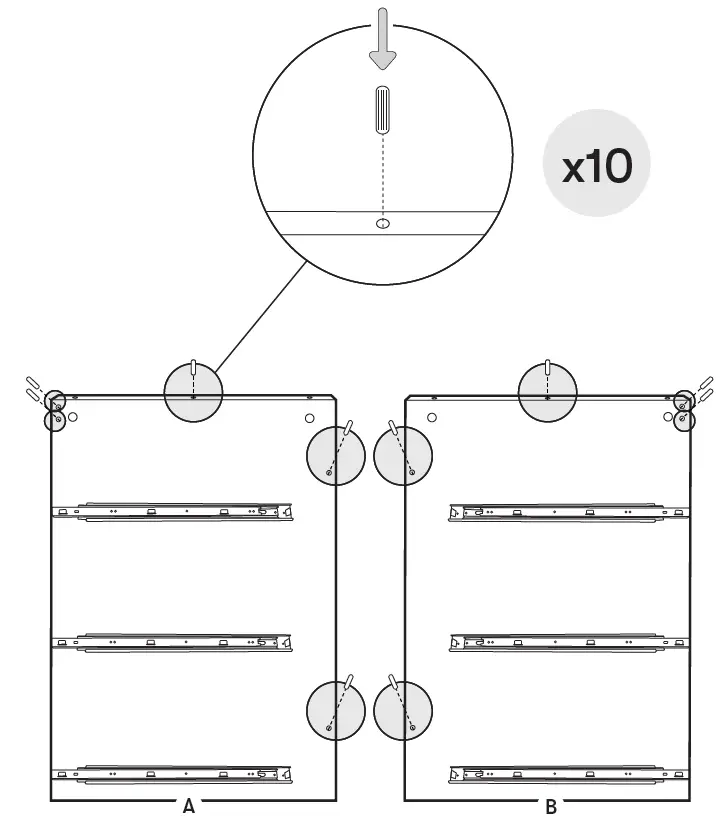
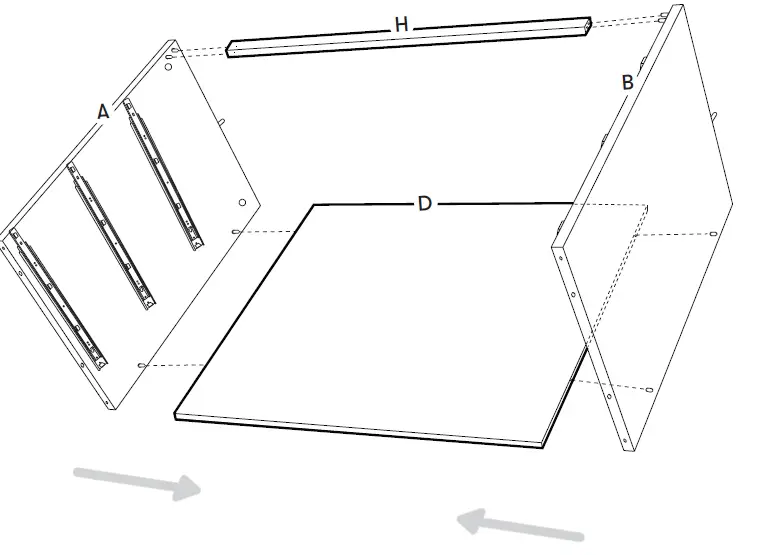
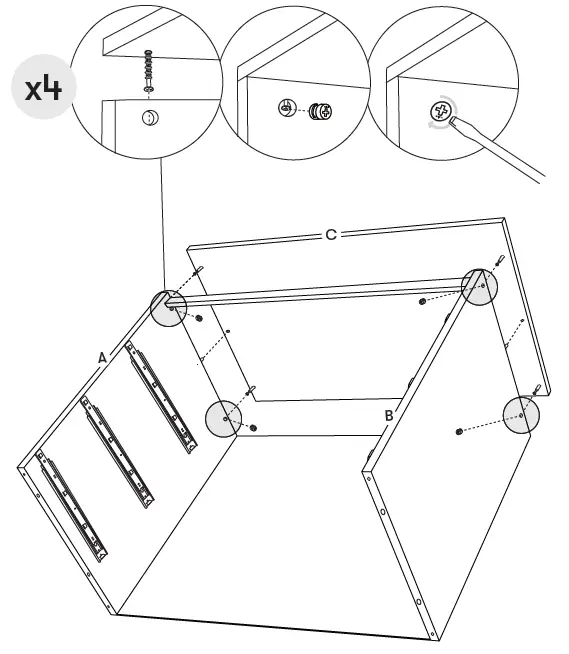
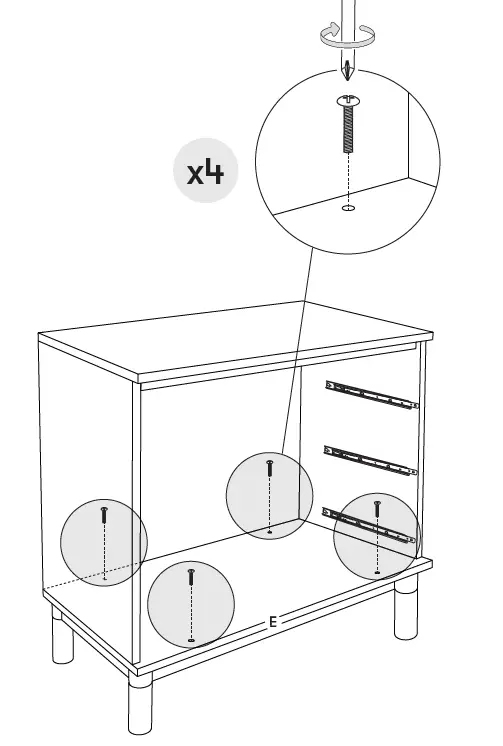
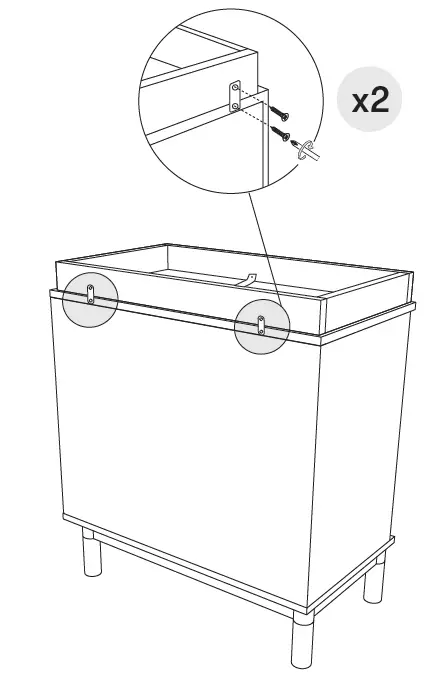
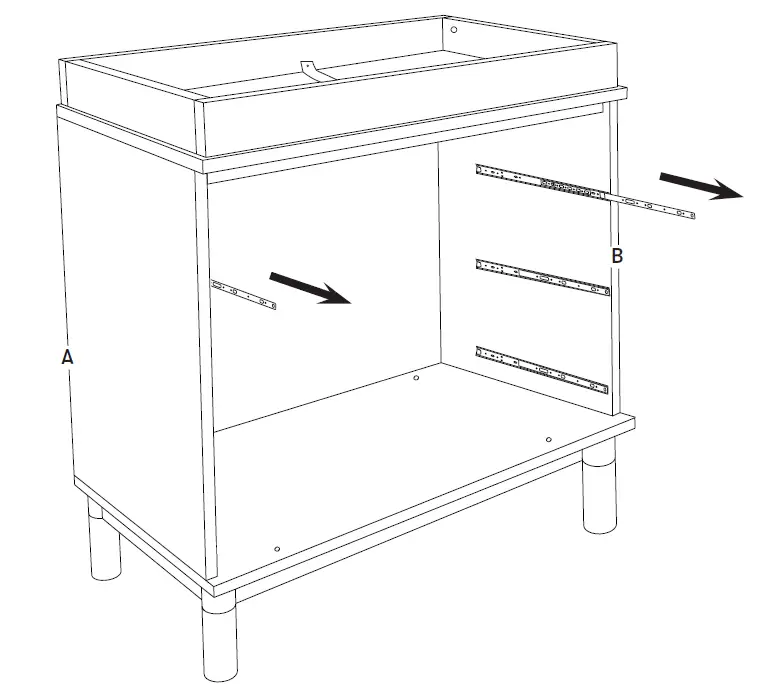
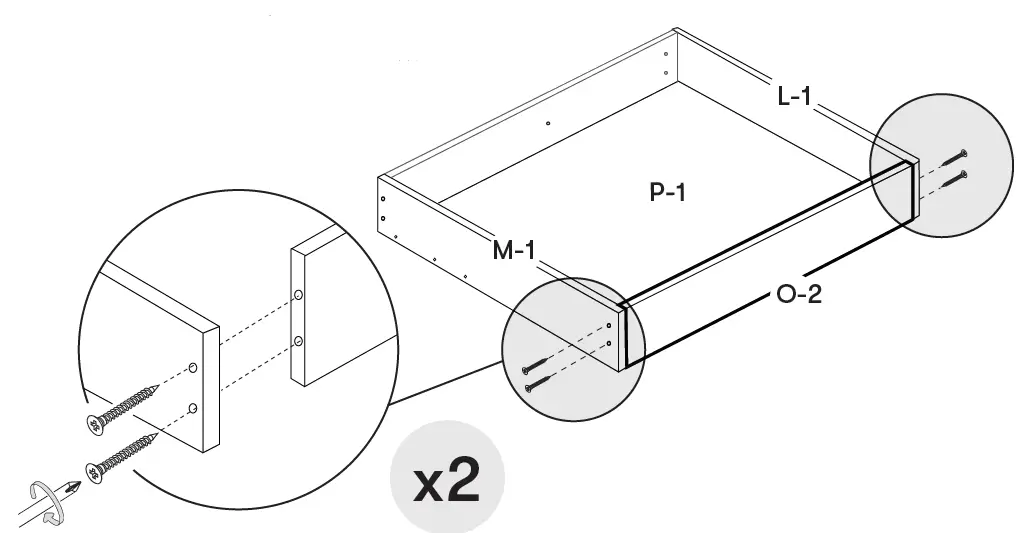
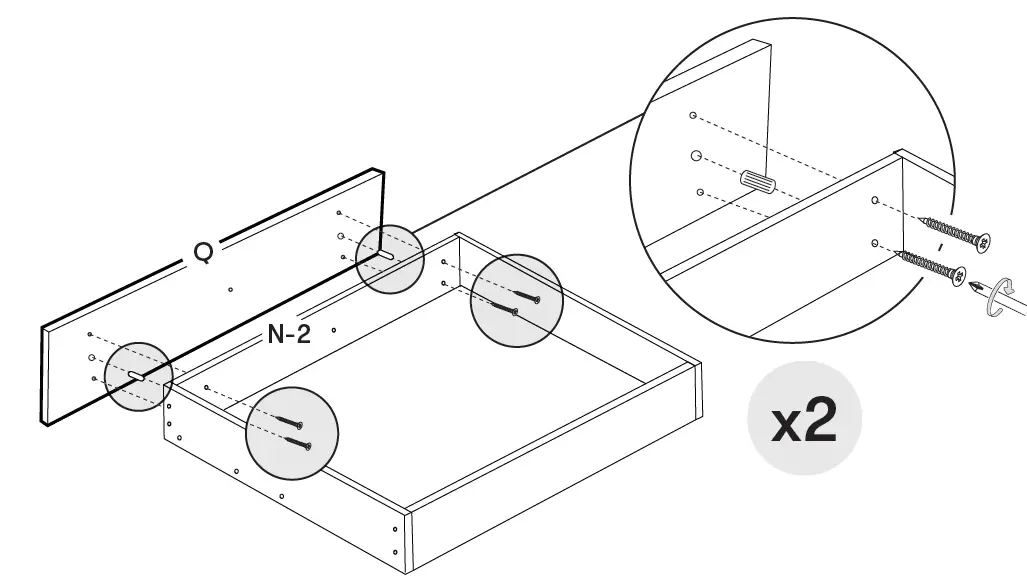
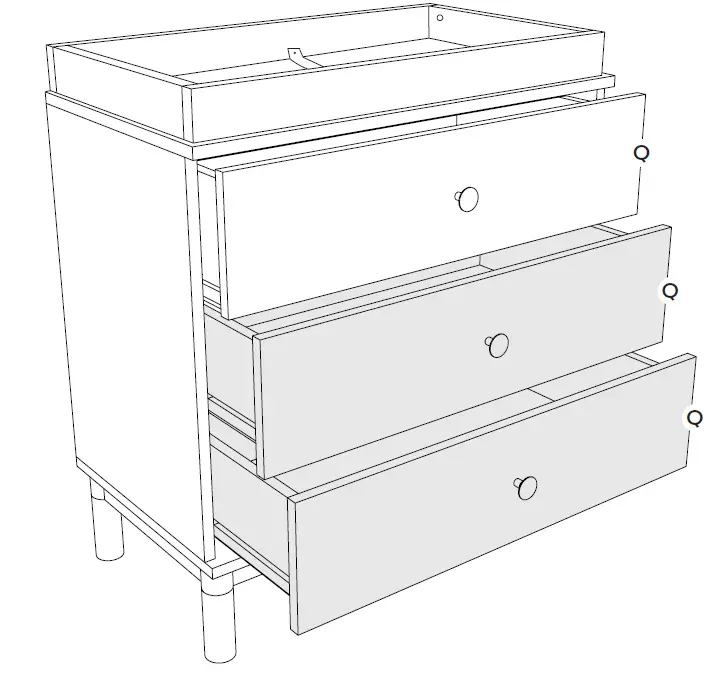
parts
not to scale
LEFT SIDE PANEL RIGHT SIDE PANEL
 TOP PANEL
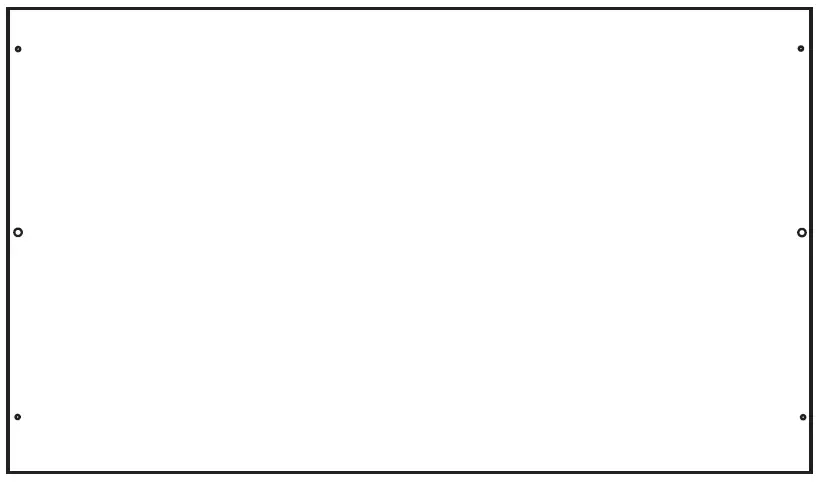 BACK PANEL
 BOTTOM PANEL
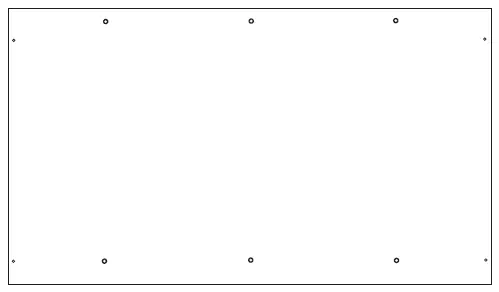 BASE
BASE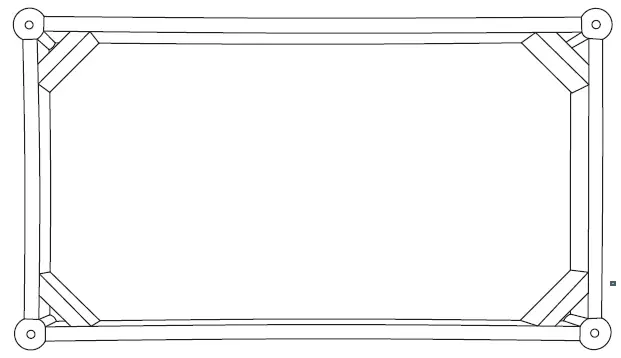 FOOT
FOOT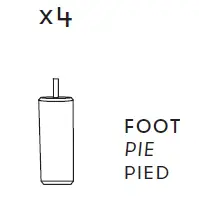 TOP SUPPORT RAIL
 LEFT DRAWER SIDE
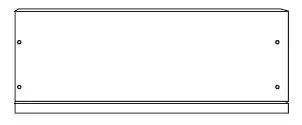 RIGHT DRAWER SIDE
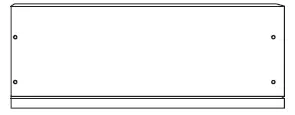 DRAWER FRONT
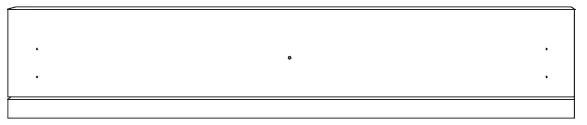 DRAWER BACK
 DRAWER BOTTOM
 FINISHED DRAWER FRONT
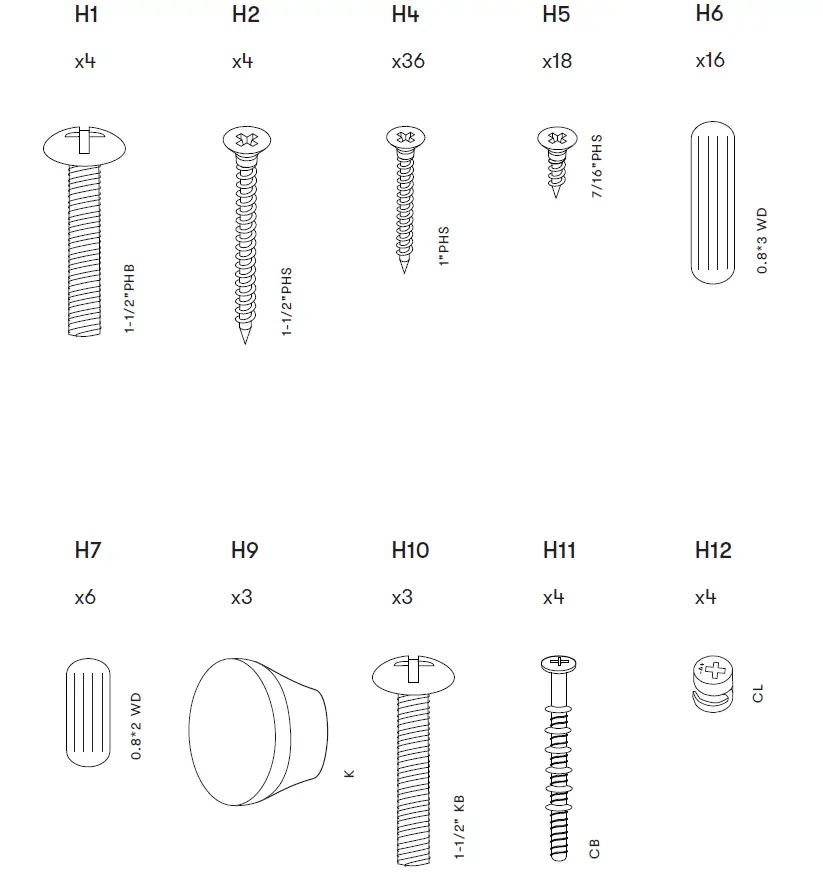
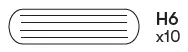
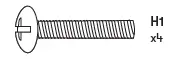
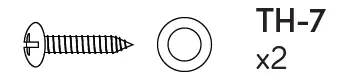
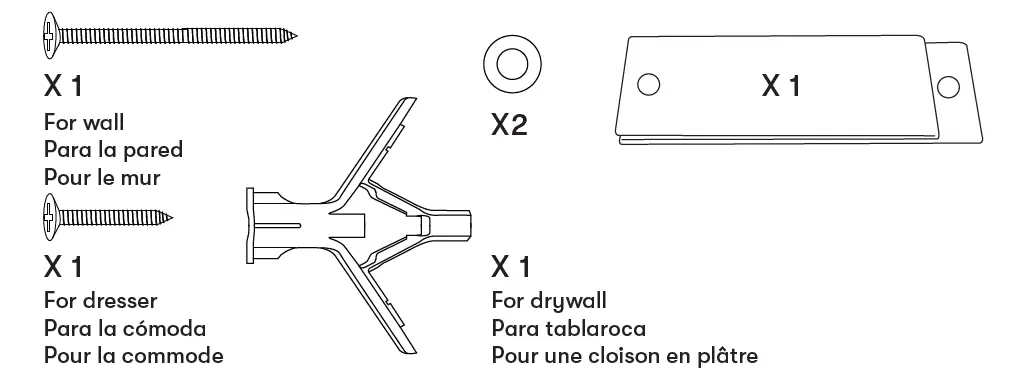
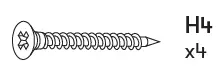
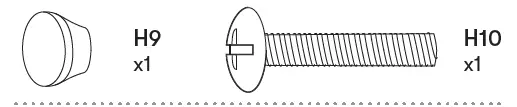
hardware
actual size
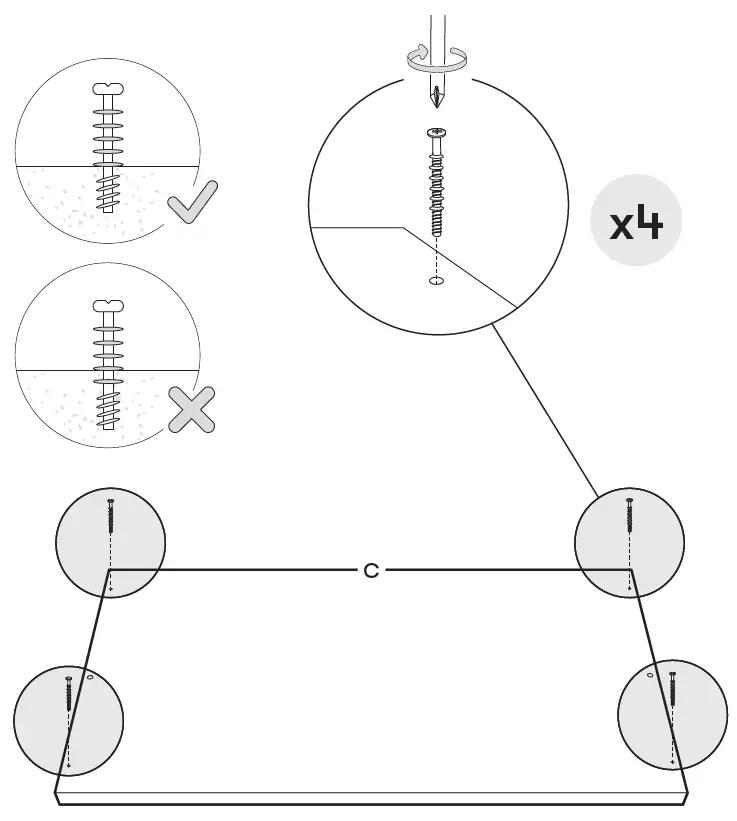
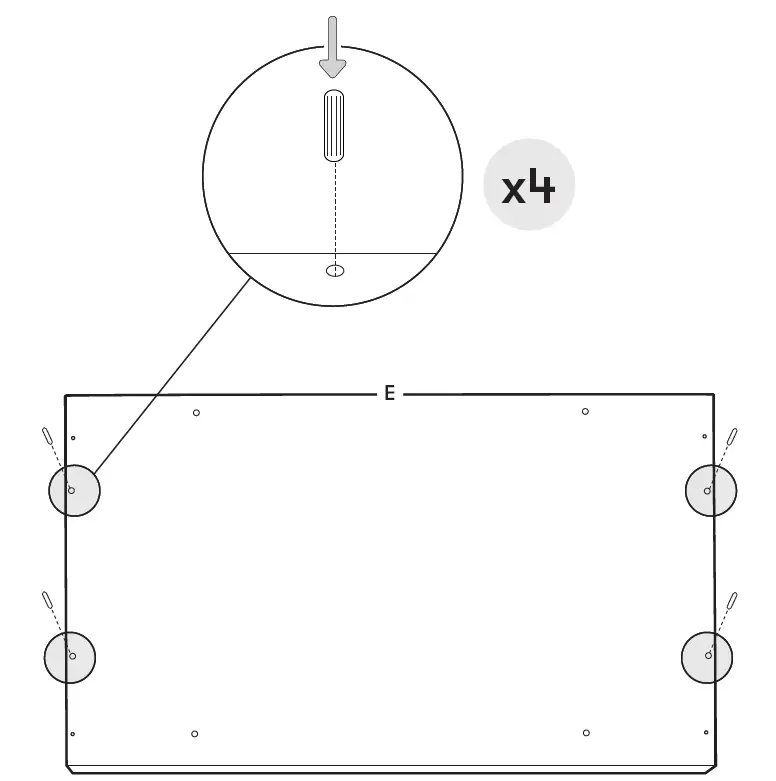
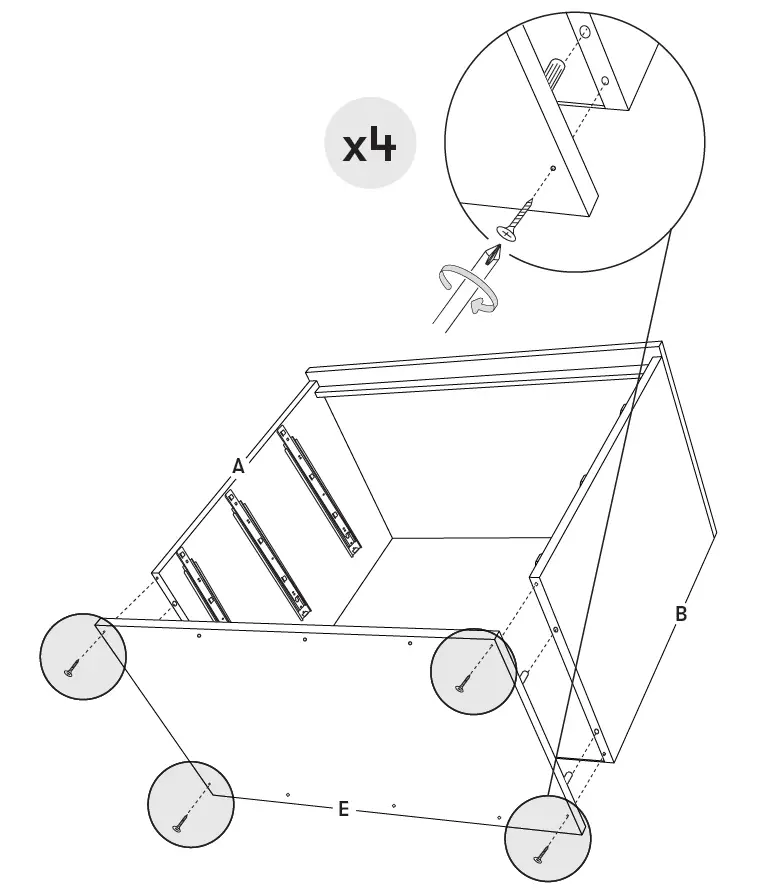
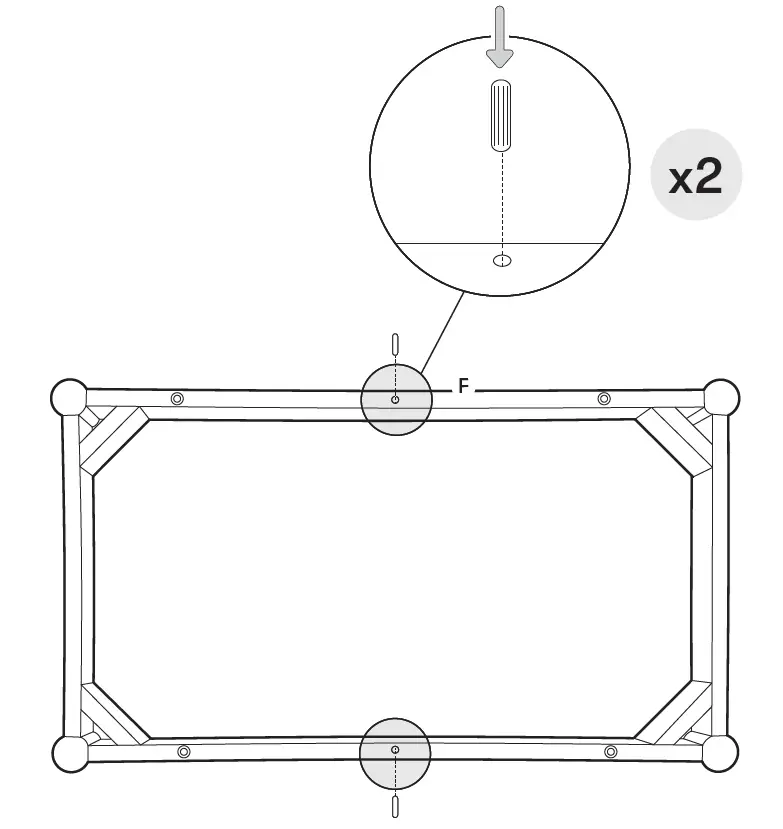
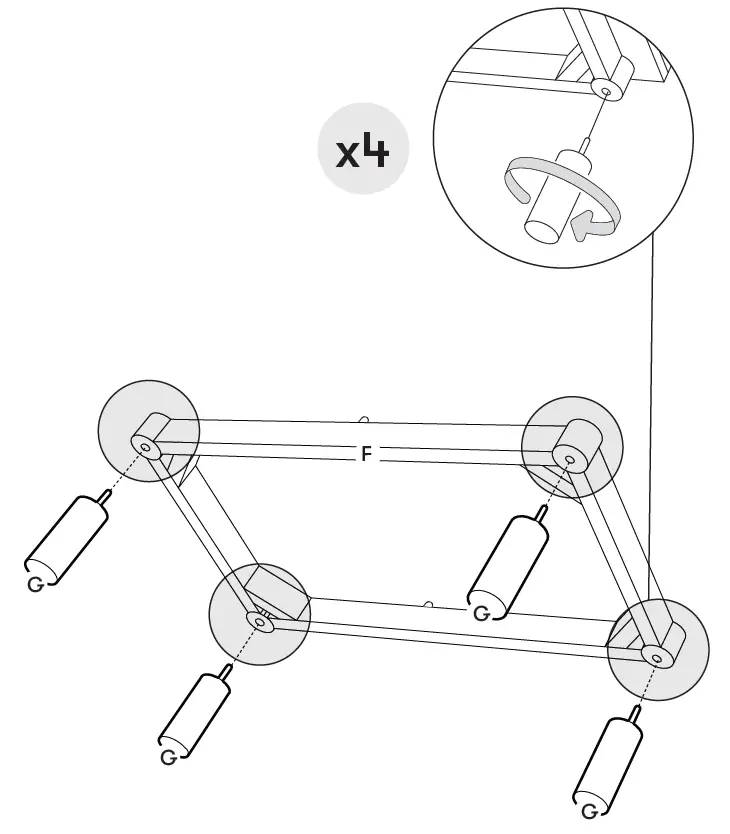
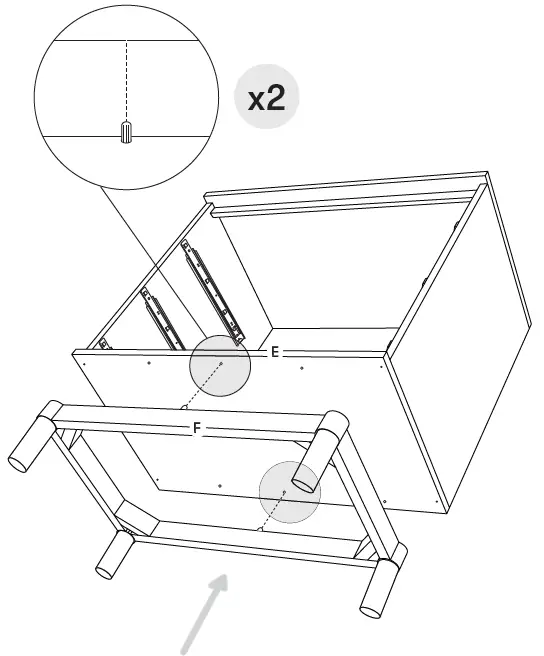
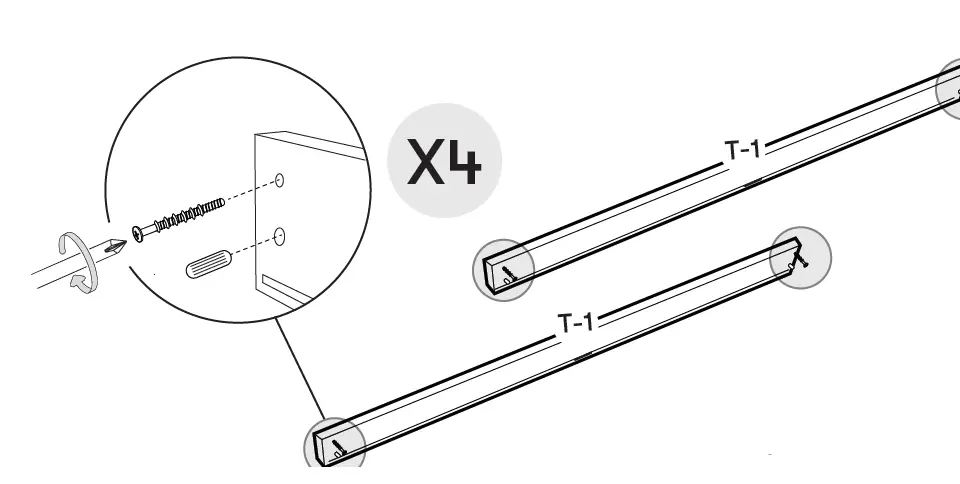
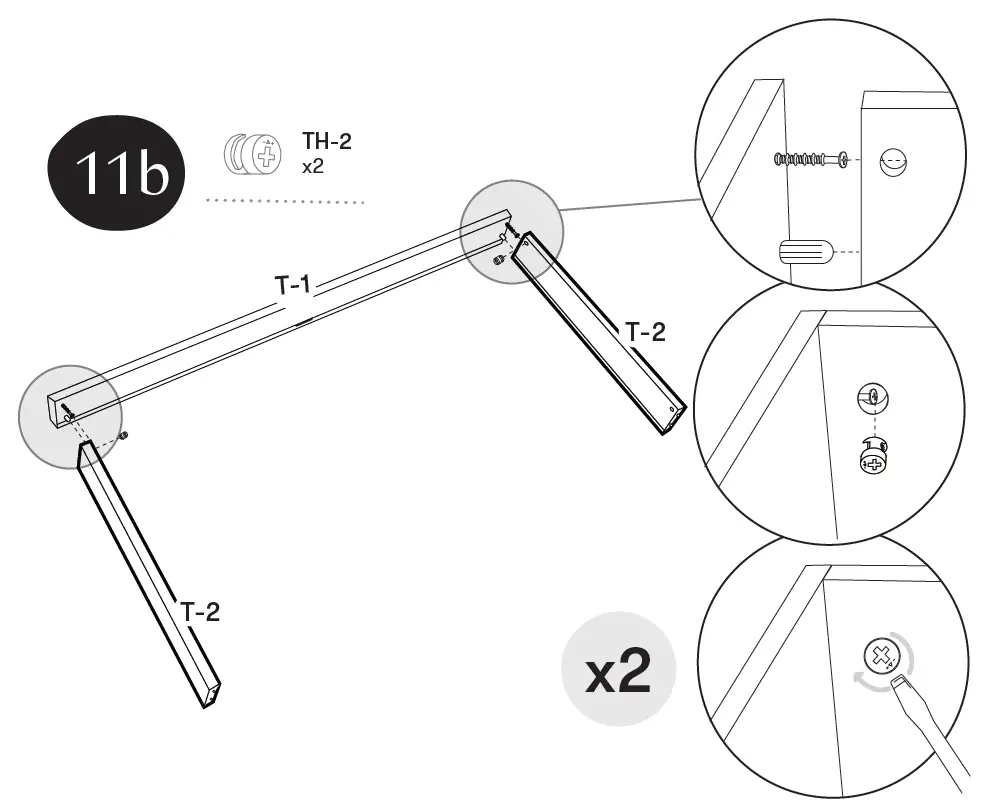
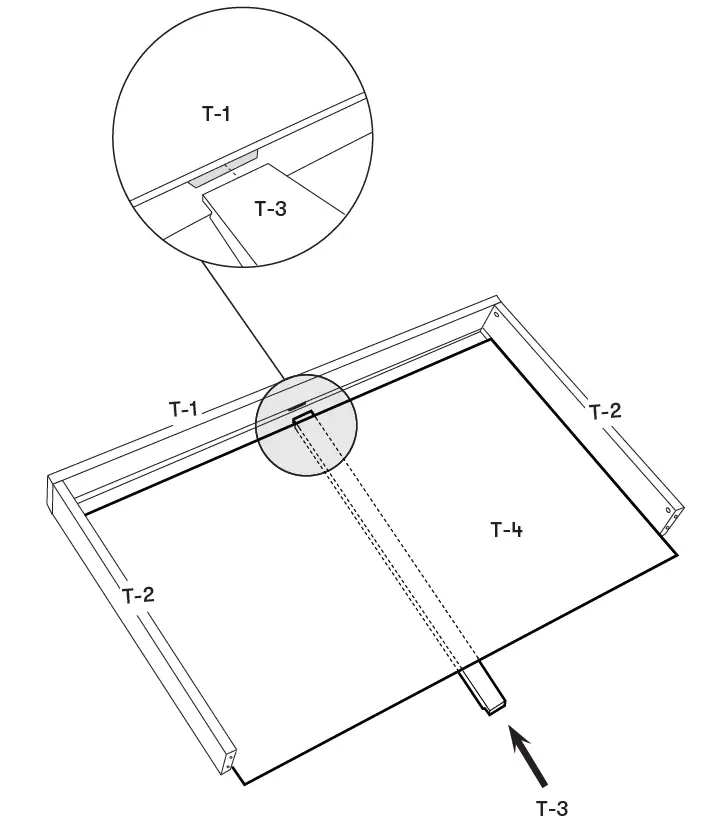
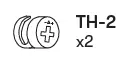
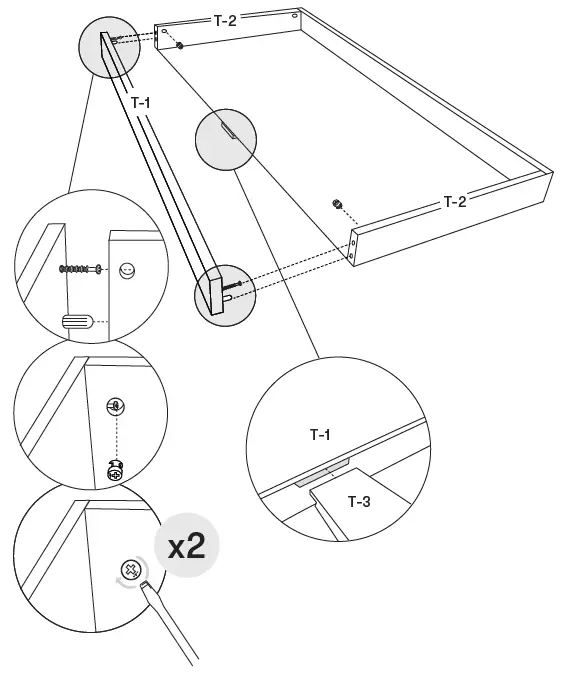
assembly instructions


 tray parts
TRAY FRONT / BACK RAIL TRAY SIDE RAIL
 TRAY CROSS SUPPORT
 TRAY BOTTOM PANEL
 SAFETY STRAP
hardware
actual size
- .


 tray parts
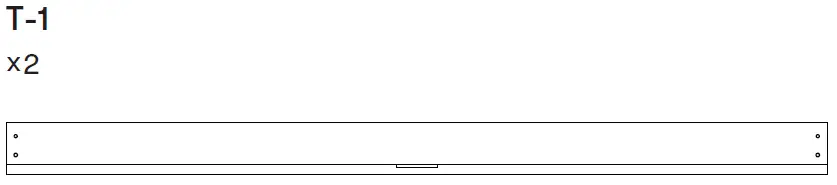 TRAY SIDE RAIL
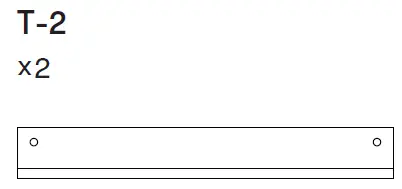 TRAY CROSS SUPPORT
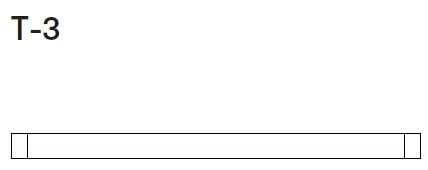 TRAY BOTTOM PANEL
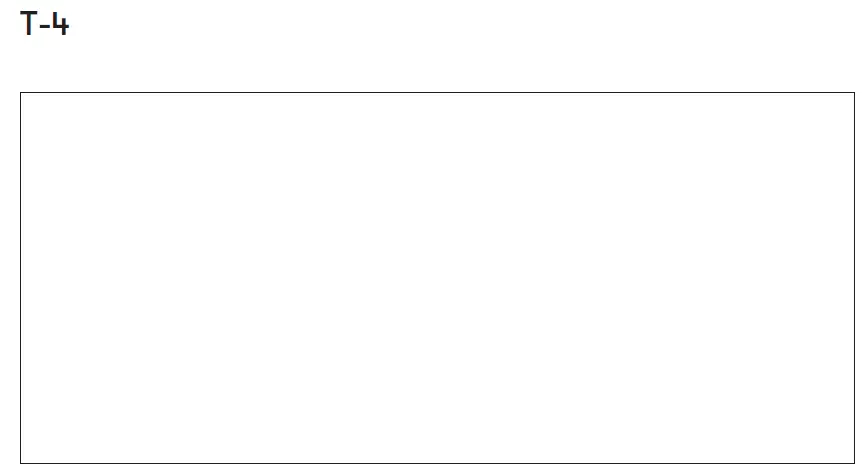 SAFETY STRAP
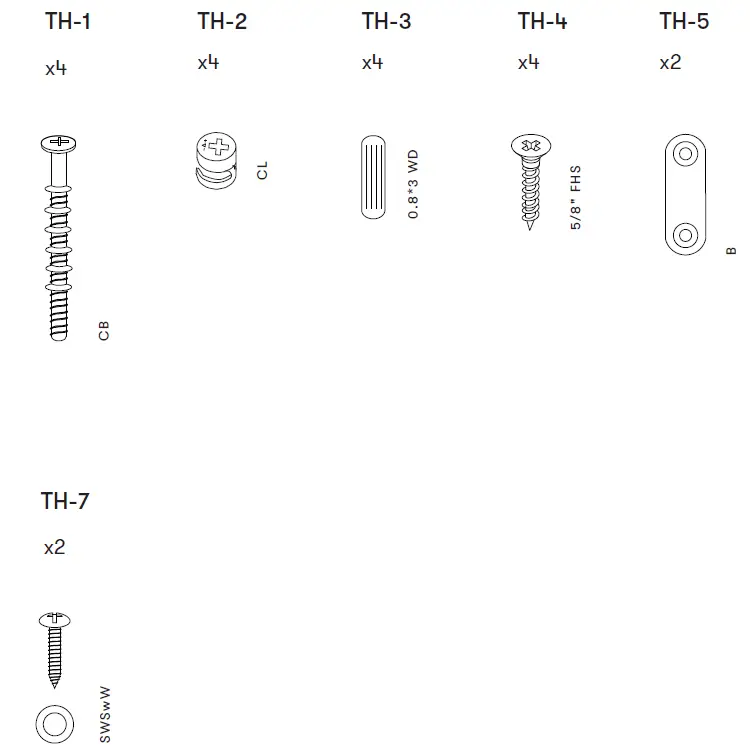


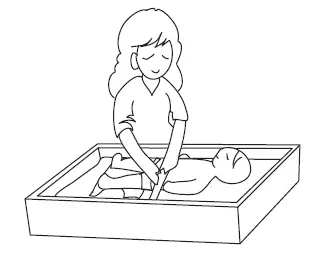
restraint system
WARNING:
Secure your baby on the pad with the straps and buckle. anti-tip kit installation
 anti-tip kit installation
CAUTION
Children have died from furniture tipover.
To reduce the risk of furniture tipover,
ALWAYS install tip over restraint provided.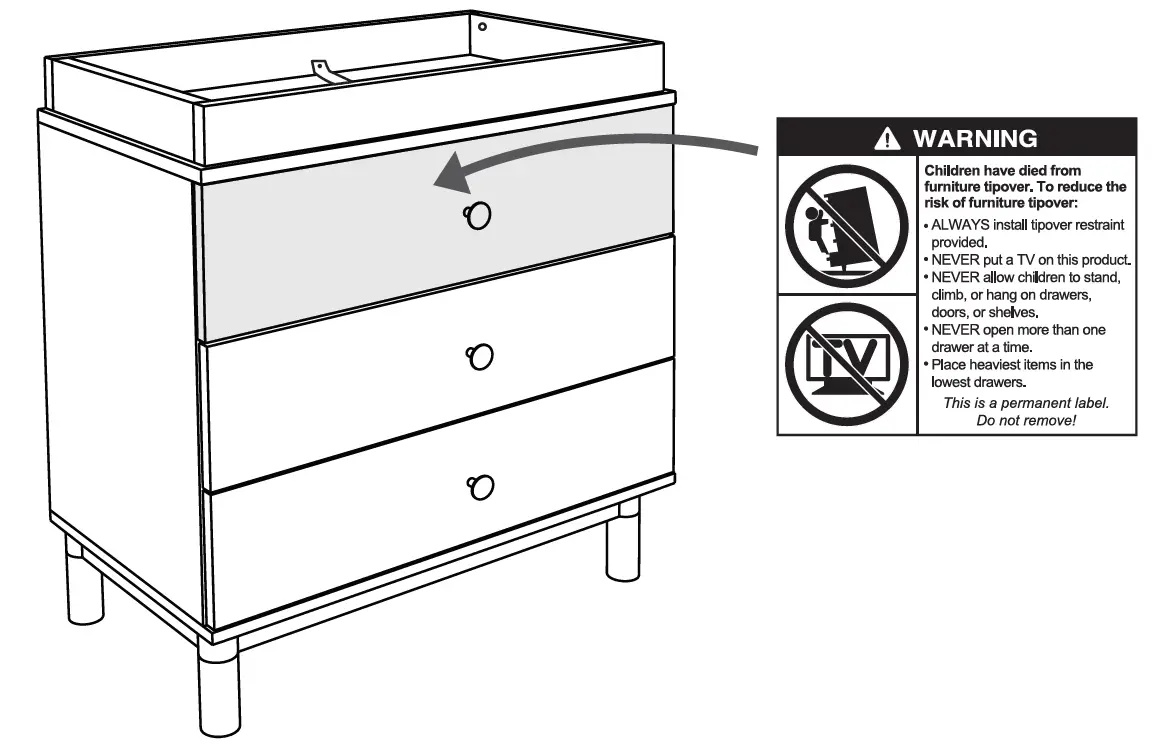
hardware
actual size
Find your wall material and follow steps to attach the anti-tip kit to your wall.
Drywall or plaster with available wood stud:
- Mark the attachment point with a pencil, 1” to 2” (25-50 mm) below top of dresser, positioned over a wood stud.
- Drill 1/8-inch (3 mm) diameter pilot hole into the wood stud, on the pencil mark.
- Following the appropriate pictogram instructions on the following pages, drive the screw with washer through the textile strap and tighten screw firmly into the wood.
Drywall without available wood stud:
- Mark the attachment point with a pencil, 1” to 2” (25-50 mm) below top of dresser.
- Drill 3/8-inch (9 mm) diameter hole through the wall, on the pencil mark.
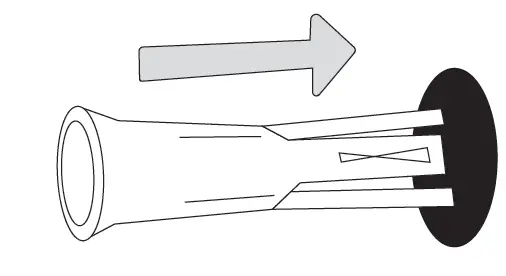
- Drive the plastic anchor into the hole, using a hammer if needed.
- Following the appropriate pictogram instructions on the following pages, drive the screw with washer through the textile strap and tighten screw firmly into the plastic anchor in the wall. Do not over-tighten.
If your wall material is not listed here, or if you have any questions, consult your local hardware store.
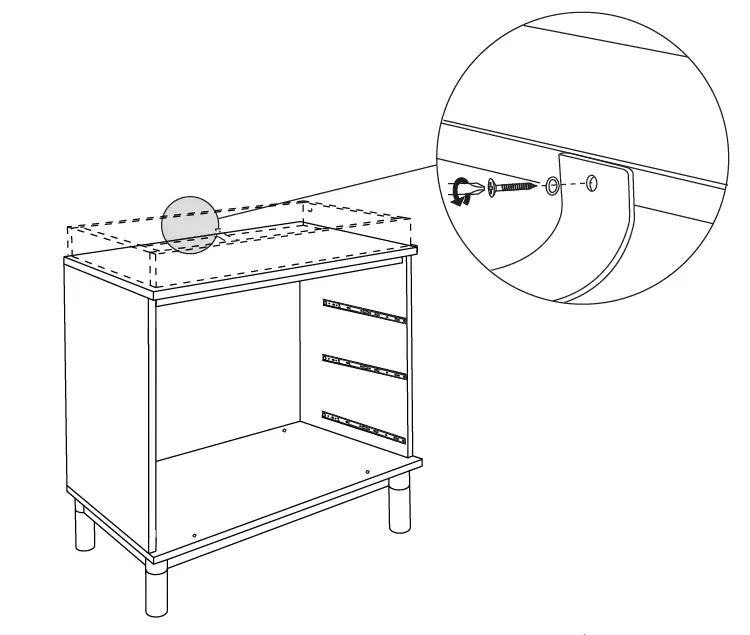
- Fasten strap to back of dresser.

- Mark spot on wall 1-2” (25-50mm) below the top of the dresser.

- Follow the “Find Your Wall Material” instructions on the previous page. Drill a 3/8″ (9 mm) hole and insert plastic anchor into hole (If needed).

- Fasten strap/bracket by screwing into plastic anchor or wood stud.

- Complete!
- Drywall without available wood stud

- Drywall or plaster with available wood stud.
- Drywall without available wood stud


.
- .


 DO NOT OVERTIGHTEN THE SCREW


 DO NOT OVERTIGHTEN THE SCREW
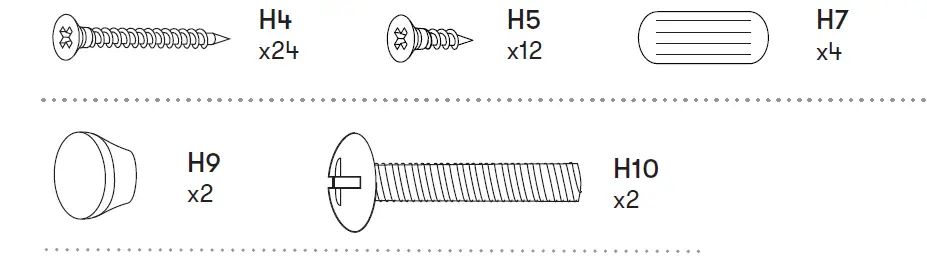
WARNING:
A changer pad is not included. Sold separately.
Babyletto M5319BL 31” x 16” x 4” (79 x 41 x 10 cm) contour changer pad is recommended.
storage
Because materials respond to temperature and humidity, it is important to store furniture in controlled environments. Furniture should not be placed in direct sunlight or near air-conditioning outlets, radiators, heaters, or humidifiers. Any changes such as extreme heat or cold, dampness, or dryness, may cause noticeable shrinkage or swelling of wood. Direct sunlight may affect the coloring of materials over time.
care and cleaning
To clean wood or metal parts, use a lint-free, soft cloth with a non-toxic cleaner. Wipe dry immediately. To avoid scratches or other damages, do not use abrasive chemi-cals or materials. For fabrics, we recommend using a non-toxic foaming fabric cleaner or leather cleaner where appropriate. Touch up kits are available for purchase by contacting us at:
(323) 282- 516 3 or [email protected]
registration
Re˜isterin˜ your product is simple. You can do so at:
BABY LE T TO.COM/R EGI S TR ATI ON S
part replacement
If you would like to order replacement or missing parts, please visit us at:
BABY LE T TO.COM/PAR T S
or you can contact us by mail at:
870 0 R E X R D. P I C O R I V E R A , CA 906 60
one year limited warranty
Oops! Did we make a mistake? No worries, your Babyletto product is covered under warranty for one year after the date of purchase. For more details on our warranty policy, please visit:
BABY LE T TO.COM/ WAR R AN T Y
WARNING:
BEFORE USE
- Read all instructions before use of the changing table.
- Keep instructions for future use.
- Do not use changing table if it is damaged or broken.
- If a means of attachment to the contoured changing pad or add-on changing unit is provided, the instructional literature shall provide instructions on how to secure the contoured changing pad or add-on changing unit to the support surface.
- This product is not intended to be used as a changing table without adult supervision. Use of the product without this may result in death or serious injury to your child from falling. Follow all instructions on attaching and using the changing table.
- Recommended maximum weight of the occupant for which the changing table, add-on changing unit, or contoured changing pad is 30 lb (13.6 kg).
SUFFOCATION HAZARD
- Babies have suffocated while sleeping on changing areas: changing area is not designed for safe sleep. NEVER allow baby to sleep on changing area.
FALL HAZARD
- Children have suffered serious injuries after falling from changing areas. Falls can happen quickly.
- STAY within arm’s reach.
- ALWAYS secure this pad to the support surface by using the provided hardware. See instructions.


