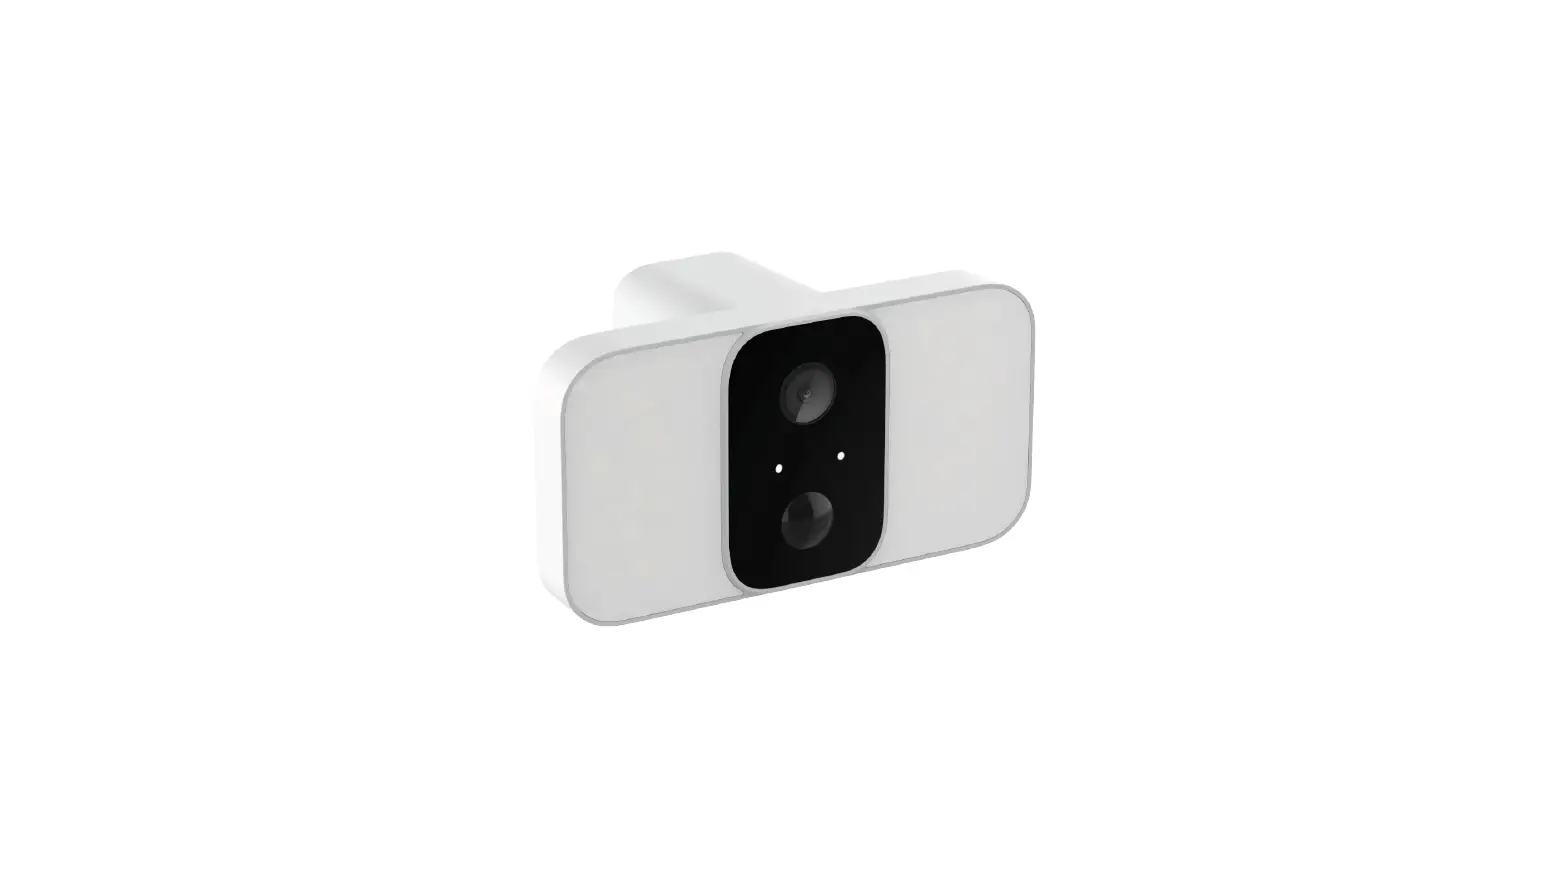
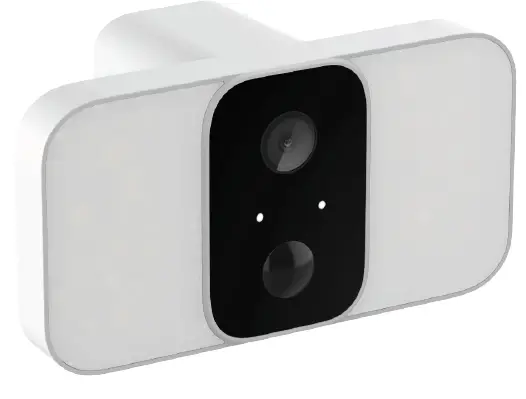
concord QC3918 Wi-Fi Battery-Powered Floodlight Camera
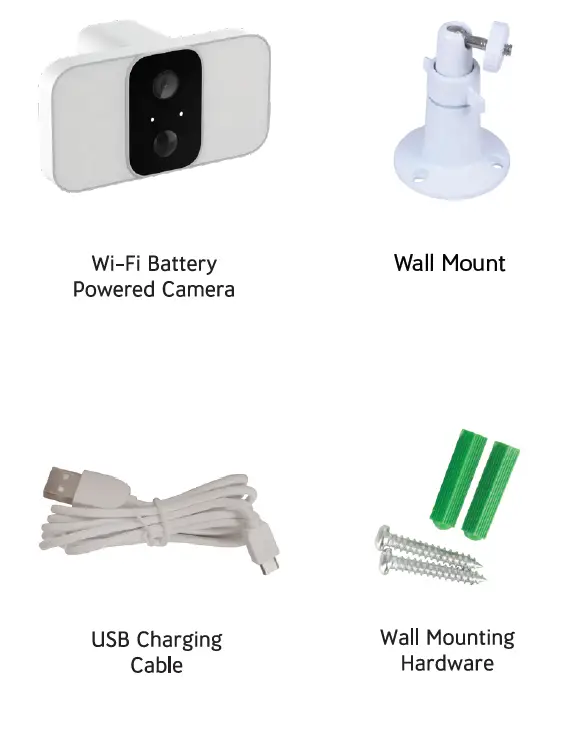
What’s in the box
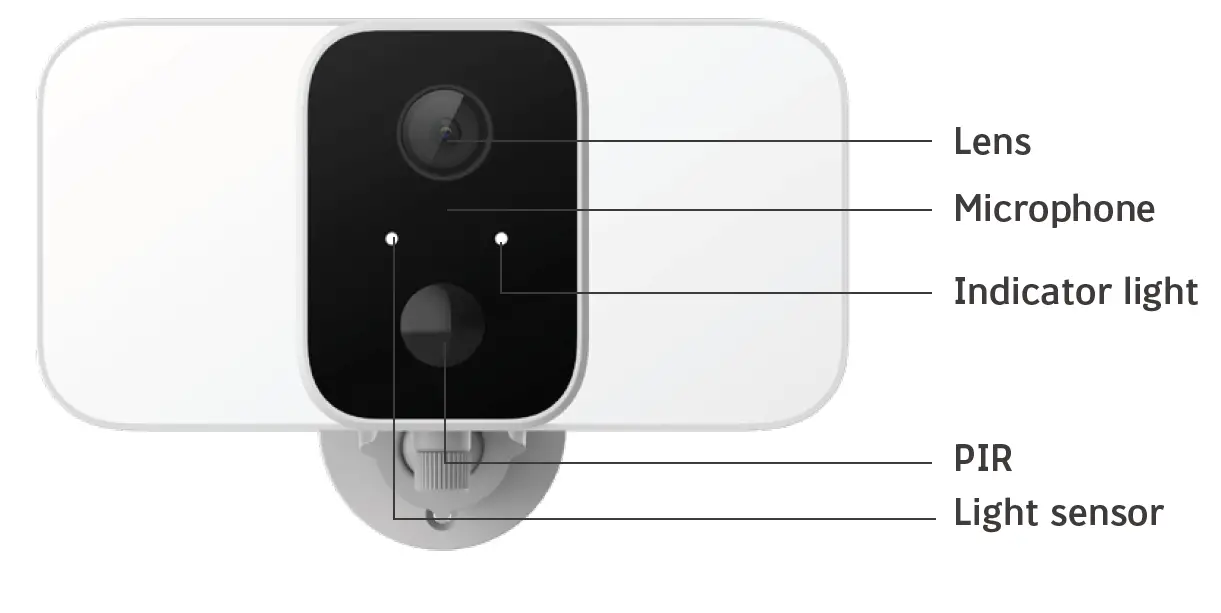
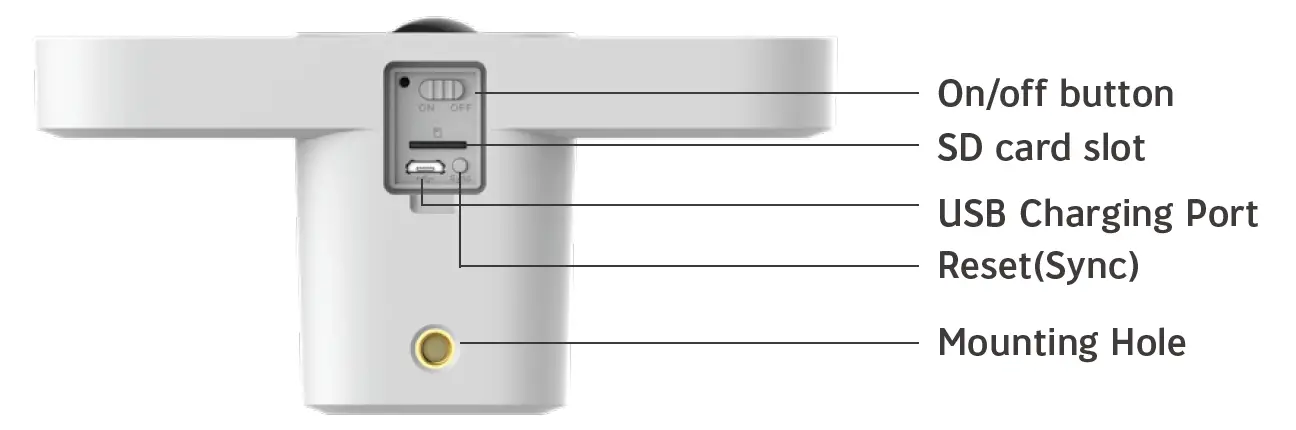
Getting to know your Camera

Connecting To Wi-Fi
Place your smart phone and camera right next to your wireless modem/router for connection.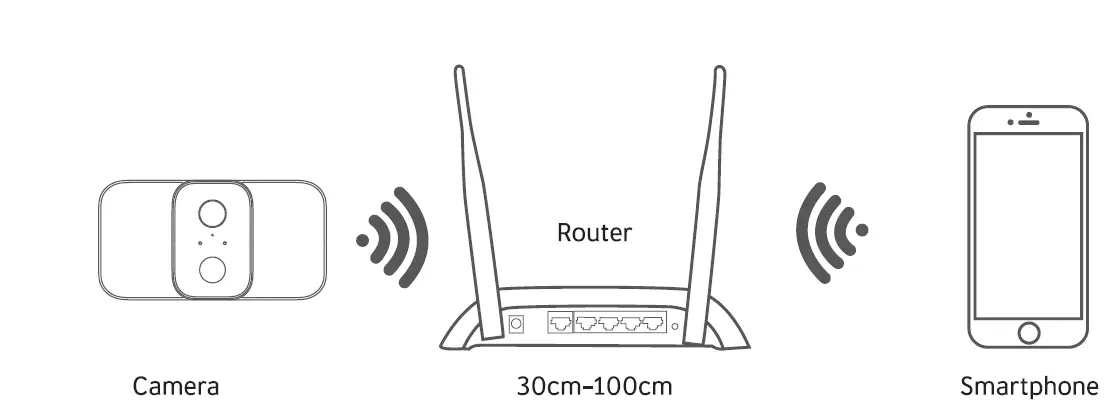
Note: Make sure your smart phone is connected to the same network as your wireless modem/router. Please note the camera only works on 2.4G Wi-Fi as 5G Wi-Fi is not supported.
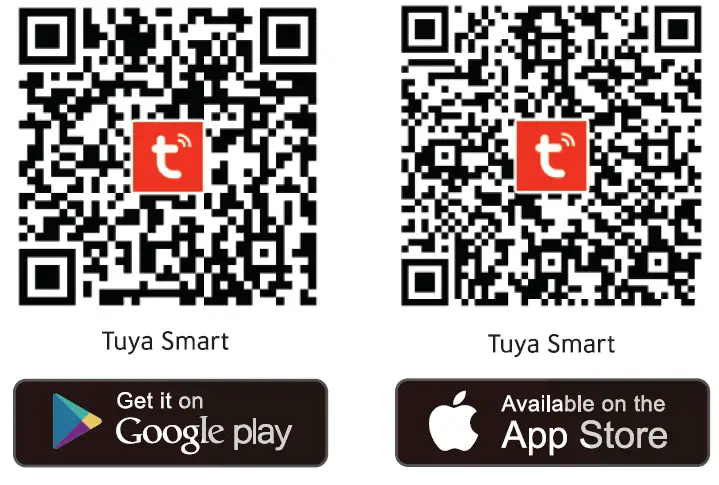
Download the App & Account etup
- Download the “Tuya Smart” app on your smartphone from the App store or the Google
- Play store. Alternatively you can scan the QR code below and the app icon will be displayed after it has been installed correctly.

Setting Up Your Camera
- Step 1: Insert a microSD card (Not Included) into the rear side of the camera.
Please note: Class 10 Micro SD cards are recommended.
The maximum capacity supported is 128GB.
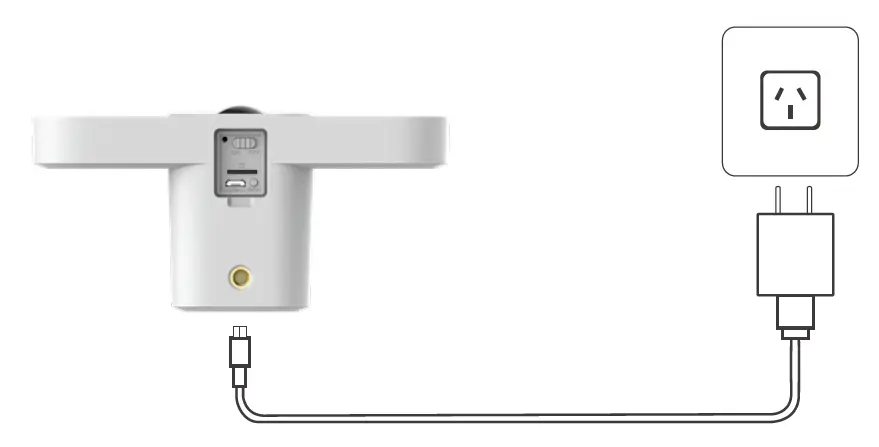
- Step 2: Connect the uSB Charging cable to the camera’s power input socket.
- Step 3: Connect the opposite end of the USB charging cable to a USB mains power adaptor or computer with at least 2 amps or charging please note: It is suggested to fully charge the camera up to 3 hours on first-time use.

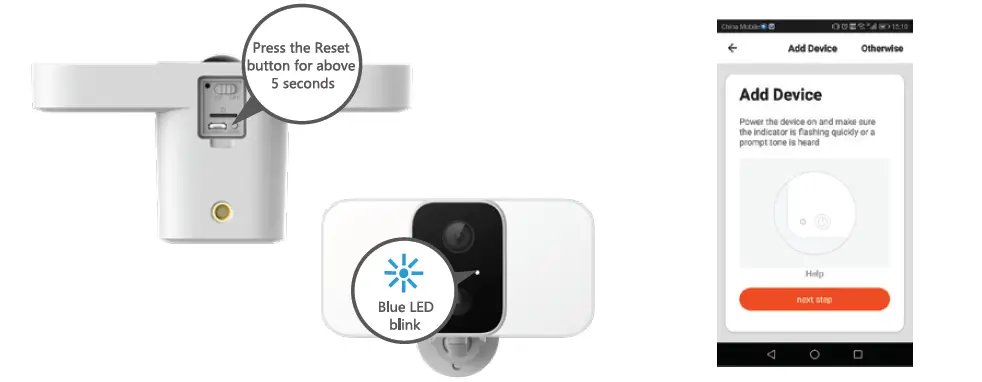
- Step 4: Press and hold the reset button for up to 5 seconds, then release the button to reset the camera. The LED light will blink quickly.
- Step 5: Launch the “Tuya Smart” app from your smartphone and click the “Sign Up” button to begin registering an account or the login button.

- Step 6: Once logged in to your account, press the “+” button in the top right corner. Press the “Add Device” button and follow the on screen prompts to add your device automatically. To manually add your device, select “Security & Video Surveillance” and then “Smart Camera (Wi-Fi).
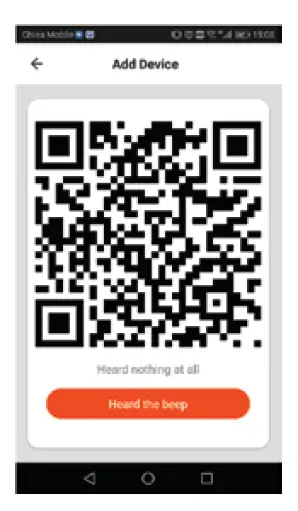
- Step 7: Continue to follow the app’s prompts and input your Wi-Fi password. Scan the QR code on the camera (point the camera towards the QR code on your smartphone at at distance of 15-20cm). A beeping sound will be heard from the camera once it has been successfully paired.

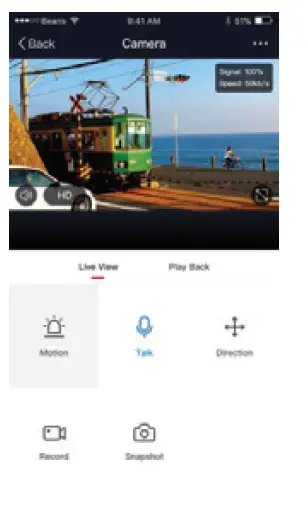
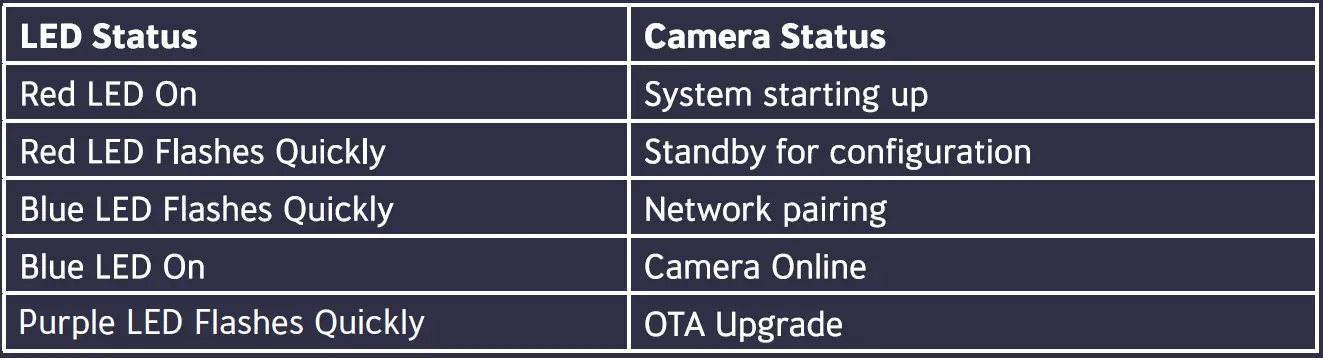
- Step 8: Once the blue LED stays on, the camera is ready to use.


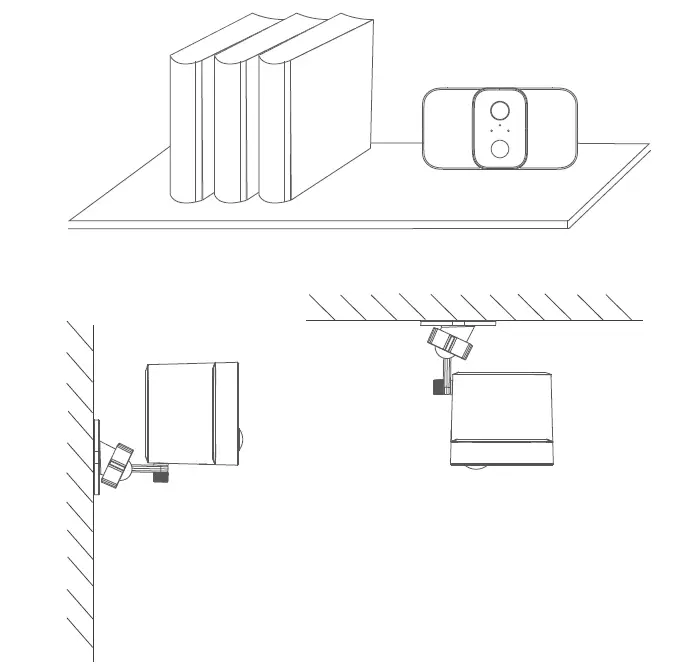
Installing Your Camera
You can place your camera on a shelf or other flat surface, or you can mount it to a wall.
To mount your camera to the wall:
- Fasten the mounting screws into the wall, and then attach the magnetic mount to the screws.
- If you’re mounting the camera to drywall, be sure to install the plastic drywall anchors that are provided.

Camera LED Status
www.concordconnect.com.au
Distributed by: Electus Distribution Pty. Ltd.
46 Eastern Creek Dr, Eastern Creek NSw 2766 Australia
Ph: 1300 762 627
Fax: 1300 738 500
Made in China


 User Manual")


