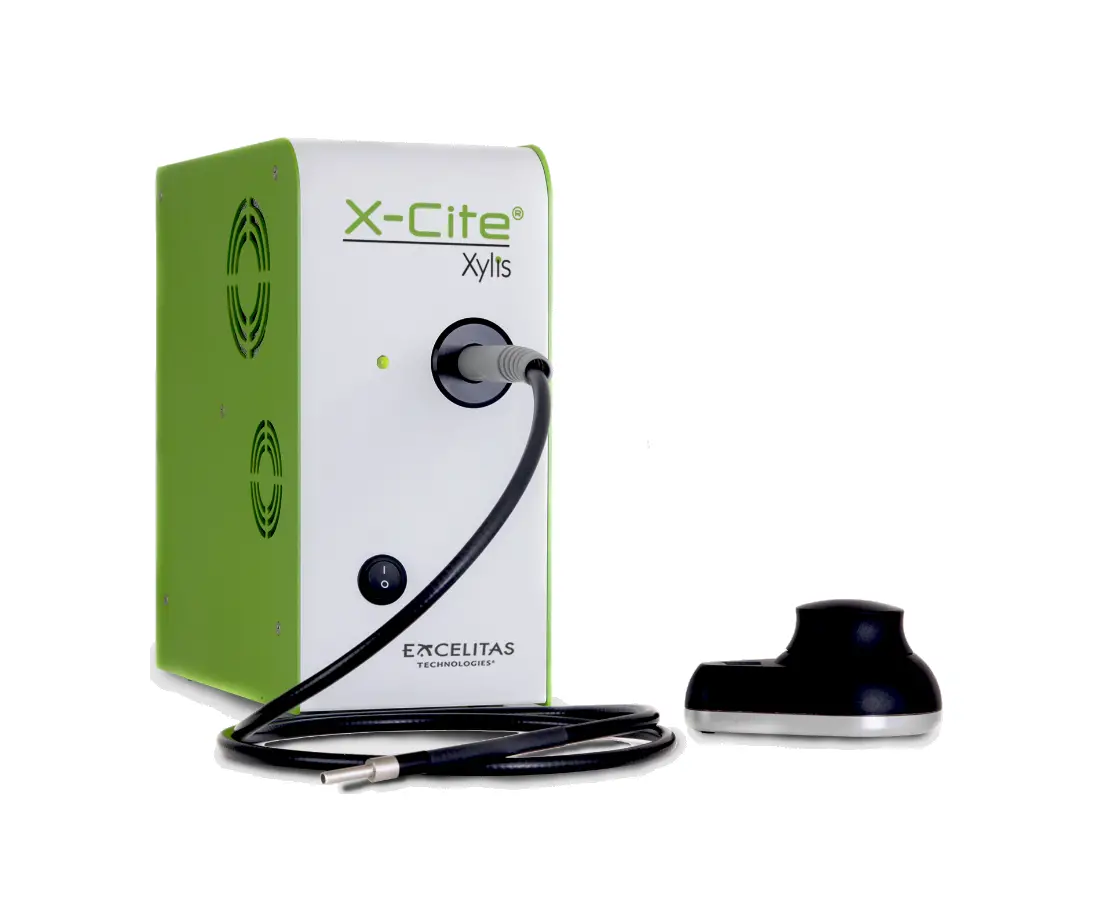
X-Cite XYLIS Broad Spectrum LED Illumination System Installation Guide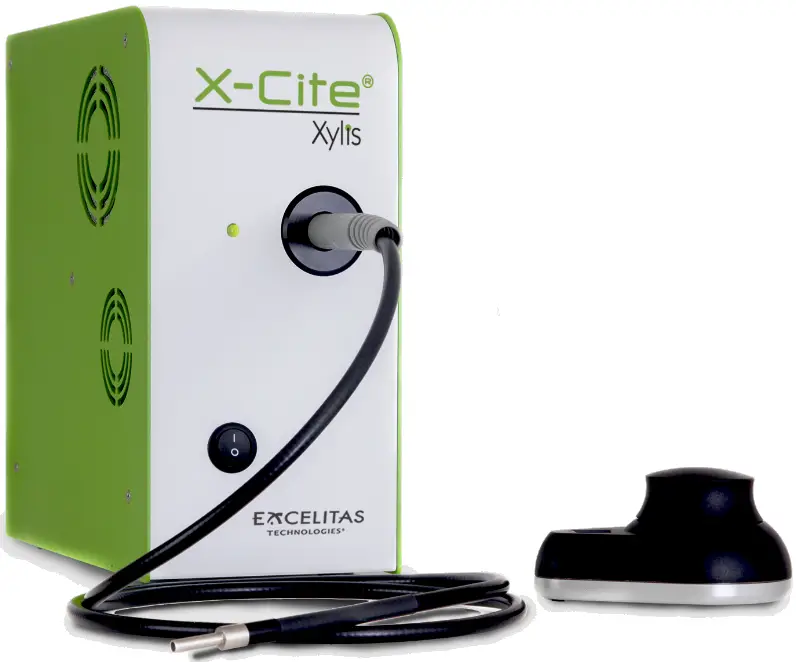
SETUP
Unpack
- Carefully unpack the unit and accessories from shipping carton.
- When unpacking the light guide take care not to bend sharply.
Install the Microscope Adaptor (if applicable)
- Remove protective wrap from adaptor.
- Insert the flange portion of the Microscope Adaptor into the light port on the microscope, and secure it using the hardware provided on the microscope.
Connections and Positioning
- Remove red caps from light guide. Insert large end into light guide port on unit (up to “B” line). Insert small end into microscope light guide port (or adaptor), and secure it with hardware provided.
- Position the equipment. Ensure adequate clearance for ventilation around unit, and slack in the light guide.
- Connect speed DIAL cable to “remote” port on main unit.
- Connect USB cable to ports on main unit and computer. (For Windows 7/8.1/10, USB driver will install via internet after unit powers up, see user guide for additional information.)
- Connect AC power cord to AC port on rear of main unit.
- Connect AC power to properly grounded outlet.
MANUAL OPERATION
- Flip rocker switch to turn unit on.
- When display shows “x%”, it is ready to use.
- Click speed DIAL to illuminate a specimen.
- Turn speed DIAL to adjust intensity.
REGULATORY (refer to user guide for complete details)
Product Safety and Electromagnetic Compatibility
The X-Cite XYLIS has been tested and found to comply with product safety and electromagnetic compatibility requirements.
For a complete list of tests and for certification details, please contact your X-Cite representative or visit www.excelitas.com.
The X-Cite XYLIS is classified as Class 1 laser product according to IEC 60825-1:
Safety of laser products – Part 1: Equipment classification and requirements: 2014- 05 and complies with 21 CFR 1040.10 and 1040.11 except for deviations pursuant to Laser Notice No. 50, dated June 24, 2007.
CE Marking
 |
|
WEEE Directive
China RoHS
 WARNING: Never look at operating LED!
The light could severely damage the cornea and retina of the eye if the light is observed directly.
Eye shielding must be used at all times as well as clothing to protect exposed skin Printed in Canada
Refer to user guide for more details
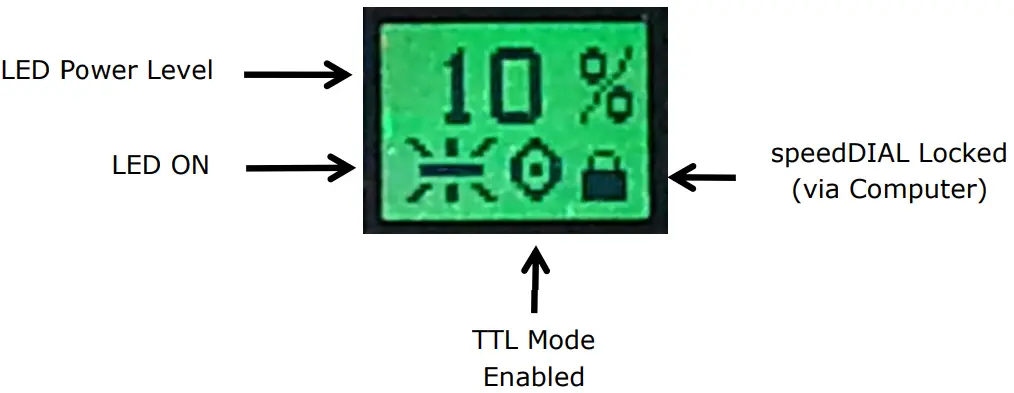
Speed DIAL Home Screen
Speed DIAL Menus and Settings
- To access the main menu, press and hold the dial (shutter button) for one (1) second.
- To navigate the menus, turn the dial to scroll through the options.
An arrowhead will indicate the currently selected menu option, click the dial to make a selection. - To adjust settings, turn the dial.
To select a setting and return to sub-menu, click the dial. - To exit menu system at any time, press and hold the dial for one (1) second.
| Menu Item | Description |
| LCD | Display Screen Brightness and Color Settings |
| Dim | Backlight timeout (off = backlight always on) |
| Brig | Screen brightness (0% = backlight off) |
| Color | Screen color |
| Favor | Favorite Intensity Setting
|
| Into | Select favorite intensity level |
| Enable | Enable or disable this feature |
| Sped | Adjust delay time between clicks (defines “double-click”) |
| TTL | TTL Mode Control
|
| Enable | Enable or disable this mode |
| Time | Define a timeout setting (recommended) |
| UV | UV Mode
|
| Hand | Display Screen Orientation
|
| Servo | Service Data
|
BASIC TROUBLESHOOTING (refer to user guide for complete details)
| Category | Symptom | Action |
| Error messages | Error 1 (High Temp.) | Turn off, let cool; check clearance around vents |
| Error 3 or 5 (Internal) | Turn off, restart | |
| Error 6 (Low Temp.) | Allow unit to warm to room temperature and restart | |
| Intensity | Low output intensity | Check speed DIAL settings Check light guide position Check adaptor type Check microscope beam path, filters, apertures, shutters, objectives |
| speed DIAL | Double-click turns off LED | Increase delay in the speed (Spd) setting |
| New settings forgotten when unit is shut down | After changing settings, wait at least five minutes before shutting unit down | |
| Dial does not scroll through the menu | Turn dial in the opposite direction | |
| “Lock” icon on display, speed DIAL not responding to manual control | Send “unlock” command via computer OR power down unit and restart | |
| TTL | TTL response time is longer than usual | Enable TTL mode Verify that timeout settings are appropriately set |
| UV Excitation | No DAPI signal is visible, all other fluorophores are fine | Unit is in “UV Off” mode Enable “UV On” mode |
![]() Warning: Refer to Safety Precautions Booklet 035-00636R for all safety precautions prior to use.
Warning: Refer to Safety Precautions Booklet 035-00636R for all safety precautions prior to use.
User Guide 035-00683R download: http://www.excelitas.com
CUSTOMER SUPPORT
Excelitas Canada Inc.
2260 Argentia Road Mississauga ON L5N 6H7
Tel: 1-905-821-2600
Toll Free: 1-800-668-8752
www.excelitas.com/x-cite


