PoE Adapter For Google Nest Cam (battery)
USER MANUAL
![]()

 Before installing this accessory, please first set up the Google Nest Cam (battery) using the in-box cable provided with the camera. This will ensure that you have the latest firmware.
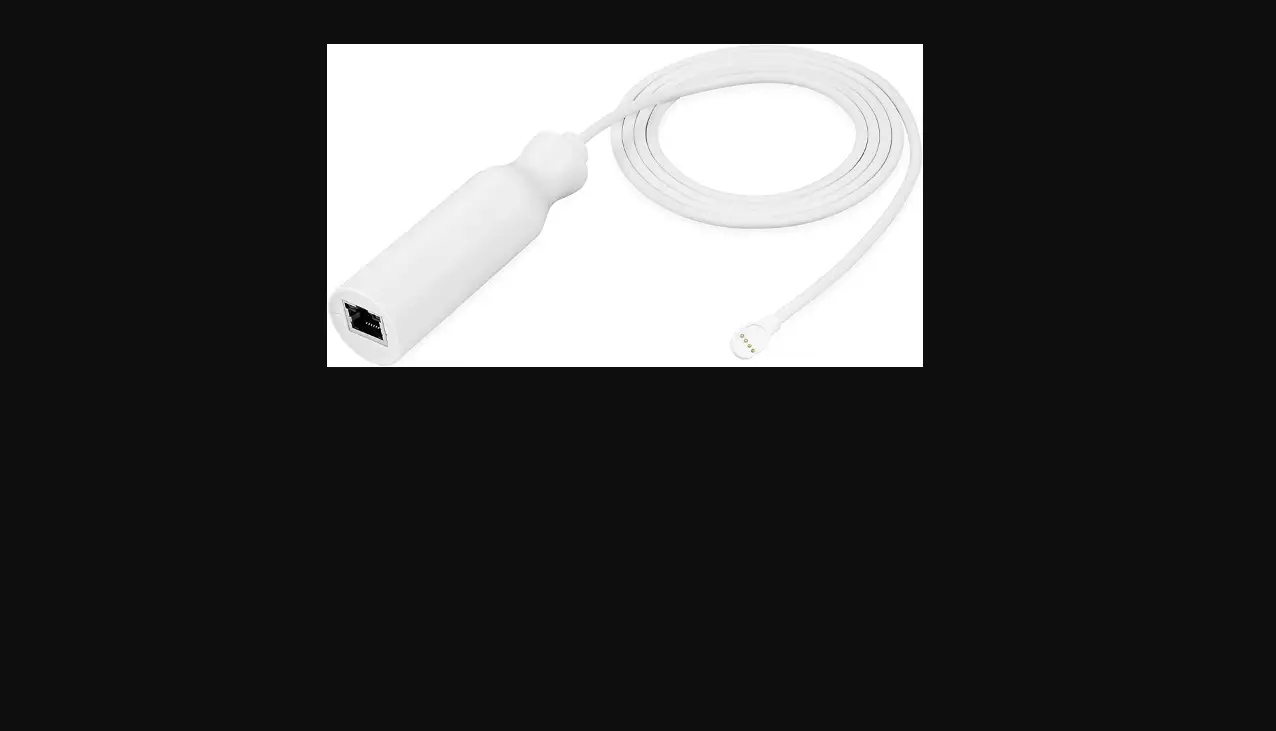
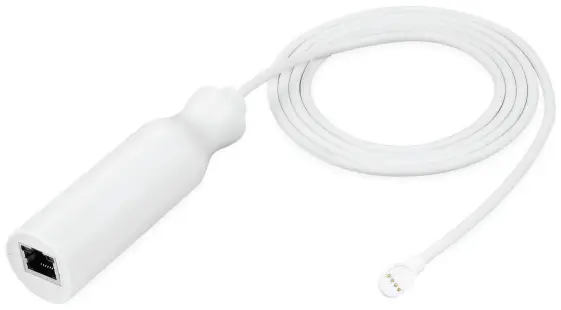
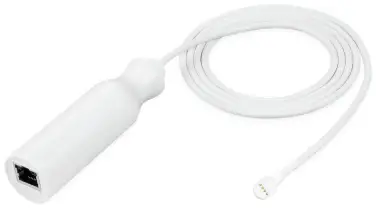
In the Box
1 x PoE adapter
1 x user manual
Installation
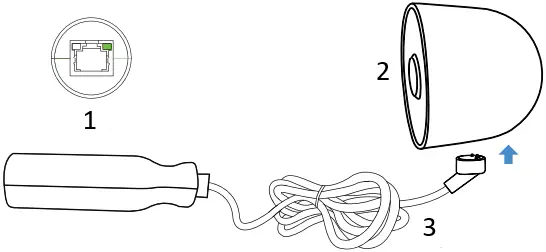
1. Connect the PoE Adapter to the PoE Switch via a RJ45 cable (not included).
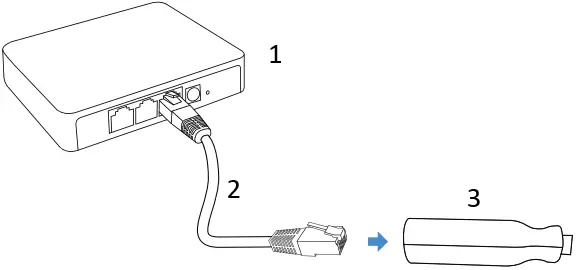
- PoE Device
- RJ45
- PoE Adapter
2. Connect the pogo cable to the camera for charging it. The LED indicators around the PoE Adapter turns green while charging your Nest Cam.
To install the POE adapter through a wall, drill a 1/2 in (13mm) hole for the magnetic connector to fit.
- PoE Adapter
- Nest Cam
- Weatherproof Magnetic Connector
Note:
Make sure that the connector is connected in the right direction as shown in the picture.
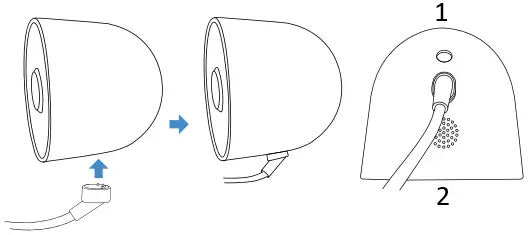
- Back
- Front
Checking the Battery Status via Your Nest App
The PoE adapter continuously powers your Google Nest Cam (battery). The ∞ sign will be displayed in the Google Home App.
Specifications
| Materials: | ABS + PC |
| Output current: | 1.5A |
| Output voltage: | 5V DC |
| Operating Temperature: | 14 ˚F to 131 ˚F |
| Rated current: | 0.18A – 0.28A IEEE802.3AF / IEEE802.3AT |
Get More Support
Scan the QR code below or,
email us at [email protected]

This product has been certified by Wasserstein to meet Google’s compatibility standards. Google is not responsible for the operation of this product or its compliance with any applicable safety or other requirements.
Learn more at g.co/madeforgoogle.
Google’s “made for” badge, Google Nest Cam, and related marks are trademarks of Google LLC.
Google Nest Cam (battery) is not included.
Wasserstein is not affiliated with Google LLC.
Wasserstein is a trademark of Dropcases Ltd.
Google Nest Cam is a trademark of Google LLC.
![]()
For more information, please visit:
www.wasserstein-home.com
Made in China


 User Manual")


