FABER DUCTGRT304 Ductless Vent Grate Kit

PARTS
| REF. | PART | QTY | |
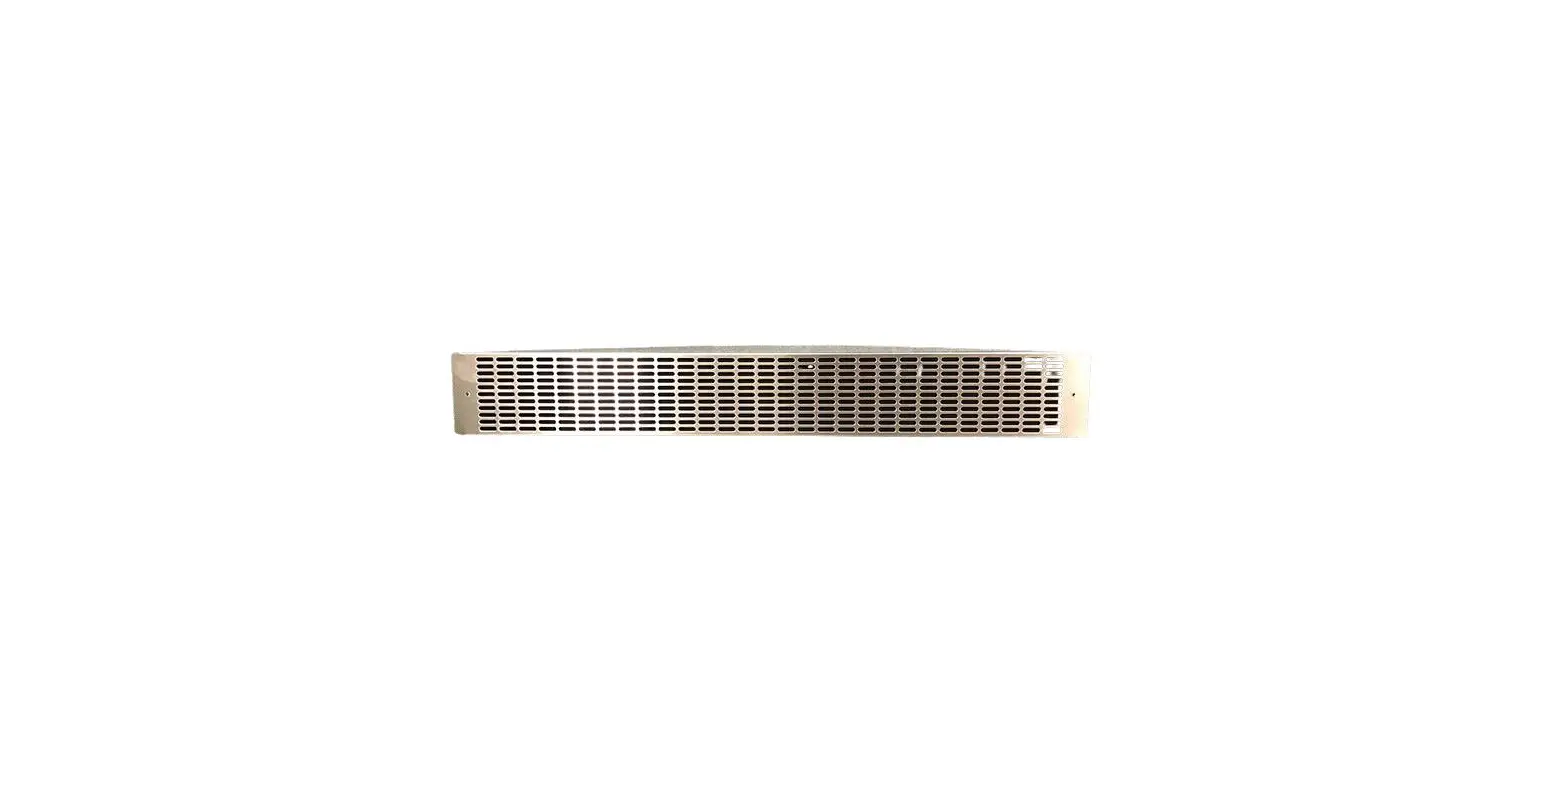
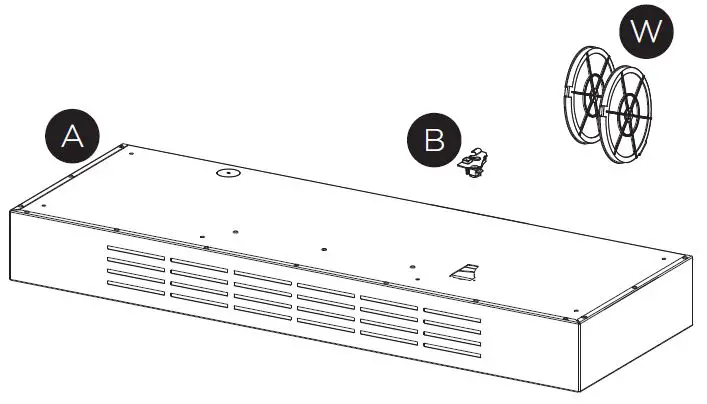
| A | Duct grate | 1 | |
| B | Power cord strain relief | 1 | |
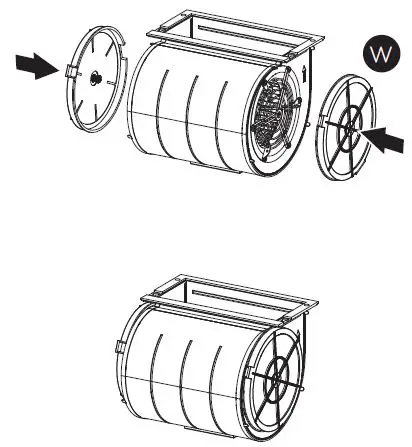
| W | Charcoal filters | 2 | |
| REF. | PART | QTY | |
| C | Torx Screws (3/8″ x 5/8″) |  | 6 |
| D | Pozi Screws (1/8″ x 5/8″) |  | 4 |
Installation
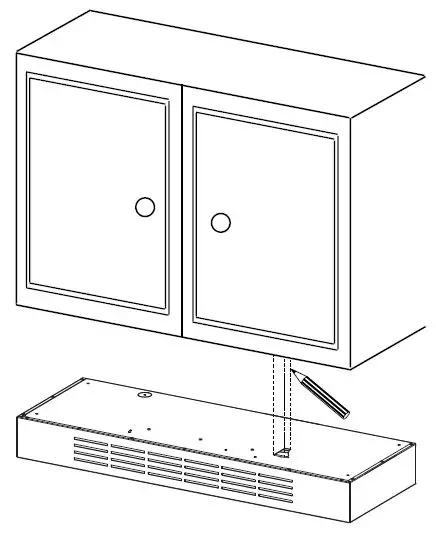
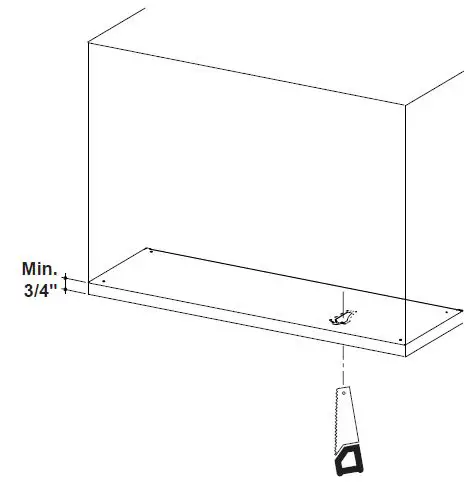
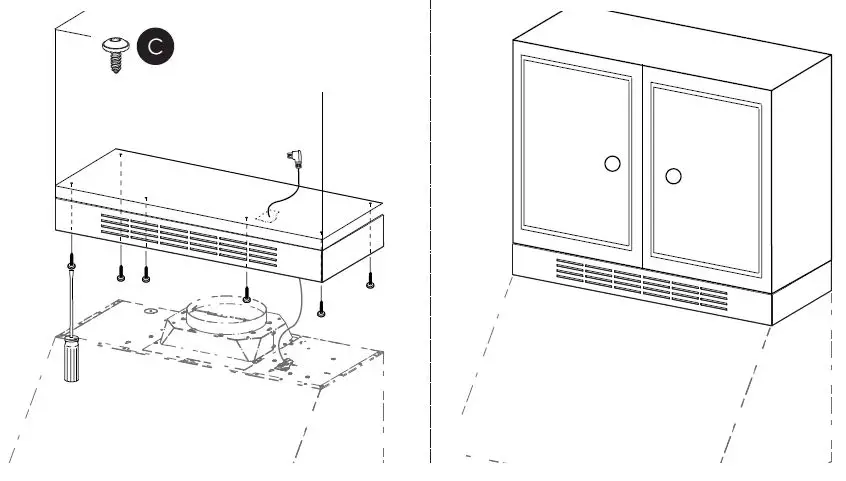
- Hold the ductless kit up to a cabinet and mark a knockout for the electrical connection.

- Drill a hole for the electrical cable (bigger than the power cord strain relief).

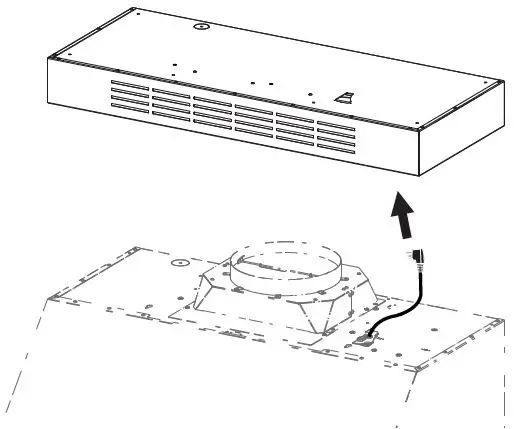
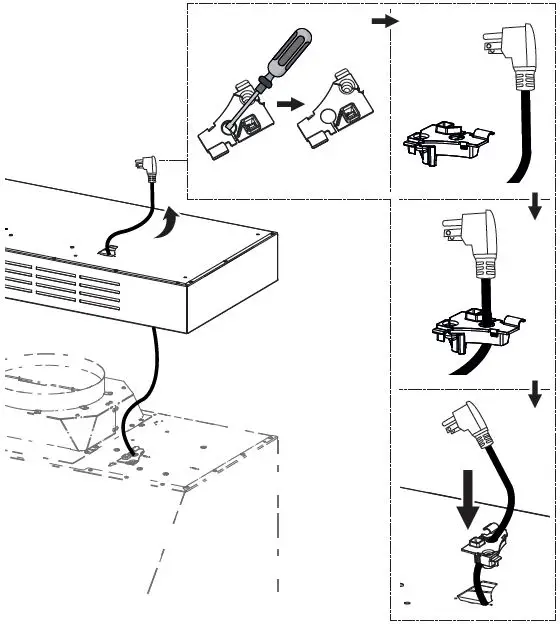
- Pass the power cable from the hood through the power cord slot in the ductless box kit. Use a screwdriver as shown below to knockout the hole in the power cord strain relief. Attach the power cord to the strain relief and then press the relief into the top of the box.


- Attach the ductless kit to the cabinet with 6 screws (C), aligning the front edge of the kit to the front of the cabinet.

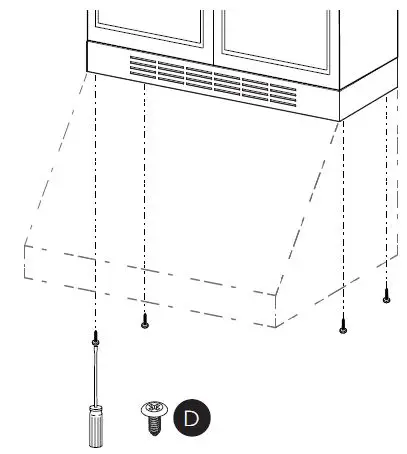
- Install the rangehood to the bottom of the ductless kit. Install the hood into the wall as shown in the hood install instructions, and adjust the hood to be flush with the ductless kit. Attach the hood to the ductless kit with 4 screws (D).

- The baffle filters need to be removed before attaching the charcoal filters.