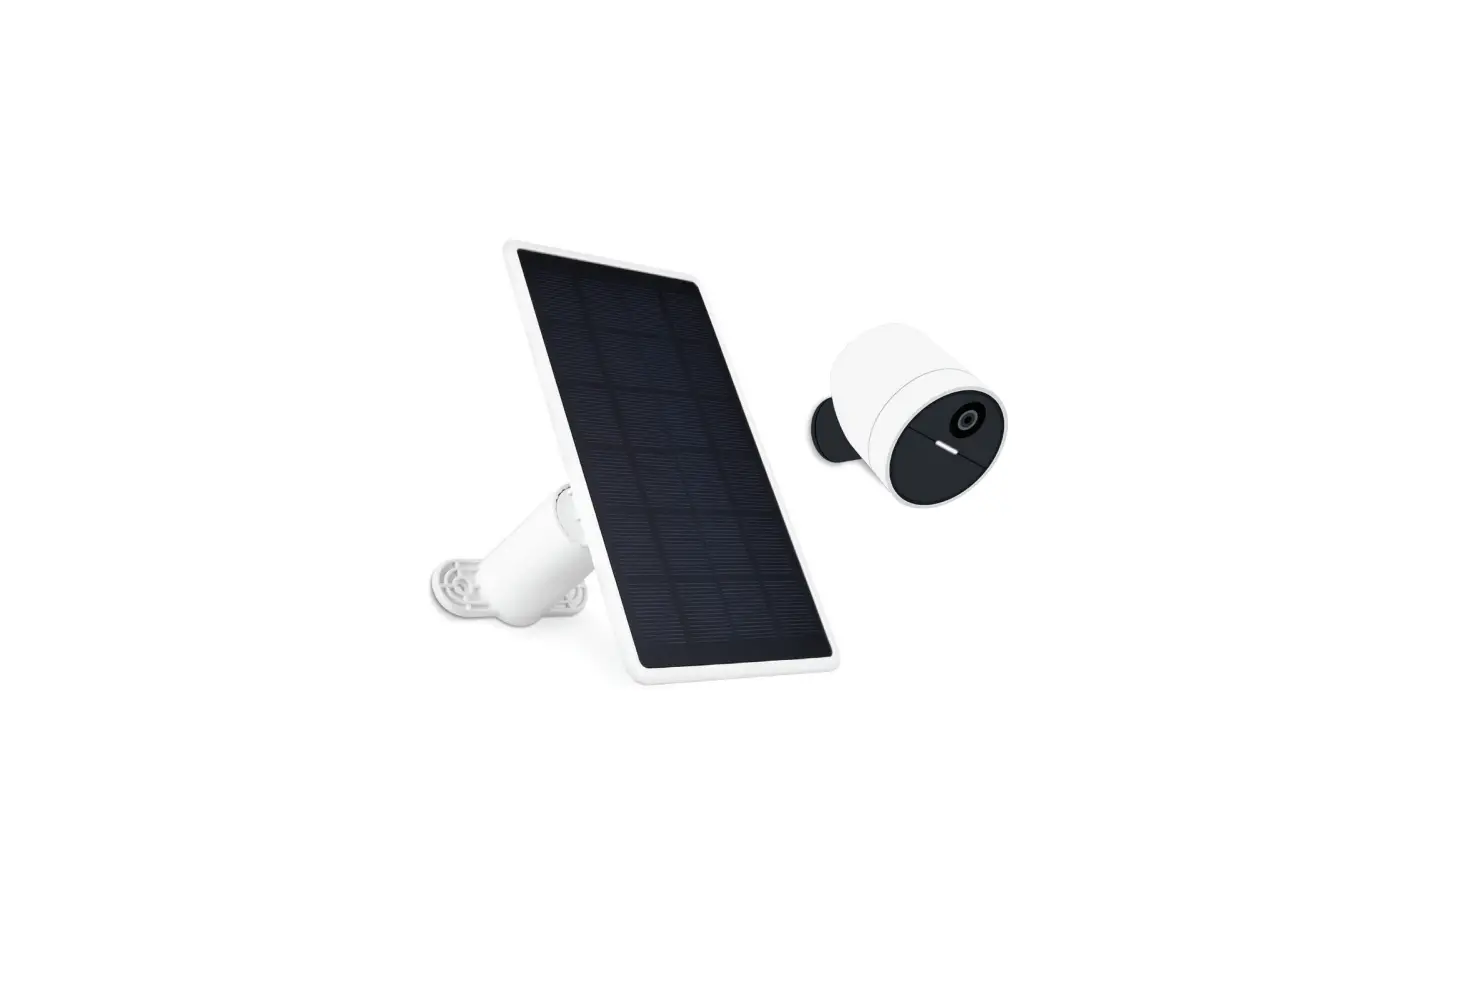
WASSERSTEIN Solar Panel for SimpliSafe Wireless Outdoor Security Camera User Manual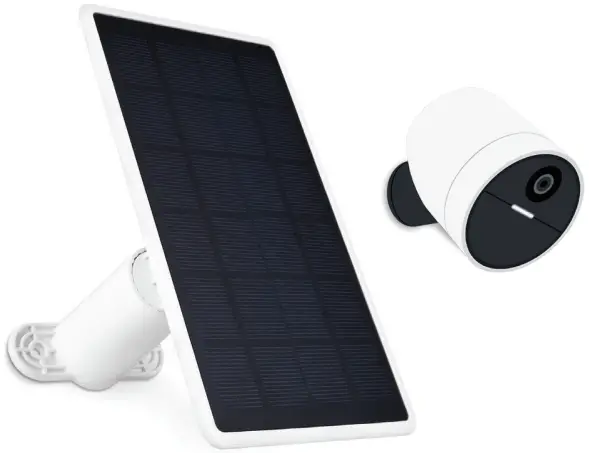
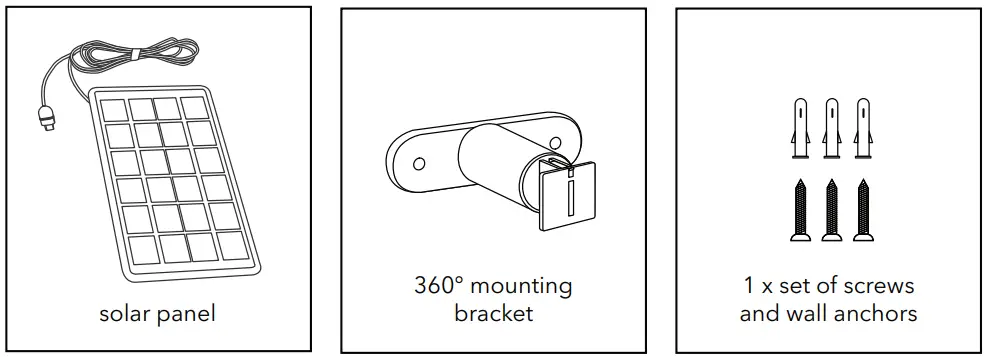
In the Box
Important Note
- Fully charge the SimpliSafe Outdoor Security Camera before connecting it to the solar panel.
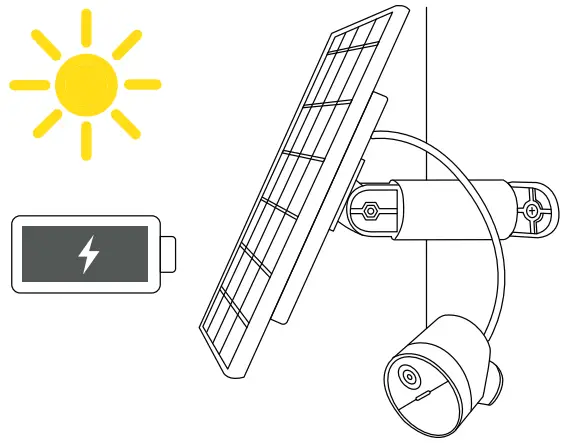
- Mount the solar panel in a place that gets direct sunshine.
Warning
- Do not open or dismantle the solar panel for any reason.
- Keep the solar panel away from any heat source like a furnace, heater, or grill.
- Make sure that the outdoor charging cable is properly attached to your camera.
- Do not bend, stretch, or cut the charging cable.
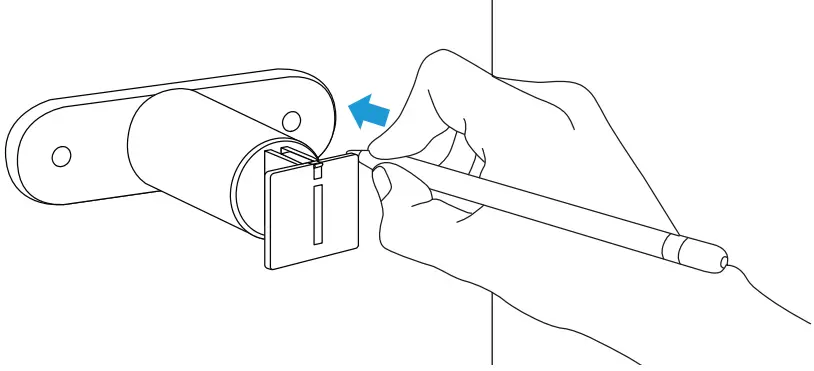
Installing Solar Panel
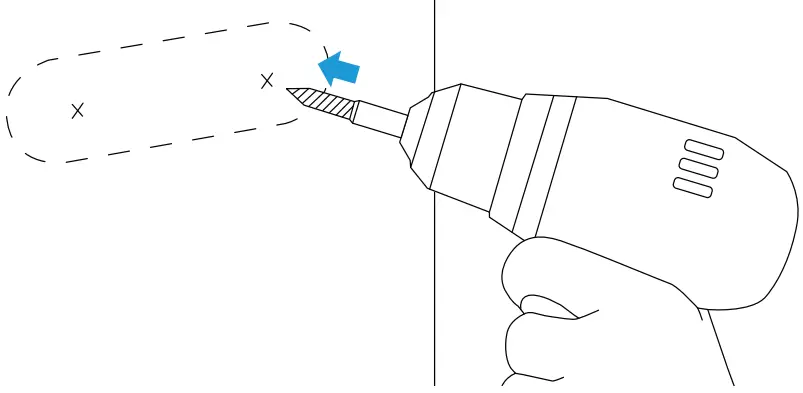
- Mark the holes using the bracket for guidance.

- Drill the holes.

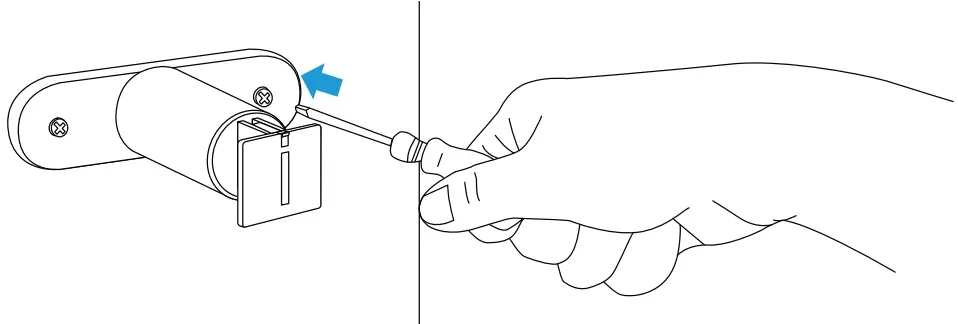
- Insert the anchors and screw the mount to the wall.

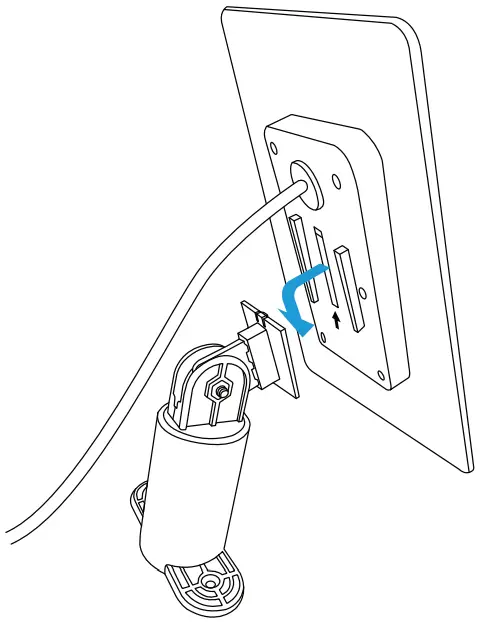
- Slide the solar panel onto the mounting piece.

Adjusting Solar Panel
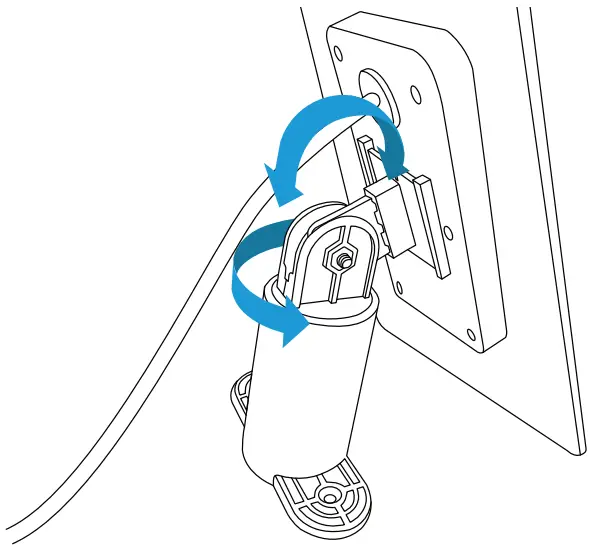
The 360-degree rotatable mounting bracket allows you to adjust the solar panel in the best position to absorb sunlight.
Connecting to Camera
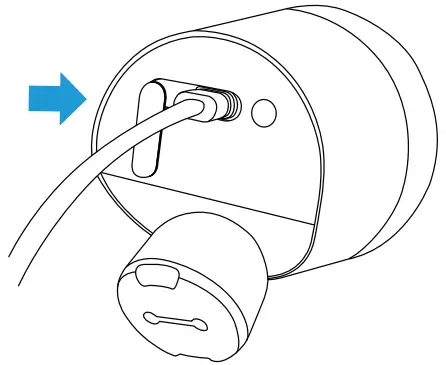
- Open the rubber cap at the back of your camera, and plug the cable firmly into the port.

- Place the solar panel under direct sunlight to continuously charge your camera.

Specifications
Dimension: 7.5 x 4.37 x 0.79 in
Power: 2 W
Voltage: 5 V DC
Outdoor Cable length: 13 ft
Materials: ABS
Get More Support
Scan the QR code below or email us at [email protected].

CONTACT US
SimpliSafe Wireless Outdoor Security Camera is not included.
SimpliSafe Wireless Outdoor Security Camera is a trademark of SimpliSafe, Inc.
Wasserstein is not affiliated with SimpliSafe, Inc.
Wasserstein is a trademark of Dropcases Ltd.

www.wasserstein-home.com
Made in China


